How to Make Fudge Firm and Solid: A Troubleshooting Guide
Struggling with soft, gooey fudge? Learn the science behind firm fudge, including temperature targets, cooling techniques, and ingredient tweaks.
Whether you’re chasing that velvety melt‑in‑your‑mouth feel or just want a batch that holds its shape, you’ve landed in the right spot. Below you’ll find the basics for making great fudge, quick fixes for the usual mishaps, and the best ways to store your sweet squares.
Start with the three main ingredients – sugar, butter, and milk or cream – and add chocolate or flavorings of your choice. Heat the mixture until it reaches the soft‑ball stage (around 235‑240°F). Stir until it thickens, pour into a greased pan, and let it cool completely before cutting.
Using a candy thermometer saves you a lot of guesswork, but if you don’t have one, try the cold water test: drop a tiny bit of the mixture into cold water – it should form a soft ball that you can shape with your fingers.
Grainy texture often means the sugar crystals re‑formed during cooling. Keep the mixture moving while it cools, and avoid stirring once it’s thick enough. If you end up with grainy fudge, gently re‑heat it, add a splash of butter, and beat until smooth.
Fudge not setting is usually a temperature issue. Make sure you hit the soft‑ball stage; too low and the fudge stays sticky, too high and it becomes hard. If you’re using condensed milk, watch the heat closely – it can cause the mixture to boil over quickly.
For three‑ingredient fudge that won’t set, try adding a tiny pinch of salt or a splash of cream. This helps the sugar crystals form correctly and gives the fudge a firmer bite.
Storing fudge in the fridge? Think again. Cold air dries out the sugar, making the texture grainy and the flavor muted. Instead, wrap the squares tightly in wax paper, then place them in an airtight container at room temperature. If you need to keep them longer, a cool pantry works fine for up to two weeks.
Want a quick rescue for a batch that’s too soft? Melt a handful of chocolate chips and stir them into the soft fudge. The extra fat helps it firm up as it cools.
And if you’re curious about the ideal texture debate, remember there’s no right or wrong answer. Soft fudge stays creamy longer, while a firmer fudge cuts cleanly. Adjust the cooking time a few seconds up or down to hit your preferred consistency.
Finally, a fun fact: Mackinac Island in Michigan is famous for its fudge, and many of its shops use a secret blend of butter and cream that gives their fudge that melt‑in‑your‑mouth feel. You can try mimicking that by using a higher butter‑to‑cream ratio.
Now you’ve got the basics, the fixes, and the storage hacks. Grab your saucepan, heat that sugar, and enjoy the sweet success of homemade fudge.
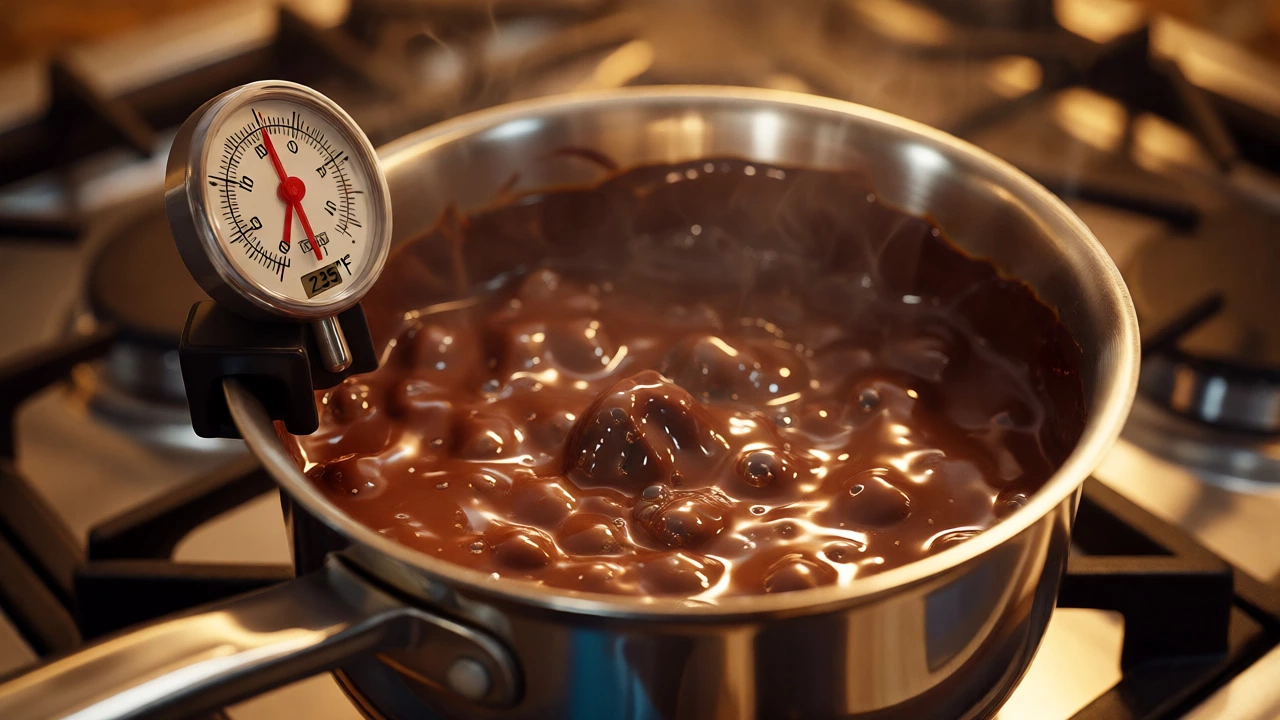
Struggling with soft, gooey fudge? Learn the science behind firm fudge, including temperature targets, cooling techniques, and ingredient tweaks.

Discover what Americans call fudge and explore regional nuances, brand influences, and common misconceptions. Learn why 'fudge' remains the universal term across the US.
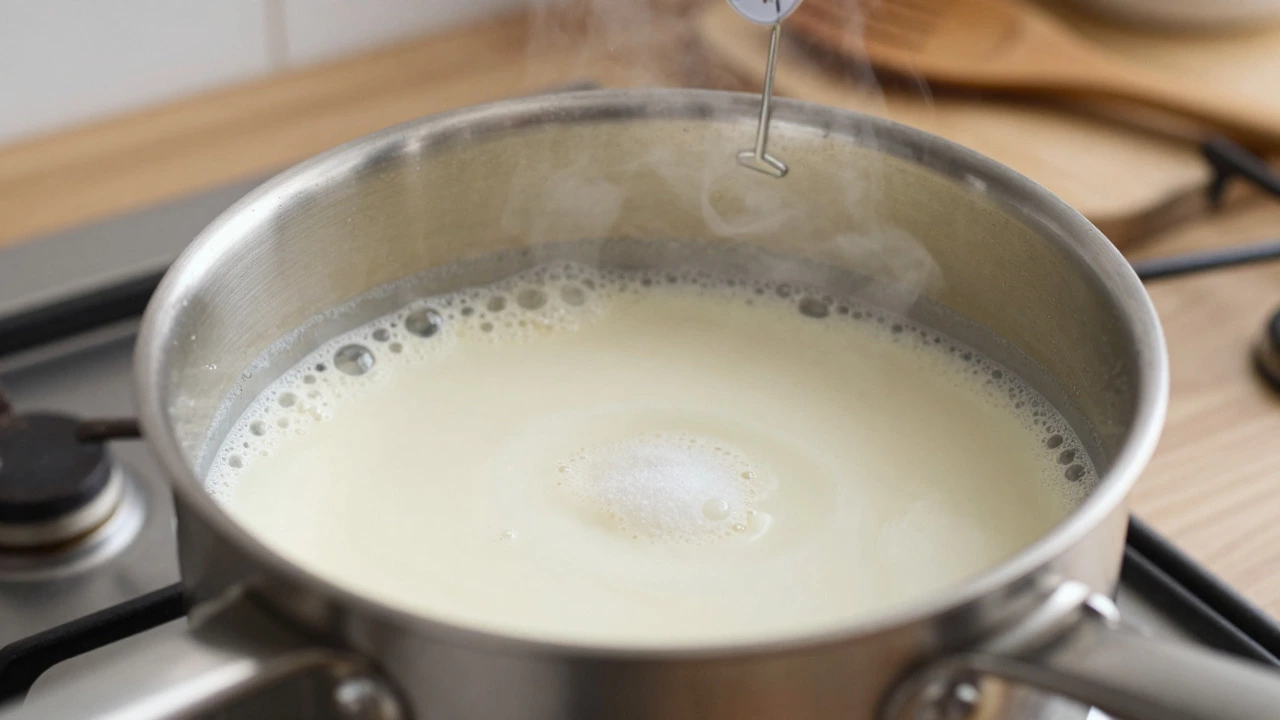
Discover why evaporated milk is essential for perfect fudge texture. Learn how its chemistry controls sugar crystals and improves flavor compared to fresh milk.
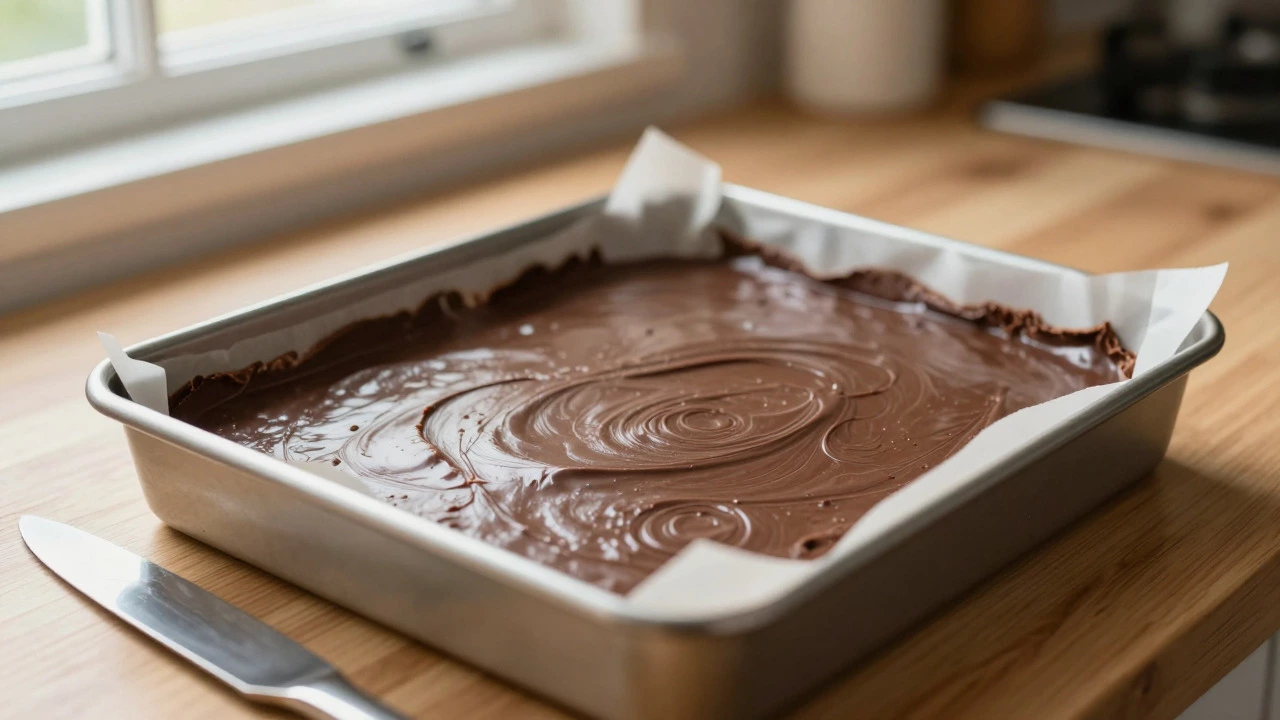
Learn exactly how long fudge takes to harden, from 4-6 hours at room temp to quick fixes in the fridge. Troubleshoot soft fudge, understand sugar science, and master storage tips for perfect slices every time.
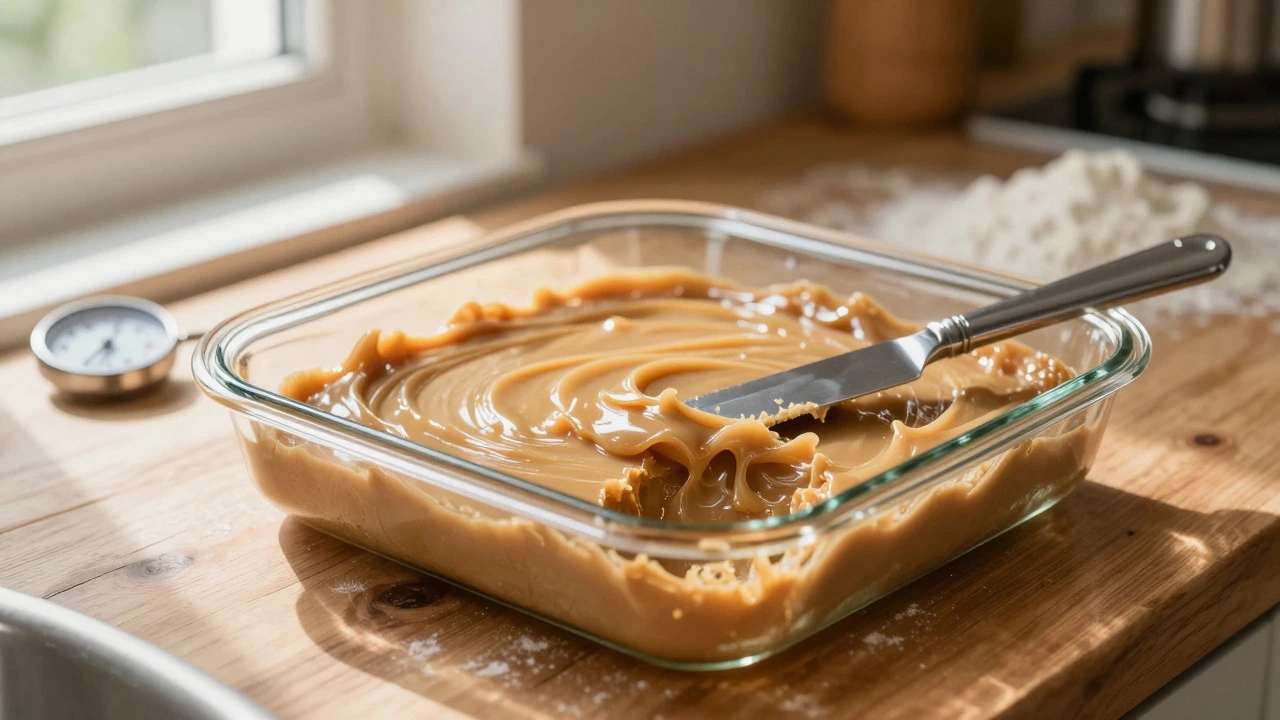
Discover why your homemade fudge isn't hardening and learn quick fixes to save soft, sticky batches. Includes temperature guides, troubleshooting tips, and prevention strategies for perfect results.
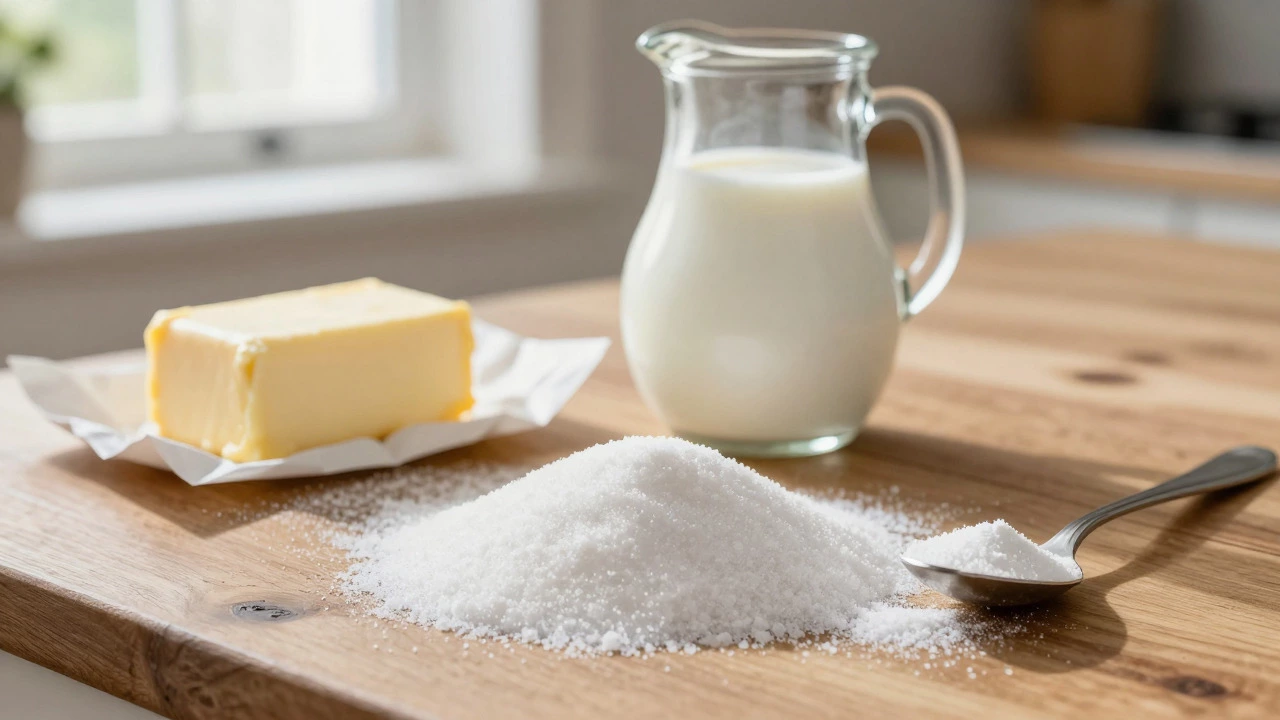
Discover exactly what English fudge is made of, including the key role of baking soda. Learn how it differs from American fudge, essential ingredients, and step-by-step instructions for perfect results.
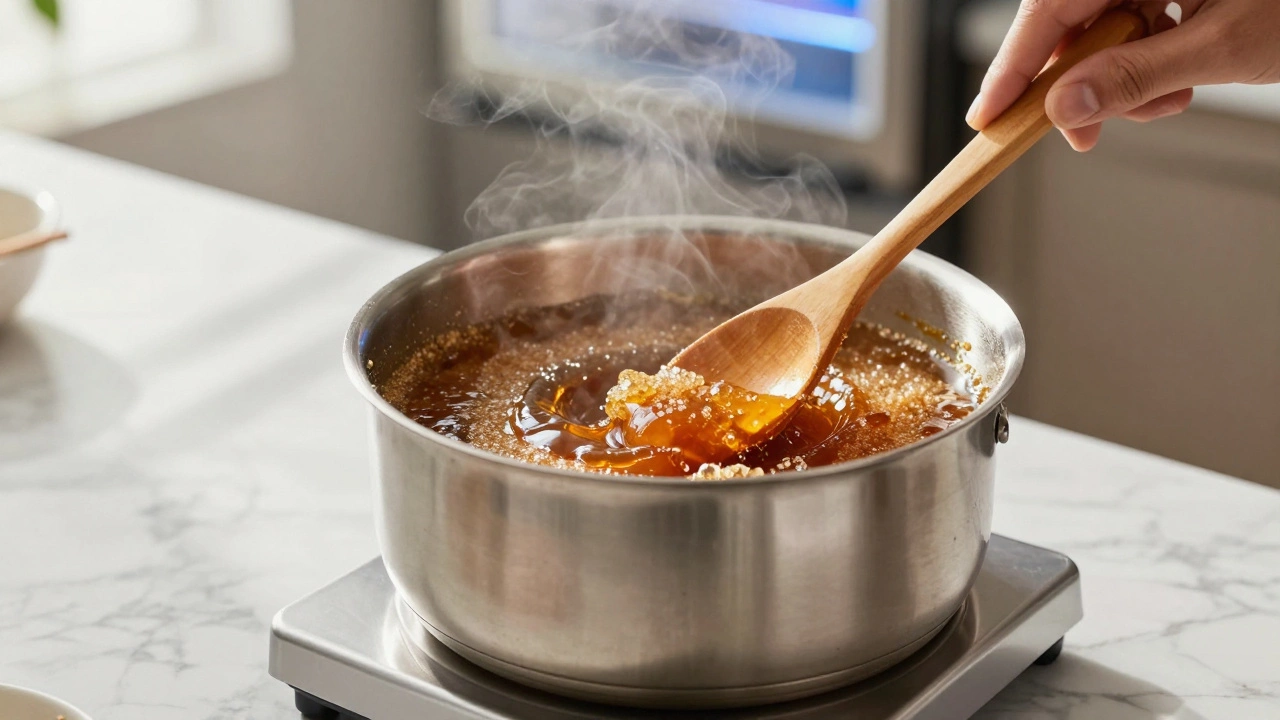
Discover the best way to chill homemade fudge. Learn why the refrigerator beats the freezer for texture, how to avoid condensation, and expert storage tips for perfect cuts every time.
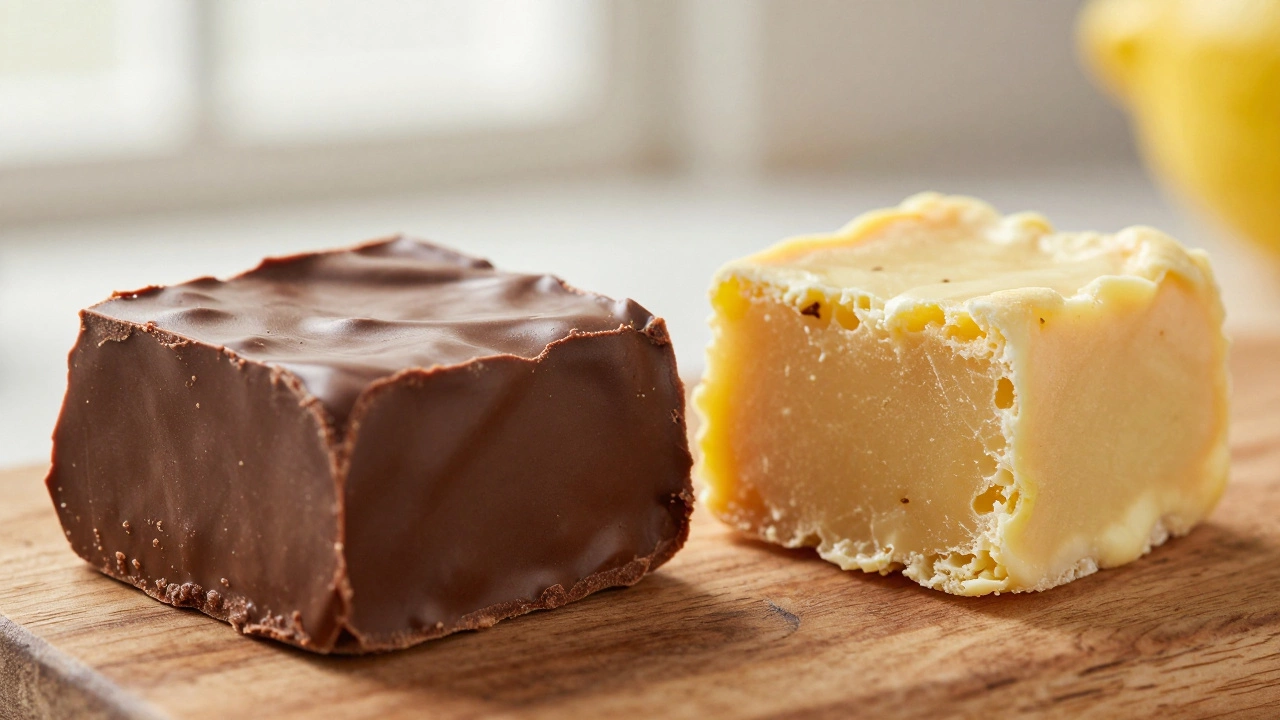
Discover the world's best fudge by exploring the differences between American and British styles. Learn how to make perfect creamy chocolate fudge at home with expert tips and troubleshooting advice.
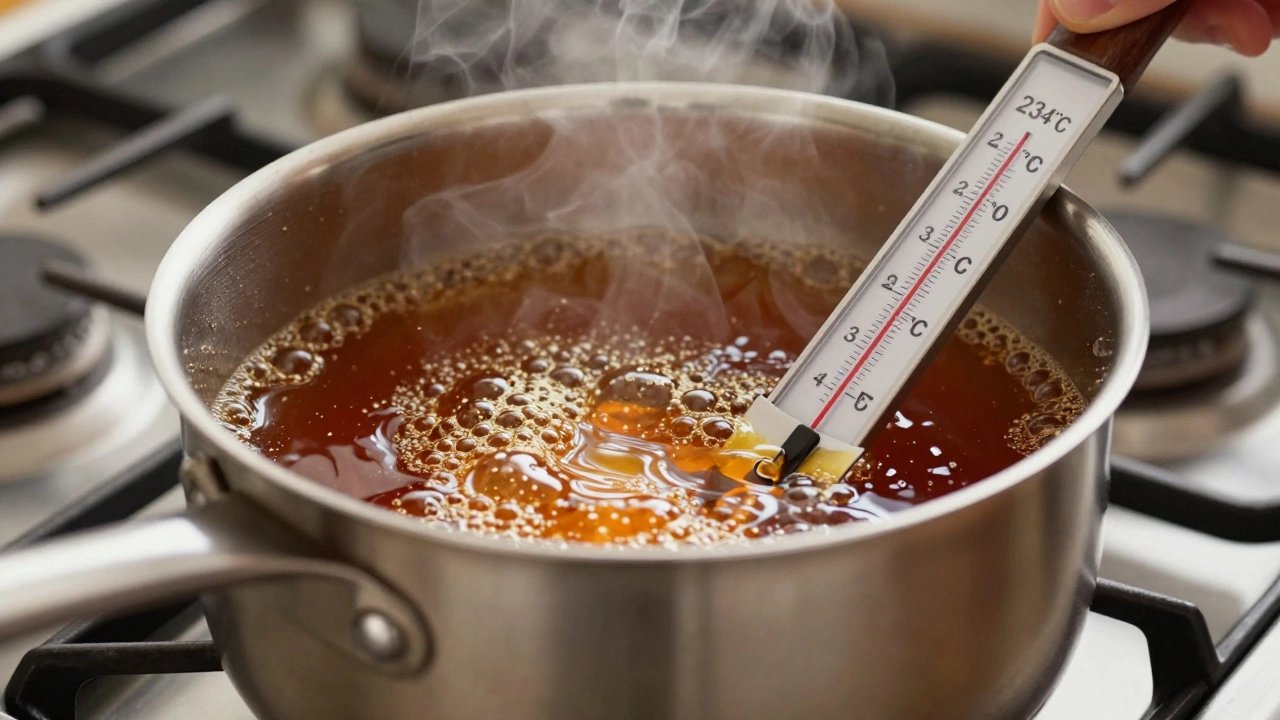
Learn exactly how to tell when fudge is done using a candy thermometer or the cold water test. Avoid grainy or hard fudge with these expert tips.
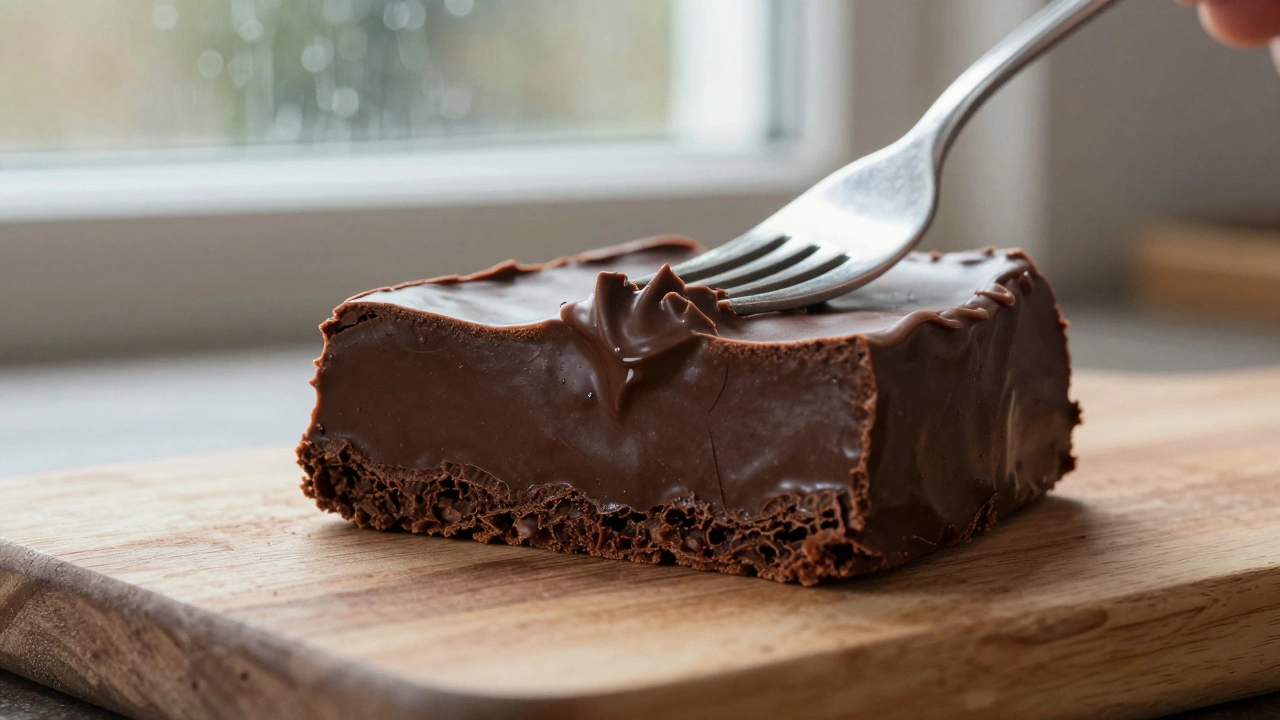
Discover why your fudge turned out chewy and how to fix it. Learn about sugar crystallization, temperature stages, and simple rescue techniques for perfect texture.
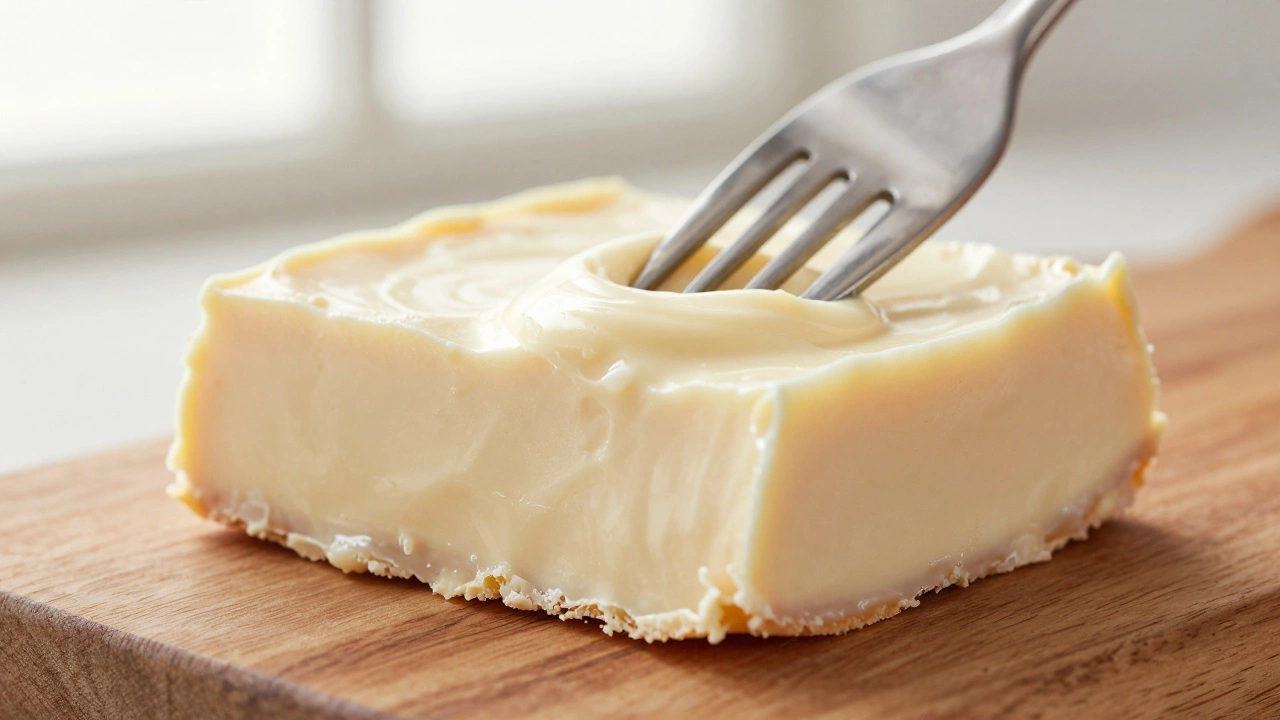
Discover the science behind what makes fudge taste like fudge. Learn about sugar crystallization, temperature control, and dairy's role in creating that signature creamy texture.
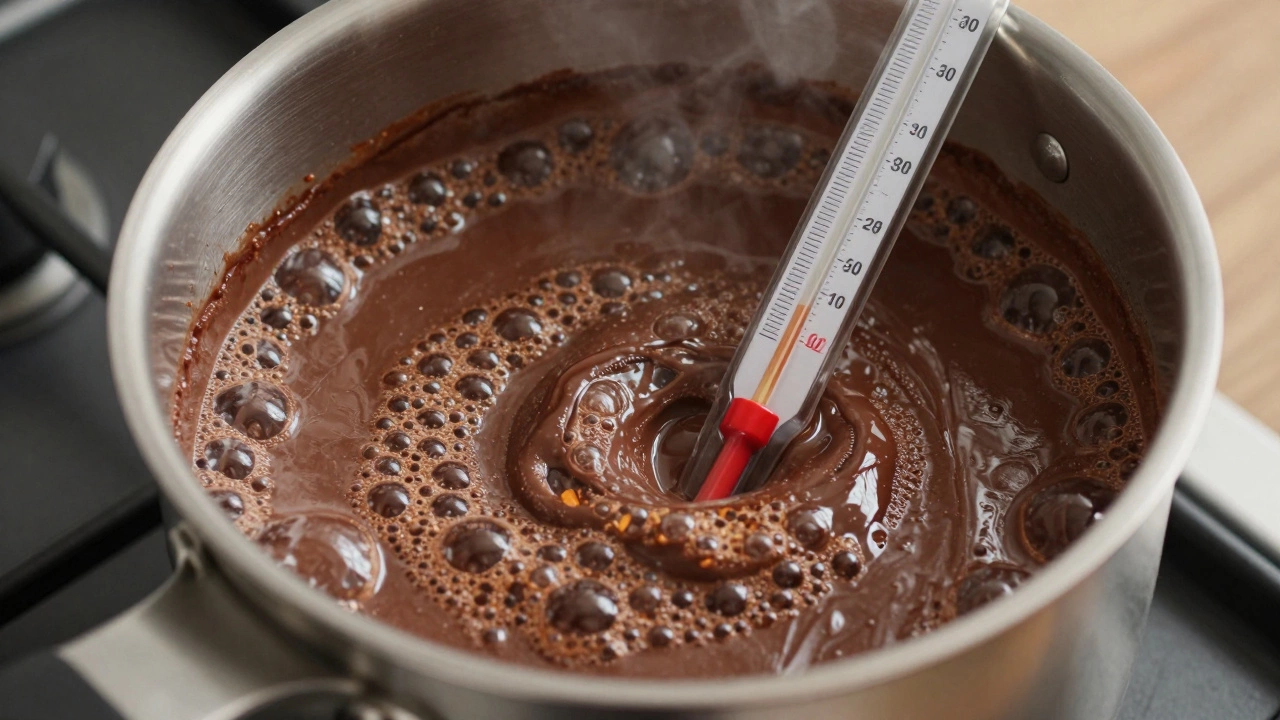
Overboiled your fudge? Learn why sugar crystals harden, how to identify overcooked candy, and the best ways to save a ruined batch of fudge.