Fudge Hardening Time Estimator
Enter Your Details
Enter your details and click calculate to see when your fudge will be ready to cut.
Texture Expectation:
Pro Tips:
There is nothing worse than slicing into a batch of homemade fudge is a dense, sweet confection made from sugar, butter, and milk or cream that relies on precise sugar crystallization for its texture. only to have it smear across the cutting board like warm butter. You followed the recipe, you watched the pot, and you poured it into the pan. So why is it still gooey? The short answer is that most standard fudge needs between four and six hours to fully set at room temperature. However, if you are impatient or if your kitchen is particularly humid, that window can stretch to twelve hours. Understanding exactly what happens during this waiting period-and how to speed it up without ruining the texture-is the difference between a smooth, sliceable treat and a sticky mess.
The Science Behind the Set: Why Fudge Takes Time
Fudge isn't just cooling down; it is undergoing a chemical transformation. When you boil the sugar mixture, you are driving off water to reach specific temperatures. Once you remove the heat and begin stirring, you are encouraging tiny crystals of sucrose to form. These microscopic crystals give fudge its signature creamy, melt-in-your-mouth texture. If the crystals are too large, the fudge becomes grainy. If they don't form enough, the fudge remains liquid or overly chewy.
This crystallization process requires time. Even after the fudge feels firm to the touch on the surface, the center may still be pliable. The heat trapped in the middle of the pan needs to dissipate evenly. Rushing this stage by putting it in the fridge immediately can sometimes cause condensation to form inside the container, leading to a wet, sticky exterior while the interior remains under-set. Patience here isn't just a virtue; it's a technical requirement for the structure of the candy.
| Condition / Factor | Estimated Time to Set | Texture Result |
|---|---|---|
| Standard Room Temp (68°F-72°F) | 4 - 6 Hours | Ideal, smooth, sliceable |
| Warm Kitchen (>75°F) | 8 - 12 Hours | Soft, potentially sticky edges |
| Refrigerated (35°F-40°F) | 2 - 3 Hours | Firm, but risk of condensation/sogginess |
| Freezer (0°F) | 45 - 60 Minutes | Very hard, brittle, difficult to cut cleanly |
Signs Your Fudge Is Ready to Cut
Don't rely solely on the clock. Environmental factors like humidity and altitude play a massive role in how quickly sugar sets. Here is how to tell if your fudge has actually hardened enough to handle.
- The Touch Test: Gently press the center of the fudge with your clean fingertip. It should feel firm and leave no indentation. If your finger sinks in slightly or leaves a mark, it needs more time. The surface might look dry, but the interior could still be soft.
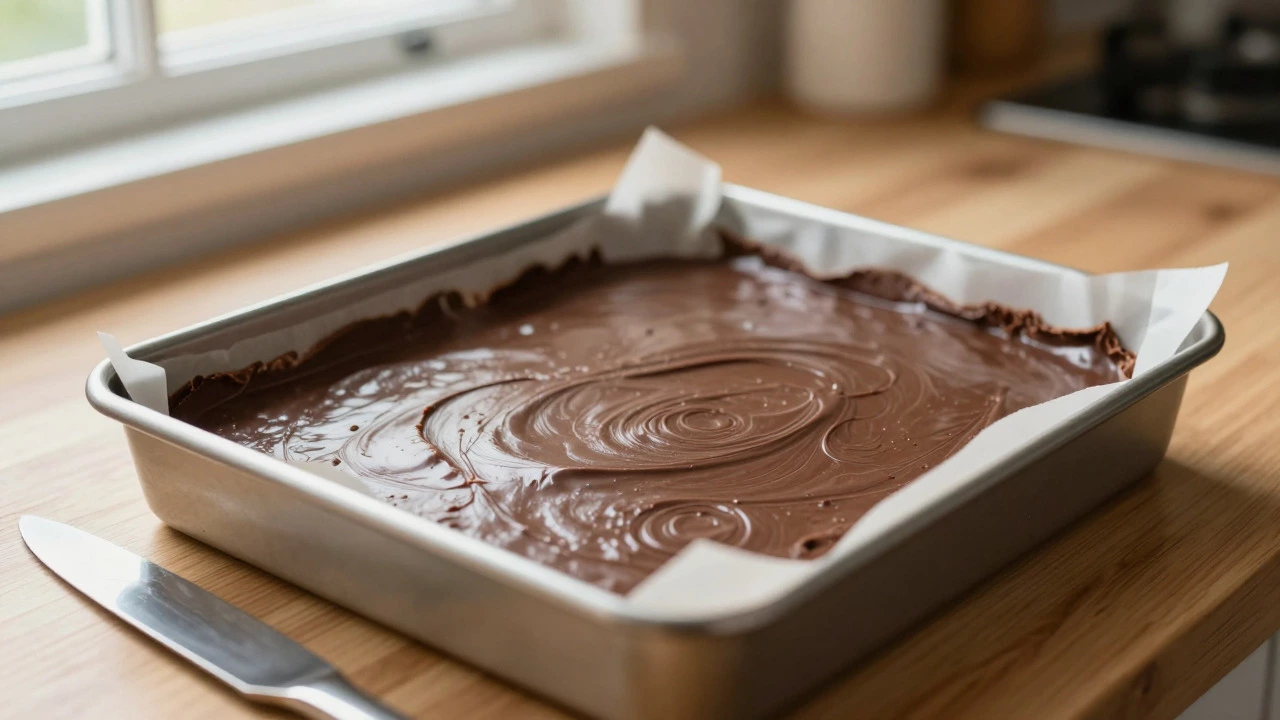
- The Edge Check: Look at the sides where the fudge meets the pan. Fully set fudge will pull away slightly from the parchment paper or foil lining. If it looks glossy or wet against the sides, the sugars haven't fully crystallized yet.
- The Knife Slide: Try sliding a thin knife under one corner. If the fudge lifts easily and holds its shape without sagging, it is ready. If it bends or tears, wait another hour.
A common mistake beginners make is assuming that because the top layer feels hard, the whole batch is done. Because fudge is dense, heat retention is significant. Always check the thickest part of the pan, usually the center, rather than the thinner edges.
Speeding Up the Process Without Ruining Texture
If you need the fudge for an event tomorrow morning, waiting six hours might not be feasible. Can you cheat? Yes, but you have to do it carefully. Putting hot fudge directly into the refrigerator is risky. The rapid temperature change can shock the sugar crystals, potentially causing them to grow larger, which results in a grainy texture. Worse, the moisture in the fridge air can condense on the cool surface of the fudge, making it sticky.
To safely accelerate the setting process, follow these steps:
- Cool to Room Temperature First: Let the fudge sit on the counter for at least one hour. This allows the bulk of the heat to escape naturally and prevents condensation later.
- Seal It Tightly: Cover the pan tightly with plastic wrap or aluminum foil before moving it to the cold environment. This barrier prevents moisture from the fridge or freezer from touching the fudge surface.
- Use the Fridge, Not the Freezer: Place the covered pan in the refrigerator. This will typically set the fudge within two to three hours. Avoid the freezer unless you are in a dire emergency, as frozen fudge can become so hard that it cracks when you try to cut it, and it may take longer to soften back up to a pleasant eating consistency.
If you must use the freezer, aim for 45 minutes maximum. Remove it, let it sit at room temperature for 15 minutes to take the chill off, and then cut. This "tempering" step helps prevent cracking.
Troubleshooting Soft or Sticky Fudge
Sometimes, despite your best efforts, the fudge doesn't harden. It stays soft, chewy, or even liquid-like. This usually points to one of three issues: incorrect cooking temperature, high humidity, or improper stirring.
Undercooked Sugar: Fudge relies on reaching the "soft-ball stage" on a candy thermometer, which is between 234°F and 240°F (112°C - 116°C). If you pulled the pot off the heat at 220°F, the mixture simply contains too much water. No amount of waiting will fix this. The solution? Pour the soft fudge back into a saucepan, add a small amount of additional sugar and water, and reboil it to the correct temperature. Stir vigorously once removed from heat, then pour back into the pan and reset.
High Humidity: Sugar is hygroscopic, meaning it loves to absorb moisture from the air. If you live in a coastal area or are cooking on a rainy day, the ambient moisture can interfere with crystallization. In high humidity conditions, extend your cooling time and ensure the fudge is stored in an airtight container immediately after cutting. Some bakers add a teaspoon of corn syrup or lemon juice to their recipes in humid climates; the acid breaks down some sucrose into glucose and fructose, which resists crystallization too quickly and helps manage texture in damp air.
Over-Stirring During Cooling: While stirring is essential to create crystals, over-stirring after the initial thickening phase can incorporate too much air or disrupt the crystal structure, leading to a softer, less stable product. Once the fudge begins to thicken and lose its glossy shine (usually after 10-15 minutes of stirring), stop stirring and simply spread it into the pan. Let gravity and time do the rest.
Storage and Shelf Life After Setting
Once your fudge has fully hardened and been cut into squares, proper storage is key to maintaining that perfect texture. Fudge is surprisingly shelf-stable due to its low water activity and high sugar content, which act as natural preservatives.
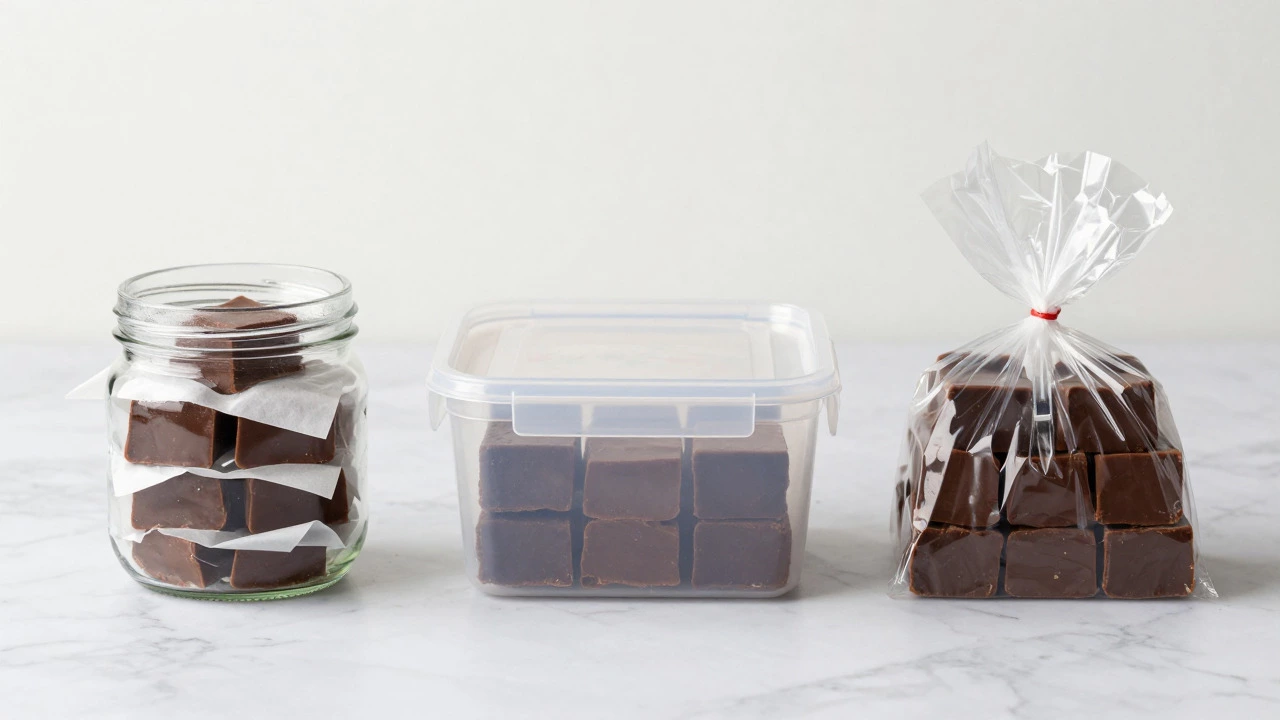
- Pantry Storage: Store fudge in an airtight container at room temperature for up to two weeks. Place sheets of wax paper or parchment paper between layers to prevent the pieces from sticking together. Keep it away from direct sunlight and heat sources.
- Refrigeration: If you live in a very hot climate, refrigeration extends the life to about three to four weeks. Just remember to let it come to room temperature before serving, as cold fudge tastes less sweet and has a harder texture.
- Freezing: For long-term storage, fudge freezes beautifully. Wrap individual squares or blocks tightly in plastic wrap, then place them in a freezer-safe bag or container. They will last for three to six months. Thaw overnight in the refrigerator to minimize condensation.
Avoid storing fudge near strong-smelling foods like onions or coffee. The porous nature of the sugar matrix can absorb odors, altering the delicate flavor profile of your chocolate or vanilla fudge.
Common Variations and Their Setting Times
Not all fudge is created equal. Different ingredients can alter the setting time significantly. Understanding these variations helps manage expectations.
Chocolate Fudge: Traditional chocolate fudge, which uses cocoa powder or melted chocolate, tends to set faster than plain varieties. The fats in the chocolate help stabilize the structure. Expect it to be ready in the lower end of the time range, around four hours.
Nut Fudge: Adding chopped nuts like walnuts, pecans, or almonds adds bulk but doesn't drastically change the chemical setting time. However, the nuts can insulate the fudge slightly, potentially adding 30 minutes to the cooling process if added in large quantities.
Swiss Meringue or Marshmallow-Based Fudge: Some modern recipes skip the boiling sugar stage entirely, using whipped egg whites or marshmallow fluff instead. These "easy" fudges often require longer chilling times-up to 8-12 hours-because they rely on the stiffening of proteins and fats rather than sugar crystallization. They also tend to be softer and more airy than traditional boiled fudge.
Can I put fudge in the fridge to make it hard faster?
Yes, but with caution. Let the fudge cool to room temperature for at least one hour first to prevent condensation. Then, cover it tightly with plastic wrap and refrigerate for 2-3 hours. Do not freeze it directly from hot, as this can cause graininess or stickiness.
Why is my fudge still soft after 6 hours?
If your fudge is still soft after 6 hours, it was likely undercooked. The sugar mixture probably didn't reach the soft-ball stage (234°F-240°F). To fix this, reboil the fudge with a little extra sugar and water until it hits the correct temperature, then stir and reset it.
Does humidity affect how long fudge takes to harden?
Yes, high humidity can slow down the hardening process and make the surface sticky. Sugar absorbs moisture from the air. On humid days, allow extra cooling time and store the finished fudge in an airtight container immediately to protect it from ambient moisture.
How do I know if fudge is fully set without cutting it?
Perform the touch test: gently press the center with a clean finger. It should feel firm and leave no indent. Also, check the edges; set fudge will pull away slightly from the sides of the pan. If it looks glossy or wet, it needs more time.
Can I eat fudge before it is fully hardened?
You can, but the texture won't be right. Under-set fudge is chewy, sticky, and difficult to slice cleanly. It may also taste excessively sweet because the flavors haven't balanced out during the crystallization process. For the best experience, wait until it is firm.