Fudge Consistency Simulator
Adjust the slider to simulate different cooking temperatures and see how they affect your fudge's final texture. Remember: Fudge relies on precise sugar crystallization!
(Syrupy) Soft-Ball
(Ideal) Firm-Ball
(Chewy) Hard-Crack
(Brittle)
Creamy & Firm
This is the ideal soft-ball stage. Your fudge should set perfectly with a smooth, creamy texture.
Troubleshooting Tips
- ✓ Use a candy thermometer for accuracy.
- ✓ Cool at room temperature before refrigerating.
You pull your pan out of the fridge, expecting a clean slice, but instead, you get a sticky, gooey mess that clings to your knife like glue. It’s frustrating. You followed the recipe. You stirred until your arm hurt. So why is your fudge still wobbly?
The difference between creamy perfection and a sugary puddle usually comes down to one thing: moisture control. Fudge is technically a candy, not just a baked good. It relies on precise sugar crystallization. If too much water remains in the mixture, the crystals can’t form a solid structure, leaving you with something closer to caramel or taffy than firm fudge.
Why Your Fudge Stays Soft
To fix it, you first need to understand what went wrong. Fudge sets because sugar molecules link up into tiny crystals as the mixture cools. This process needs two things: the right temperature and low enough moisture content.
If you didn’t cook the mixture long enough, water evaporated slowly, keeping the sugar concentration too low. Alternatively, if you stirred too early while the mixture was still hot, you might have created grainy crystals that don’t hold together well. Humidity plays a role too; making fudge on a rainy day in August is significantly harder than doing it in dry winter air.
The Golden Rule: Use a Candy Thermometer
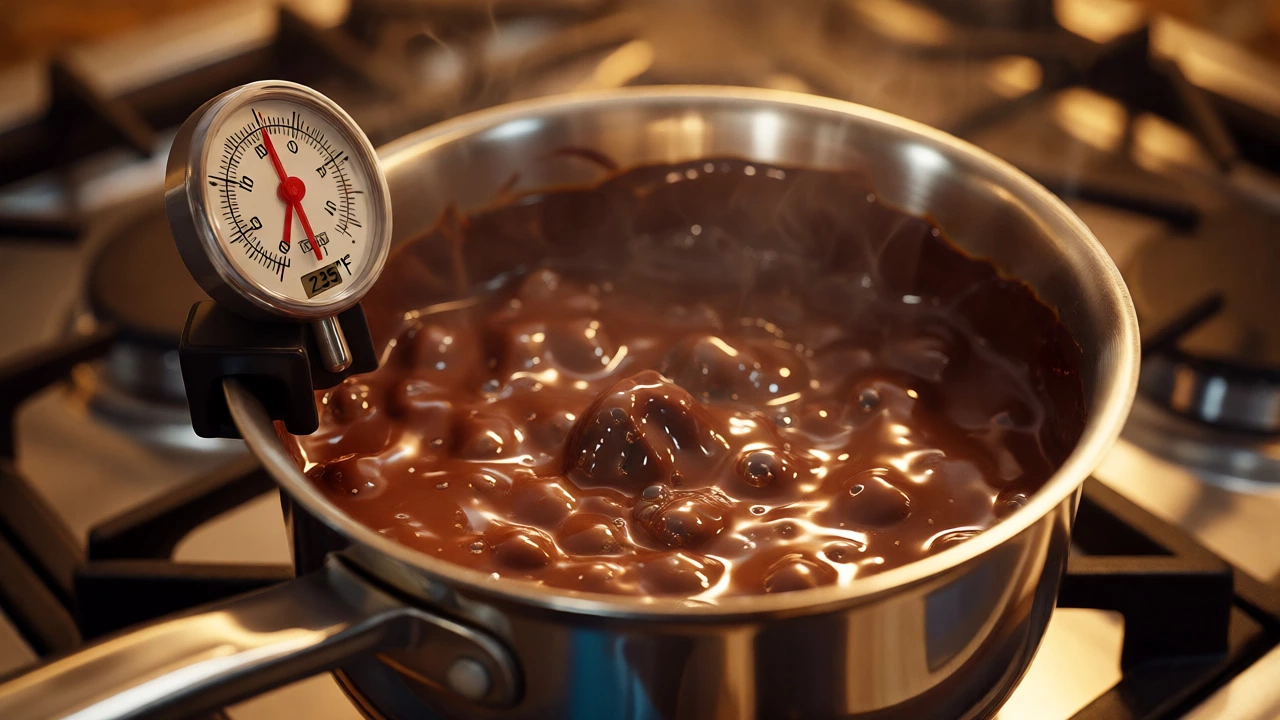
Guessing by color or smell is risky. The most reliable way to ensure firm fudge is using a candy thermometer. Most standard recipes require you to heat the sugar, milk, and butter mixture to the "soft-ball stage." This occurs at exactly 234°F to 240°F (112°C to 116°C).
At this temperature, the sugar solution has the correct density to form crystals when cooled. If you stop at 220°F, you’ll likely get soft fudge. If you go past 250°F, you risk burning the sugars or creating hard, rock-like chunks instead of smooth squares.
| Temperature Range | Sugar Stage | Resulting Texture |
|---|---|---|
| 212°F - 220°F | Thread Stage | Very soft, syrupy, won't set firmly |
| 234°F - 240°F | Soft-Ball Stage | Ideal for creamy, firm fudge |
| 242°F - 248°F | Firm-Ball Stage | Chewy, dense, potentially rubbery |
| 250°F+ | Hard-Crack Stage | Brittle, glass-like, no longer fudge |
Fixing Soft Fudge After Cooking
So, you’ve already cooked the batch, and it’s sitting in the pan looking sad and liquid. Don’t throw it away yet. You can often salvage it by re-cooking.
Return the fudge to the stove over medium-low heat. Add a tablespoon of heavy cream or condensed milk if the mixture looks dry, but usually, you just need more evaporation. Stir constantly to prevent scorching. Bring it back up to the soft-ball stage (234-240°F). Once it hits that temp, remove it from heat immediately. The extra time on the stove drives off the excess water that prevented setting.
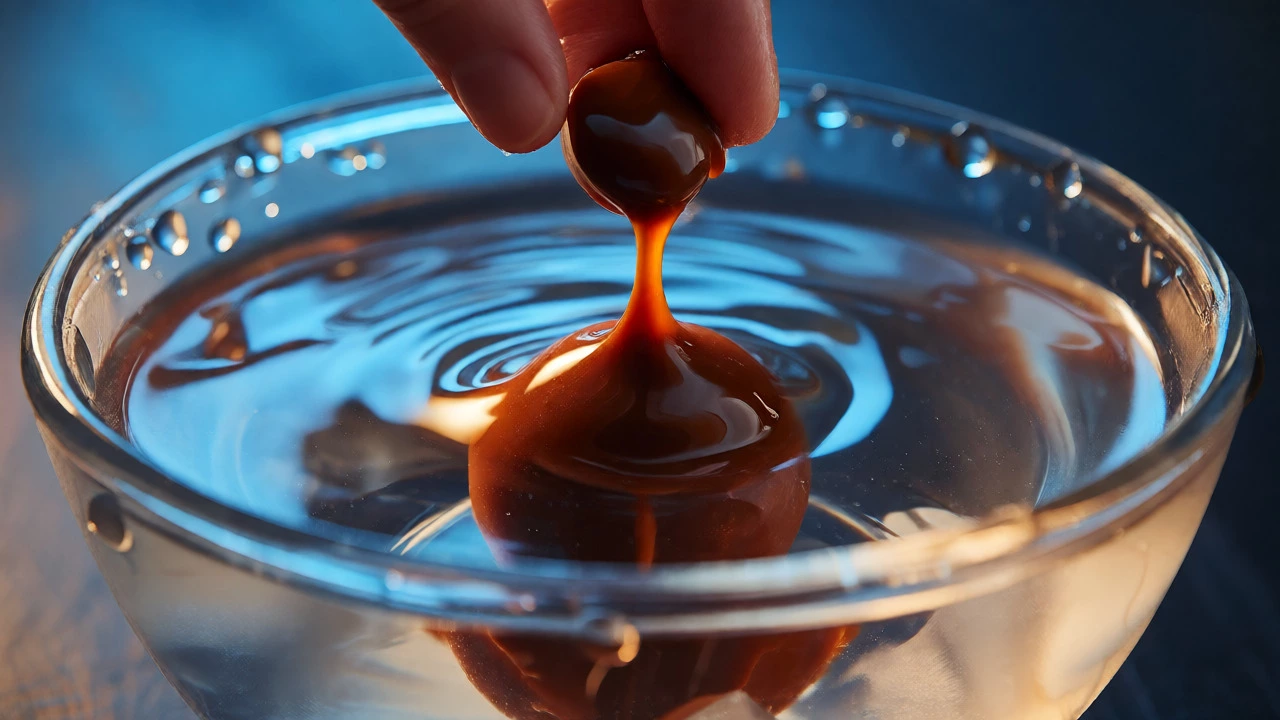
If you don’t have a thermometer, use the cold water test. Drop a small spoonful of the boiling mixture into a bowl of ice water. If it forms a soft ball that holds its shape when pressed but flattens slightly, it’s ready. If it dissolves or stays liquid, keep cooking.
The Power of Proper Cooling
Cooking is only half the battle. How you cool the fudge determines how solid it gets. Many people rush this step, putting the pan straight into the freezer. Resist the urge.
Rapid cooling prevents large sugar crystals from forming properly, which can lead to a crumbly or overly soft texture. Instead, let the fudge cool to room temperature on the counter first. This allows the crystal network to stabilize gently. Once it’s completely cool, cover it tightly and place it in the refrigerator for at least four hours, preferably overnight.
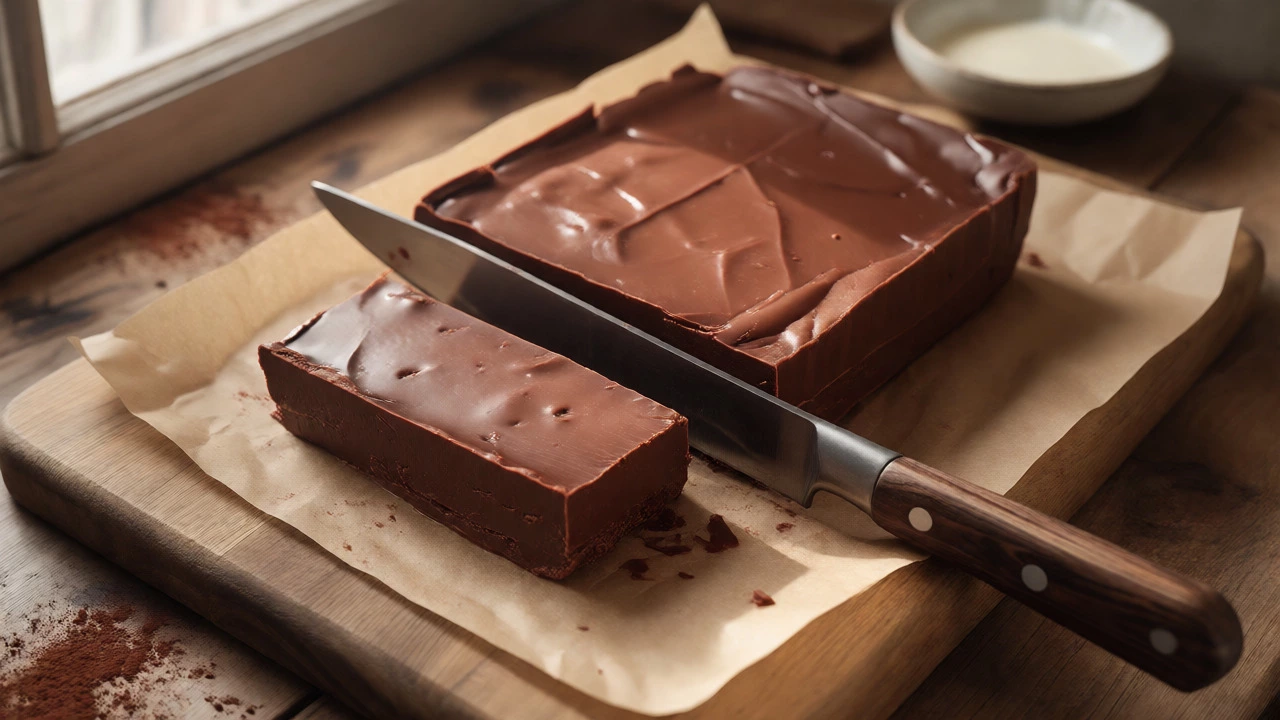
Refrigeration helps the fats (butter) and sugars firm up further. For an even firmer cut, freeze the block for 30 minutes before slicing. Cold fudge slices cleanly without dragging or crumbling.
Ingredient Adjustments for Firmer Results
If you consistently struggle with soft fudge, your recipe ratios might be off. Here are simple tweaks to boost solidity:
- Increase Chocolate Content: Cocoa solids help structure the fudge. Using dark chocolate or adding a bit of cocoa powder adds mass that doesn’t melt as easily as pure sugar.
- Reduce Liquid: If your recipe calls for milk, try substituting half with heavy cream. Higher fat content creates a denser, firmer bite compared to watery milk.
- Add Corn Syrup Carefully: Corn syrup interferes with crystallization, preventing graininess. However, too much keeps fudge soft. Stick to the recommended amount-usually 1-2 tablespoons per batch-to balance smoothness with firmness.
- Use Powdered Sugar Correctly: In quick-fudge methods (no-cook), powdered sugar acts as the drying agent. Ensure your sugar is fresh and sifted. Clumped or humid sugar introduces moisture, leading to a softer final product.
Air Exposure and Storage Mistakes
Fudge is hygroscopic, meaning it absorbs moisture from the air. If you leave it uncovered on the counter for days, it will soften regardless of how well you cooked it.
Store fudge in an airtight container. Place parchment paper between layers to prevent them from sticking together due to surface moisture. Keep it in a cool, dry place. If your kitchen is warm (above 75°F/24°C), store it in the fridge. Warm temperatures cause the fats to soften, making the fudge feel mushy even if the sugar structure is intact.
Troubleshooting Checklist
Before you blame the universe, check these common pitfalls:
- Pan Size: Did you use a pan that was too large? A thin layer cools faster but may not set evenly. A smaller, deeper pan retains heat better for proper crystallization.
- Stirring Too Much: Once you reach the target temperature, stir vigorously to initiate crystallization, then stop stirring as it cools. Over-stirring during the cooling phase breaks up crystals, resulting in a smoother but softer texture.
- Humidity: Check the weather. High humidity makes it nearly impossible to drive off enough moisture through boiling alone. Consider using a dehumidifier in your kitchen or choosing a drier day.
Next Steps for Perfect Slices
Making firm fudge isn’t about magic; it’s about physics. Control the temperature, manage the moisture, and respect the cooling process. Start with a reliable recipe, invest in a decent candy thermometer, and give the fudge time to set in the fridge.
If you’re new to candy making, practice with a small batch. Note the exact time it took to reach 234°F. Every stove runs differently. Once you dial in your timing and technique, you’ll never serve a droopy square again.
Why did my fudge become grainy instead of solid?
Graininess usually happens if you stirred the mixture while it was still too hot, causing large sugar crystals to form prematurely. To fix this, ensure you only stir after the mixture has cooled slightly (around 110°F/43°C) and begins to thicken. Large crystals create a gritty texture rather than a smooth, firm one.
Can I save fudge that didn't set?
Yes, almost always. Return the soft fudge to the saucepan over low heat. Add a splash of milk if it seems dry, then cook it again until it reaches the soft-ball stage (234°F-240°F). You are essentially re-evaporating the excess water that prevented it from setting initially.
Does freezing make fudge harder?
Freezing makes fudge temporarily very hard and easier to slice cleanly. However, once it returns to room temperature, it should retain its original consistency. Freezing does not permanently change the chemical structure of the sugar crystals, so it won't fix fundamentally undercooked fudge.
How long does it take for fudge to set properly?
Allow at least 4 hours at room temperature or in the refrigerator for initial setting. For best results, wait overnight. Rushing the cutting process often leads to messy edges and uneven pieces, even if the center is technically set.
What if I don't have a candy thermometer?
Use the cold water test. Drop a teaspoon of the boiling mixture into a cup of ice water. Wait a few seconds, then retrieve it with your fingers. If it forms a soft, pliable ball that holds its shape but squishes easily, it's ready. If it dissolves or remains liquid, continue cooking.