Fudge Texture Simulator
Adjust the slider to simulate different stages of fudge preparation. See how temperature affects crystal formation and final texture.
Soft-Ball Stage
The ideal cooking temperature for fudge. Sugar concentration is perfect for setting upon cooling.
Graininess Risk
Medium
Texture Prediction
Creamy & Smooth
You bite into a piece of homemade fudge and expect it to melt on your tongue. Instead, you get a gritty, sandy mess that feels like eating sugar crystals mixed with chocolate. It is frustrating because the flavor might be perfect, but the texture ruins everything. The difference between creamy, melt-in-your-mouth fudge and grainy disaster isn't luck; it is chemistry. You can control this outcome if you understand how sugar behaves under heat and agitation.
Why Sugar Turns Grainy
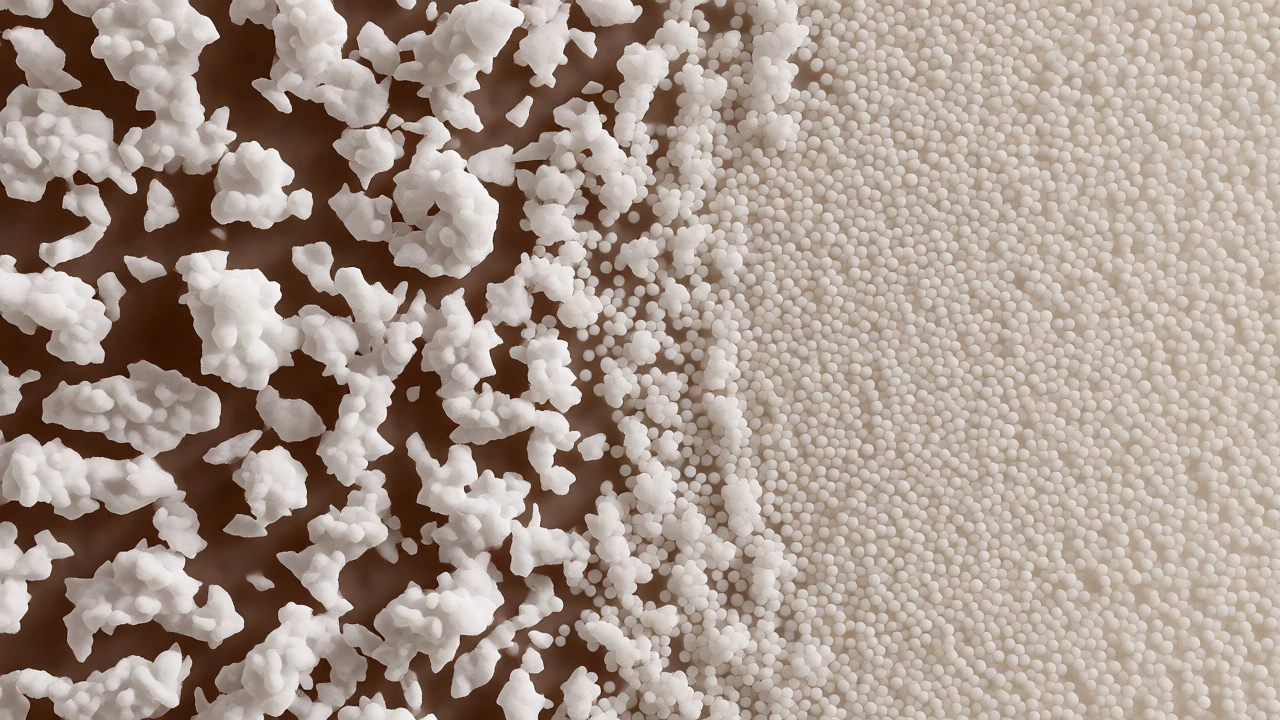
To fix the problem, you first need to know what causes it. Sugar crystallization is the enemy of smooth confections. When you boil sugar syrup, you dissolve sucrose molecules in water. As the mixture cools, these molecules want to snap back together into solid crystals. If they form large, irregular clusters, your fudge tastes gritty. If they stay tiny and uniform, trapped in a matrix of fat and protein, your fudge tastes silky.
The goal is to encourage millions of microscopic crystals rather than a few giant ones. This happens during the "beating" phase after cooking. If you beat the mixture too early, while it is still hot, the crystals grow too big. If you beat it too late, it sets before you can incorporate air. Timing is critical, but so is preventing those crystals from forming in the first place.
The Role of Interfering Agents
Pure sucrose crystallizes aggressively. To stop it, professional candy makers add "interfering agents." These are ingredients that physically block sugar molecules from linking up. The most common interfering agent in home kitchens is corn syrup. Unlike granulated sugar, corn syrup contains glucose and maltose, which have different molecular shapes. They wedge themselves between sucrose molecules, disrupting the crystal lattice structure.
You don't need to use high-fructose corn syrup. Light corn syrup works perfectly. Some bakers also use brown sugar or honey, which contain molasses and other impurities that act similarly. However, corn syrup is the most reliable because it has a neutral flavor. If you skip this step, you are fighting an uphill battle against physics.
| Ingredient | Role in Texture | Risk Factor |
|---|---|---|
| Granulated Sugar | Primary sweetener and structural base | High crystallization risk if not inhibited |
| Corn Syrup | Interferes with crystal formation for smoothness | Can make fudge sticky if used excessively |
| Butter | Adds fat to coat crystals and soften texture | Burning alters flavor and color |
| Condensed Milk | Provides milk solids and moisture | Scorching creates burnt notes |
Temperature Control Is Everything
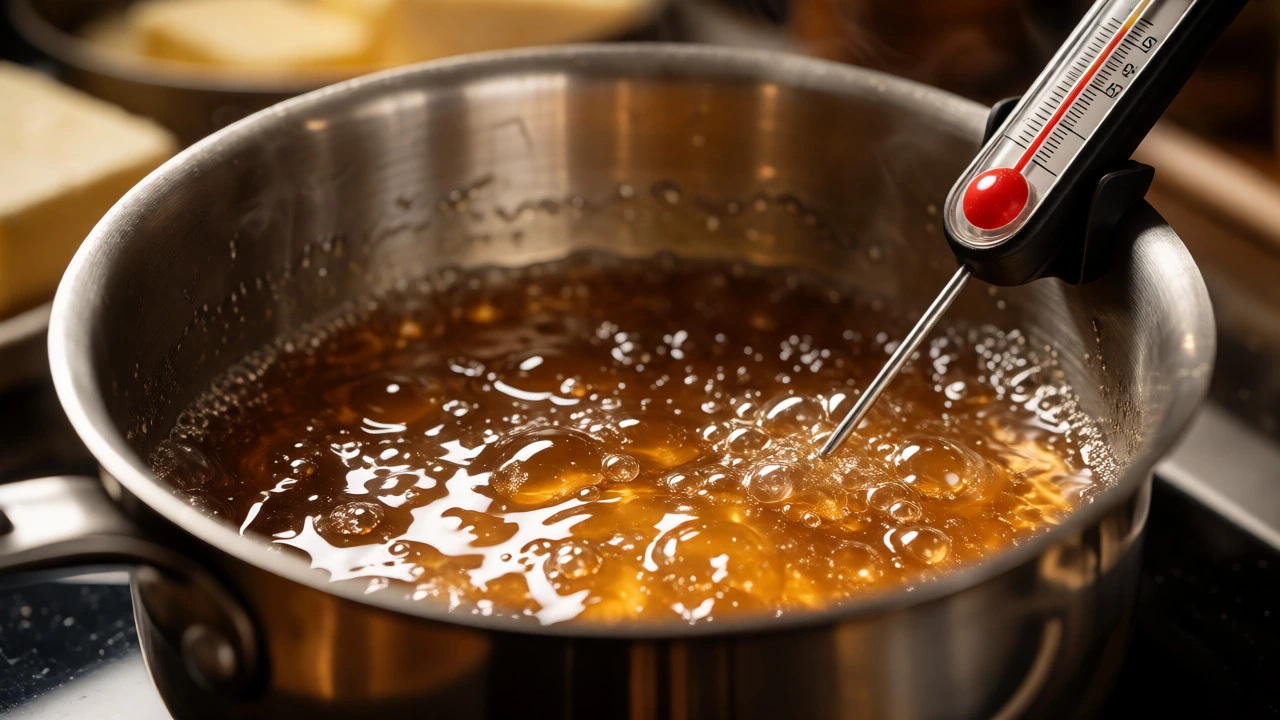
You cannot eyeball good fudge. You need data. A candy thermometer is non-negotiable if you want consistent results. Most standard recipes call for cooking the mixture to the "soft-ball stage," which is between 234°F and 240°F (112°C-116°C). At this temperature, the sugar concentration is just right to set when cooled, but not so high that it becomes hard rock candy.
If you cook it past 245°F, you enter the firm-ball stage. Your fudge will be chewy and potentially crumbly. If you pull it off the heat at 220°F, it won't set properly and will remain a sticky puddle. Use a digital probe thermometer for accuracy. Clip it to the side of the pot so the tip doesn't touch the bottom, as direct contact with the metal gives a false reading.
The Cooling Phase: Patience Pays Off
This is where most home cooks fail. Once your mixture hits the target temperature, you remove it from the heat. Now, you must let it cool down without stirring. Why? Because stirring introduces air bubbles and nucleation sites-tiny spots where crystals start to form. You want the mixture to cool undisturbed until it reaches about 110°F (43°C).
How do you know when it's ready to beat? Touch the outside of the pan. It should feel warm, not hot. Or, wait for the surface to lose its glossy sheen and look slightly matte. If you start beating while the mixture is above 120°F, the crystals will grow too large, resulting in that dreaded graininess. If you wait until it drops below 90°F, it will be too thick to mix smoothly.
Beating for Creaminess
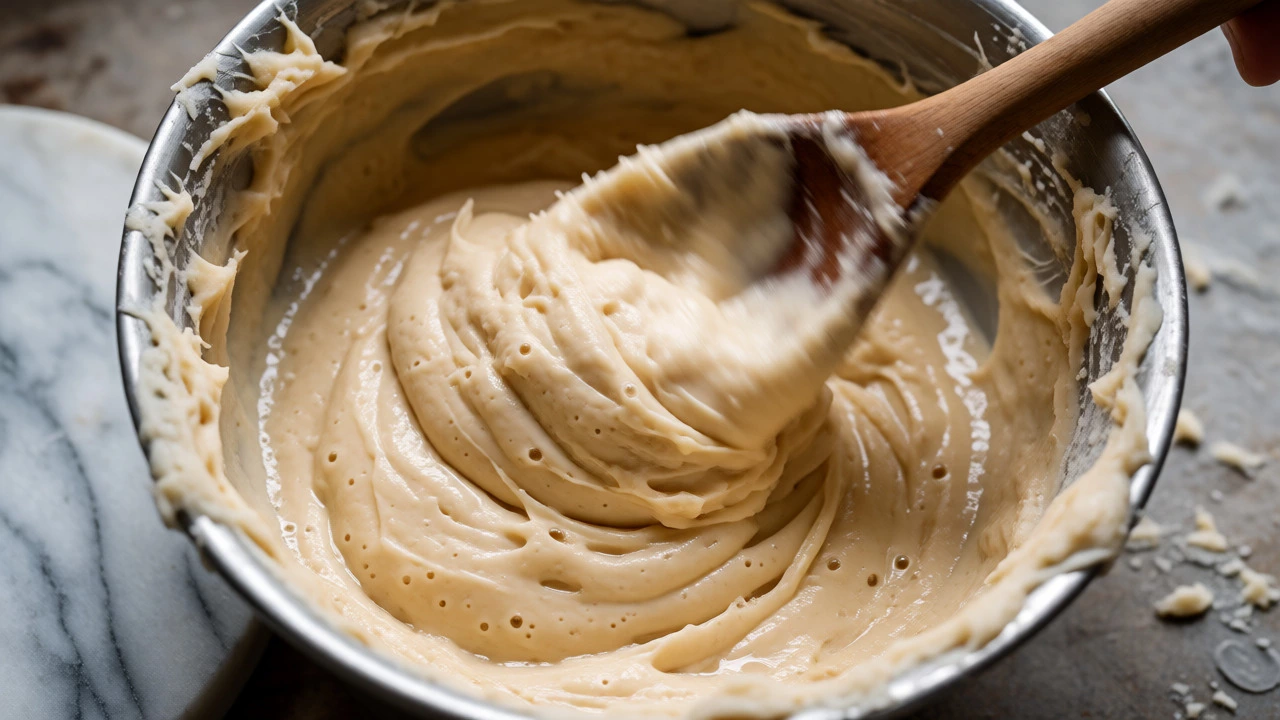
Once the mixture cools to the ideal range, you begin beating. This process incorporates tiny air bubbles and encourages the formation of micro-crystals. Beat vigorously with a wooden spoon or a stand mixer fitted with a paddle attachment. You aren't just mixing; you are agitating the sugar solution to trigger rapid, small-scale crystallization.
Watch the texture change. The shiny, liquid-like syrup will turn opaque and thick. It will lose its gloss and become matte. The volume will increase slightly as air gets trapped. Stop beating immediately when it loses all shine and looks like thick frosting. Over-beating can cause the fat to separate, leading to a greasy or oily mouthfeel. Under-beating leaves it too fluid to set firmly.
Common Pitfalls and Fixes
Even with perfect technique, things go wrong. Here is how to troubleshoot:
- Crystals on the side of the pot: While boiling, sugar crystals can stick to the dry sides of the saucepan. If one falls back into the syrup, it acts as a seed for massive crystallization. Prevent this by brushing the sides of the pot with a wet pastry brush every few minutes during the initial boil.
- Using the wrong pot: Thin-bottomed pans create hot spots that burn milk solids. Burnt proteins taste bitter and can alter the setting point. Use a heavy-bottomed stainless steel or enameled cast iron pot for even heat distribution.
- Humidity interference: In damp climates, sugar absorbs moisture from the air. This can prevent proper setting. If you live in a humid area, consider adding a teaspoon of lemon juice or cream of tartar. The acid breaks down some sucrose into invert sugar, which resists crystallization better.
Pro Tips for Consistent Success
Here are a few rules of thumb I follow when making batches in my Bristol kitchen:
- Stir only until dissolved: Stir the sugar and water mixture only until the sugar dissolves completely. Once it boils, stop stirring. Agitation during the boil promotes crystal growth.
- Grease your tools: Lightly grease your marble slab or baking paper. Sticky fudge pulls apart unevenly, creating rough edges that feel gritty when bitten.
- Cut quickly: Once you pour the beaten fudge into the pan, cut it into squares within 10-15 minutes. Waiting longer makes it brittle and prone to crumbling along crystal lines.
Frequently Asked Questions
Why is my fudge grainy even though I followed the recipe?
This usually happens due to premature crystallization. Either sugar crystals stuck to the side of the pan fell back into the mixture, or you stirred the syrup while it was boiling. Another common cause is beating the mixture while it was still too hot, allowing large crystals to form instead of micro-crystals.
Can I save grainy fudge?
Yes, but it requires effort. Melt the grainy fudge down again with a splash of cream or milk. Reheat it gently until it becomes smooth, then re-cool and re-beat it. This resets the crystal structure. Be careful not to overcook it the second time, or it will become too hard.
Do I really need corn syrup?
While not strictly mandatory, it significantly improves texture. Corn syrup acts as an interfering agent that prevents sucrose molecules from clumping together. Without it, you rely entirely on precise temperature control and timing, which is much harder to achieve consistently at home.
What is the soft-ball stage?
The soft-ball stage occurs when a sugar syrup reaches 234°F-240°F (112°C-116°C). If you drop a bit of syrup into cold water, it forms a soft, pliable ball that flattens out when removed. This is the ideal consistency for fudge, ensuring it sets firm enough to hold its shape but remains tender.
How long does it take for fudge to cool before beating?
It typically takes 20 to 30 minutes, depending on the ambient temperature and the volume of the mixture. Do not rush this step by putting it in the fridge, as rapid cooling can cause uneven setting. Let it sit at room temperature until it reaches approximately 110°F (43°C) and loses its glossy appearance.