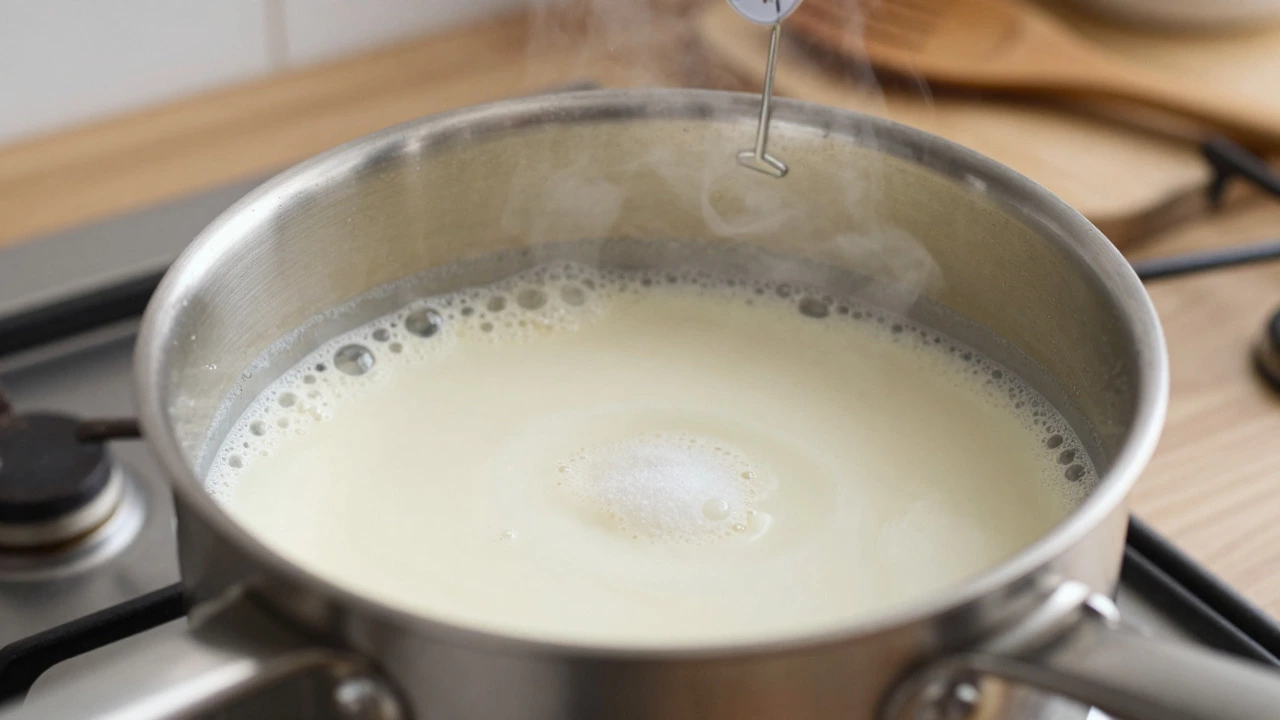
Fudge Temperature & Texture Simulator
Slide to the cooking temperature and see how it shapes your fudge's texture, sweetness, and crystal size — based on the science of sugar crystallization.
Ever tried making fudge that turned out grainy or hard as a rock? You probably used fresh milk. That’s the mistake. The secret to that smooth, creamy bite you crave isn’t just patience; it’s the specific chemistry of evaporated milk. It’s not just about flavor-it’s about controlling how sugar crystals form. Without it, your fudge might be edible, but it won’t be *fudge*.
Fudge is a supersaturated sugar solution. When you heat sugar and water (or milk), you dissolve more sugar than would normally fit at room temperature. As it cools, those sugar molecules want to clump together into crystals. If they clump too fast or too large, you get grit. If they don’t clump at all, you get candy syrup. Evaporated milk sits right in the middle, acting as a traffic controller for these crystals.
The Chemistry of Creaminess
To understand why evaporated milk works, you have to look at what happens when you remove water from cow's milk. Fresh whole milk is roughly 87% water. Evaporated milk has had about 60% of that water removed under vacuum, leaving behind a concentrated liquid that is much denser. This concentration changes the game in two major ways: protein structure and fat content.
Evaporated milk is a canned dairy product made by removing approximately 60% of the water from whole milk without adding sweeteners. Unlike condensed milk, which is heavily sweetened, evaporated milk remains unsweetened, allowing you to control the final sweetness of your fudge precisely. The remaining solids-proteins like casein and whey, plus milk fats-are packed tighter. These proteins stabilize the emulsion, preventing the fat from separating during the long heating process.
When you use fresh milk, the high water content means you need to cook the mixture longer to reach the correct temperature (usually the "soft-ball" stage, around 112-115°C / 235-240°F). The longer you cook, the more likely you are to overheat the sugars, leading to caramelization that can make the fudge bitter or tough. Evaporated milk starts with less water, so the mixture reaches the target temperature faster. Less time on the heat equals less risk of burning the delicate milk solids.
Controlling Crystal Formation
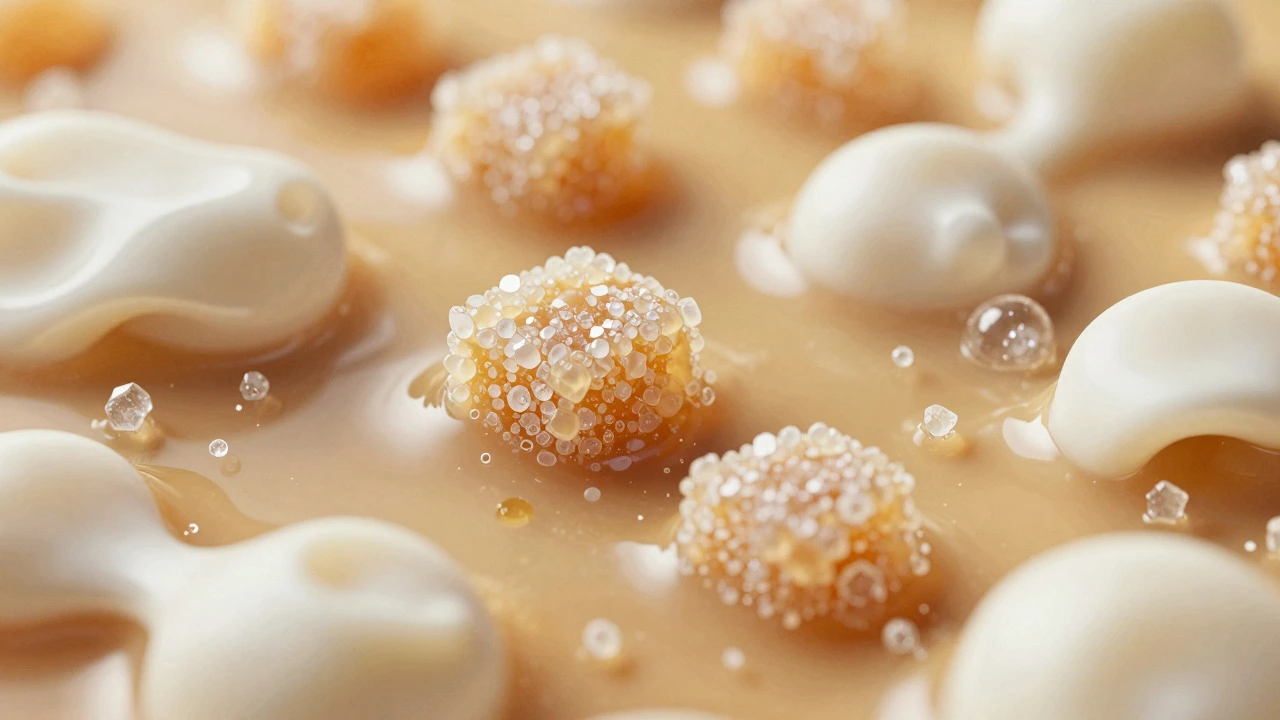
This is where it gets technical, but it’s crucial for success. Fudge relies on the formation of tiny, microscopic sugar crystals. We don't see them, but we feel them as "creaminess." If the crystals grow too big, the fudge feels sandy. If they stay dissolved, it stays sticky.
Milk solids play a dual role here. First, the lactose (milk sugar) adds to the total sugar content, slightly altering the boiling point. Second, and more importantly, the proteins in evaporated milk interfere with crystal growth. They coat the forming sugar crystals, preventing them from linking up into large chunks. This is known as "interfering with crystallization." By using evaporated milk, you are essentially adding thousands of microscopic barriers that keep the crystals small and uniform.
Think of it like stirring a pot of soup. If you never stir, lumps form. If you stir too vigorously, you break things down completely. Evaporated milk provides a natural "stirring" effect at the molecular level, ensuring the texture remains consistent throughout the batch.
Flavor Profile and Depth
Texture is only half the battle. Flavor matters too. Fresh milk has a mild, clean taste. Evaporated milk, however, has undergone a Maillard reaction during its manufacturing process. Even though it’s not cooked in your pan, the heat treatment during canning gives it a distinct, slightly nutty, and roasted flavor profile. This depth complements the sweetness of the sugar and the richness of butter.
If you use fresh milk, you often need to add vanilla extract or other flavorings to compensate for its neutrality. With evaporated milk, the base flavor is already complex. Many classic recipes, such as the famous "Three-Ingredient Fudge," rely entirely on this inherent flavor to stand up against the heavy sweetness of powdered sugar or granulated sugar.
Comparison: Fresh Milk vs. Evaporated Milk
You might wonder if you can just substitute fresh milk. Technically, yes, but the results differ significantly. Here is a breakdown of how the two compare in a standard fudge recipe:
| Attribute | Fresh Whole Milk | Evaporated Milk |
|---|---|---|
| Water Content | ~87% | ~27% |
| Cooking Time to Soft-Ball Stage | Longer (15-20 mins) | Shorter (10-12 mins) |
| Risk of Graininess | Higher due to rapid cooling | Lower due to protein stabilization |
| Flavor Impact | Mild, neutral | Rich, slightly roasted/nutty |
| Shelf Life of Finished Fudge | Shorter (perishable sooner) | Longer (lower moisture content) |
Notice the shelf life difference. Because evaporated milk has less free water, the finished fudge has a lower water activity. This makes it less hospitable to mold and bacteria, meaning your homemade fudge stays fresh in the fridge for weeks rather than days.
Common Mistakes and How to Avoid Them
Even with the right ingredients, technique matters. Here are the most common pitfalls when using evaporated milk in fudge:
- Overheating the Mixture: Since evaporated milk concentrates quickly, it can scorch if you aren't watching. Stir constantly after the mixture comes to a boil. If the bottom of the pan turns brown, your fudge will taste burnt.
- Incorrect Temperature Measurement: Always use a candy thermometer. The "soft-ball" stage is precise. Being even 2 degrees off can change the texture from creamy to chewy or brittle. Calibrate your thermometer in boiling water before starting.
- Stirring Too Early: Once the mixture hits the boiling point, stop stirring until it reaches the target temperature. Stirring introduces air and encourages large crystal formation. Let it sit undisturbed while it heats up.
- Using Sweetened Condensed Milk Instead: These are not interchangeable. Sweetened condensed milk has twice the sugar content. If you swap them, your fudge will be overly sweet and may not set properly because the water content is different.
Pro Tips for Perfect Texture
If you want to take your fudge to the next level, consider these expert adjustments:
- Add Corn Syrup: Even with evaporated milk, adding a tablespoon of corn syrup can help prevent unwanted crystallization. The glucose in corn syrup interferes with sucrose crystals, ensuring an ultra-smooth finish.
- Chill the Pan: Before pouring the hot fudge, place your prepared pan in the freezer for 10 minutes. A cold surface helps the fudge set evenly and prevents the edges from becoming harder than the center.
- Use Real Butter: Margarine contains water and vegetable oils that can separate. High-fat butter (at least 80%) integrates better with the milk solids in evaporated milk, creating a cohesive fat matrix.
- Let It Cool Naturally: Resist the urge to put the pan in the fridge immediately. Let the fudge cool to room temperature first. Rapid cooling can cause condensation on the surface, leading to a sticky top layer.
Can You Substitute Other Ingredients?
What if you’re out of evaporated milk? Can you use cream? Yes, heavy cream works well and produces a richer, denser fudge. However, it lacks the specific protein structure of evaporated milk, so you might need to adjust the cooking time slightly. What about non-dairy options? Coconut milk can work, but it requires a thick, full-fat version to mimic the solids. Almond or soy milk usually fail because they lack sufficient protein and fat to stabilize the sugar crystals, resulting in a brittle or crumbly texture.
For beginners, sticking to evaporated milk is the safest bet. It’s forgiving, widely available, and consistently delivers that classic, nostalgic fudge texture that defines the treat.
Frequently Asked Questions
Is evaporated milk the same as condensed milk?
No. Evaporated milk is unsweetened and has had water removed. Condensed milk is sweetened with added sugar and has had water removed. They are not interchangeable in fudge recipes without significant adjustment to the sugar content.
Why does my fudge turn out grainy?
Graininess occurs when sugar crystals grow too large. This can happen if you stir the mixture while it is heating, if the temperature is incorrect, or if you use fresh milk which lacks the stabilizing proteins found in evaporated milk.
What temperature should I cook fudge to?
You should aim for the soft-ball stage, which is between 112°C and 115°C (235°F and 240°F). At this temperature, the sugar syrup forms a soft ball when dropped into cold water, indicating the right consistency for fudge.
Can I use skimmed evaporated milk?
It is possible, but not recommended. The lower fat content can lead to a drier, less creamy texture. Full-fat evaporated milk provides the best balance of richness and stability for traditional fudge.
How long does homemade fudge last?
Homemade fudge made with evaporated milk typically lasts 2 to 3 weeks when stored in an airtight container in the refrigerator. The lower moisture content compared to fresh-milk fudge extends its shelf life significantly.