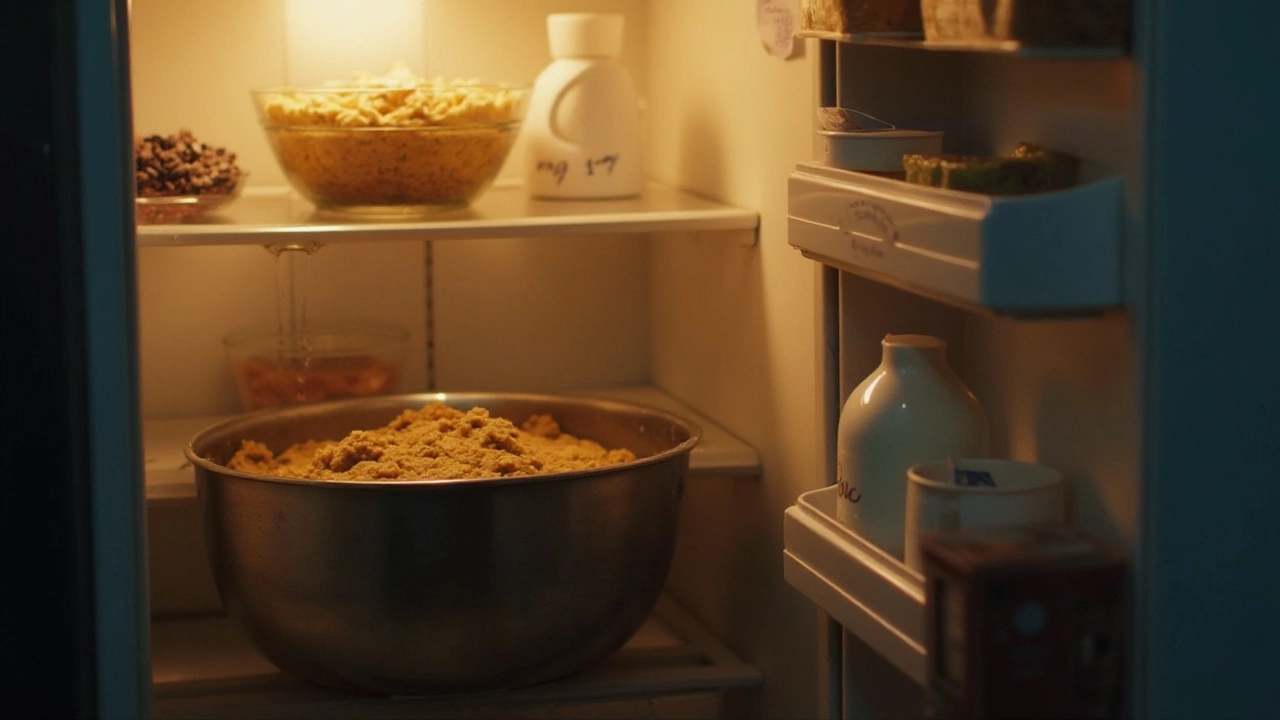
Ever bitten into a homemade cookie and wondered how bakeries get that soft-in-the-middle, crispy-on-the-edge magic? The secret almost always comes down to one thing—chilling the dough overnight. Most of us want cookies fast, but those few lazy hours in the fridge make a bigger difference than you might think.
When you chill dough, you're not just letting it sit there. The flour soaks up the wet ingredients, which keeps your cookies from spreading all over the baking sheet and shortens bake time. Plus, the cold makes the fat (like butter) firm up, helping each cookie hold its shape and get those lovely, bakery-style cracks on top.
So, next time you're tempted to skip the overnight rest and get cookies straight from bowl to oven, just remember—good things come to those who wait, especially in the world of homemade cookies.
- The Science Behind Chilling
- Flavor Upgrade: Why Time Matters
- Texture Transformation
- Tips for Perfect Dough Resting
The Science Behind Chilling
Let’s get real for a second—chilling your cookie dough overnight is way more than just a step to slow down your cookie cravings. There’s some solid science going on. When you chill dough, the flour in your recipe has more time to fully hydrate, meaning it soaks up all the wet stuff (butter, eggs, vanilla) and blends together. This helps cookies keep their shape instead of turning into flat pancakes in the oven.
Butter is another big player here. When your dough is cold, the butter hardens up. So when you scoop and bake right out of the fridge, the fat melts slower, and your cookies get that classic chewy middle without spreading too much. One study in Cook’s Illustrated found that chilled dough spread about 30% less than room-temp dough, which means thicker cookies every time.
Sugar gets in on the action, too. While the dough rests, sugar hangs out with the other ingredients and starts to dissolve a bit, helping those edges get crispy once baked. As a bonus, chilling also gives the gluten network (aka the structure of your cookie) more time to relax, making your treats tender, not tough.
- chill cookie dough for at least 12 hours for noticeable results.
- The sugars in the dough start to break down and caramelize better after a long rest.
- This process also helps deepen flavors, giving you more notes of toffee and butterscotch in every bite.
| Factor | Room Temp Dough | Chilled Dough |
|---|---|---|
| Cookie Spread | Wider, thinner | Thicker, holds shape |
| Edge Texture | Softer | Crispier |
| Flavor Depth | Mild | Rich, caramelized |
If you want cookies that stand up to dunking, chilling is your best friend. The science is simple, but the difference in your finished homemade cookies? Huge.
Flavor Upgrade: Why Time Matters
This overnight step isn't just about texture—it's what gives cookies that punch of flavor you can't get with raw dough. When you let dough chill, you’re letting all the ingredients hang out and get to know each other. The flour has time to absorb the eggs and butter, which leads to a deeper, more caramel-y taste after baking. Serious cookie bakers notice a big difference in taste with just 12 to 24 hours of chilling.
What’s really happening? During the time the dough sits, enzymes in the flour break down starches into sugars. More sugar means a more flavorful, sweeter cookie, and a richer brown color once baked. There’s actually research from the folks at Cook’s Illustrated showing that a longer chill (between 24 and 72 hours) makes cookies taste even better, thanks to this process.
Here's a quick look at how flavors develop over chill time:
| Chill Time | Flavor Boost |
|---|---|
| 0 hours | Plain, basic cookie flavor |
| 12-24 hours | Noticeably deeper, more caramel-like, hints of toffee |
| 48-72 hours | Intense, rich, complex—bakery level |
So why not just go longer every time? After three days, you won’t see much more boost—plus, the dough can start to dry out. There’s a sweet spot that gives a cookie you could pass off as a boutique bakery’s special. If you want the best chill cookie dough results, shoot for a full overnight or even up to two days in the fridge.
Texture Transformation
If you've ever made cookies that turn out flat, greasy, or just not quite right, chilling the dough overnight can seriously save the day. This step basically changes the way your cookies act in the oven. When you let the dough rest in the fridge, the flour has more time to soak up the eggs and butter. That means less spreading when you bake, and a cookie that's thick, chewy, and not cakey.
The cold temperature firms up the butter, and that's key here. As the chill cookie dough hits the hot oven, the fat melts slower, so the cookies don’t flatten out too fast. That slow melt gives the outside time to set up, keeping the middle soft and gooey while giving you those crisp, golden edges everyone loves.
Ever wonder why some homemade cookies are chewy and others just crumble? A big part of it is how the sugar and liquid interact during that chill time. The sugar dissolves more slowly, which makes for a denser, chewier bite—not a dry or crumbly one.
| Cookie Texture | Unchilled Dough | Chilled Overnight |
|---|---|---|
| Spread | Wide, thin | Thick, even |
| Edges | Flat, soft | Crisp, golden |
| Center | Cakey or greasy | Chewy, soft |
| Overall Uniformity | Uneven | Consistent |
Here are a few simple things to keep in mind if you want the best texture in your cookies:
- Always cover the dough tightly. No one likes a cookie that tastes like fridge!
- Be patient—give it at least 8 hours in the fridge for real results.
- If you're in a rush, even 2 hours is better than nothing, but overnight gives the most noticeable difference.
- Always let refrigerated dough sit at room temp for 10-15 minutes before scooping if it's rock solid.
So yes, chilling does more than just make you wait. It totally transforms every bite, making your homemade cookies truly next level.
Tips for Perfect Dough Resting
If you’re aiming for the best cookies, there are a few tricks to getting that chill cookie dough step just right. Chilling isn’t complicated, but a few details can make a big difference in your results. Check them out below:
- Wrap it tight: Always cover your dough with plastic wrap or put it in an airtight container. This stops the dough from drying out or picking up weird fridge smells, especially if those onions from dinner are hanging around.
- Scoop before chilling: Ever tried to scoop cold dough? It’s like digging through clay, especially for chocolate chip cookies. Make things easy—form your dough balls before you chill them. They’ll firm up nicely and be ready to bake right from the fridge.
- Know your timing: A good rule for most cookies is to chill the dough at least one hour, but overnight (8-12 hours) is the sweet spot. Here’s a quick reference table to make it easier:
| Cookie Type | Min. Chill Time | Best Chill Time |
|---|---|---|
| Chocolate Chip | 1 hour | 12-24 hours |
| Sugar Cookies | 1 hour | 8-12 hours |
| Snickerdoodle | 30 min | 8 hours |
- Bake straight from the fridge: Cold dough spreads less and holds its shape better. You’ll get that chewy inside and golden edge everyone loves. If you’re after a slightly thicker cookie, don’t let it warm up before baking.
- No room in the fridge? Freeze the dough for 30-45 minutes if you’re in a hurry. The flavor won’t deepen quite as much, but you’ll still get the texture benefits.
One funny thing—my husband Thomas always snitches dough balls when they’re chilling. If that’s a problem in your house, make an extra batch and toss a few dough balls his way. Everyone’s happy, and you still get the perfect texture.
Follow these steps and you’ll notice your cookies getting that professional bakery vibe. It’s a tiny bit of effort for much better results every single time.