Fudge Crystal Prevention Calculator
Fudge Recipe Checker
Enter your fudge ingredients and cooking parameters to see if your recipe will prevent sugar crystal formation.
Nothing ruins a batch of homemade fudge like grainy, gritty texture. You’ve stirred, heated, and waited for hours-only to find your fudge has turned into sugar sand instead of silky smooth squares. It’s frustrating, and it happens to almost everyone who’s ever made fudge from scratch. The good news? Sugar crystals aren’t inevitable. With a few simple, science-backed moves, you can stop them before they start and end up with fudge that melts on your tongue like butter.
Why Sugar Crystals Form in Fudge
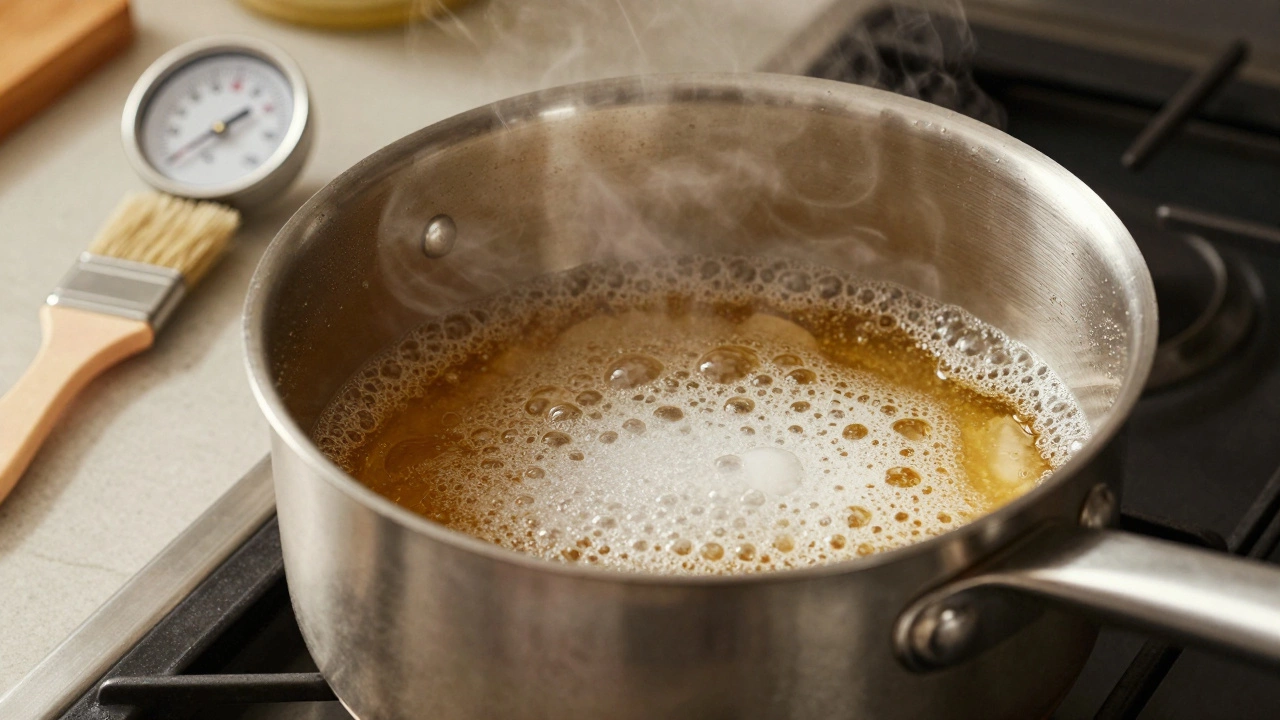
Sugar crystals form when dissolved sugar in the syrup re-crystallizes during cooling. Fudge is basically a sugar syrup that’s been cooked to a specific temperature (usually between 234°F and 240°F, the soft-ball stage), then cooled and stirred to encourage tiny, even crystals. But if even one big crystal forms too early, it acts like a seed-pulling other sugar molecules to it and turning your batch into a sandy mess.
This happens for three main reasons:
- Stirring too early (while the syrup is still hot)
- Not cleaning the sides of the pan before cooking
- Using a dirty spoon or utensil that introduces sugar crystals
It’s not about how much sugar you use-it’s about control. The goal is to keep the sugar dissolved until you’re ready to control the crystallization yourself.
Step 1: Clean the Pan Edges
Before you even turn on the heat, take a damp pastry brush or a clean paper towel and wipe down the inside walls of your saucepan. Any sugar granules stuck to the sides will eventually fall into the syrup as it boils and trigger crystallization. This is the #1 mistake most home bakers make.
Pro tip: If you don’t have a pastry brush, dip a clean spoon in cold water and use it to gently wash down the sides as the mixture heats. The water will dissolve stray crystals without shocking the temperature.
Step 2: Don’t Stir Until It’s Cool
Once you’ve brought the fudge mixture to a boil, do not stir again until it’s been removed from the heat and cooled to about 110°F. Stirring while the syrup is hot introduces air and disturbs the delicate sugar structure. It also creates nucleation sites where crystals can start forming.
Many recipes say to stir constantly while cooking. That’s wrong for fudge. You only need to stir to dissolve the sugar at the beginning. After that, let it boil undisturbed. Use a candy thermometer to monitor the temperature. Remove it from heat exactly at 238°F.
Step 3: Use a Clean, Dry Spoon for Testing
Never use a wooden spoon or a spoon that’s been dipped in sugar. If you need to test the consistency, use a clean metal spoon that’s been rinsed in cold water and dried. Dip it into the syrup, then let a drop fall onto a cold plate. If it forms a soft ball that holds its shape but flattens slightly, you’re at the right stage.
Also, avoid using plastic utensils-they can melt or leach oils that interfere with the sugar’s structure.
Step 4: Let It Cool Without Disturbing
After removing the fudge from heat, let it sit undisturbed for 10-15 minutes. This lets the temperature drop evenly. Stirring too soon-especially before 110°F-will cause instant crystallization. The sugar molecules need time to organize into tiny, uniform crystals. Rushing this step is like shaking a soda bottle before opening it.
Place the pan on a towel to help it cool slowly. Don’t put it in the fridge. Cold spots can create uneven cooling, which leads to graininess.
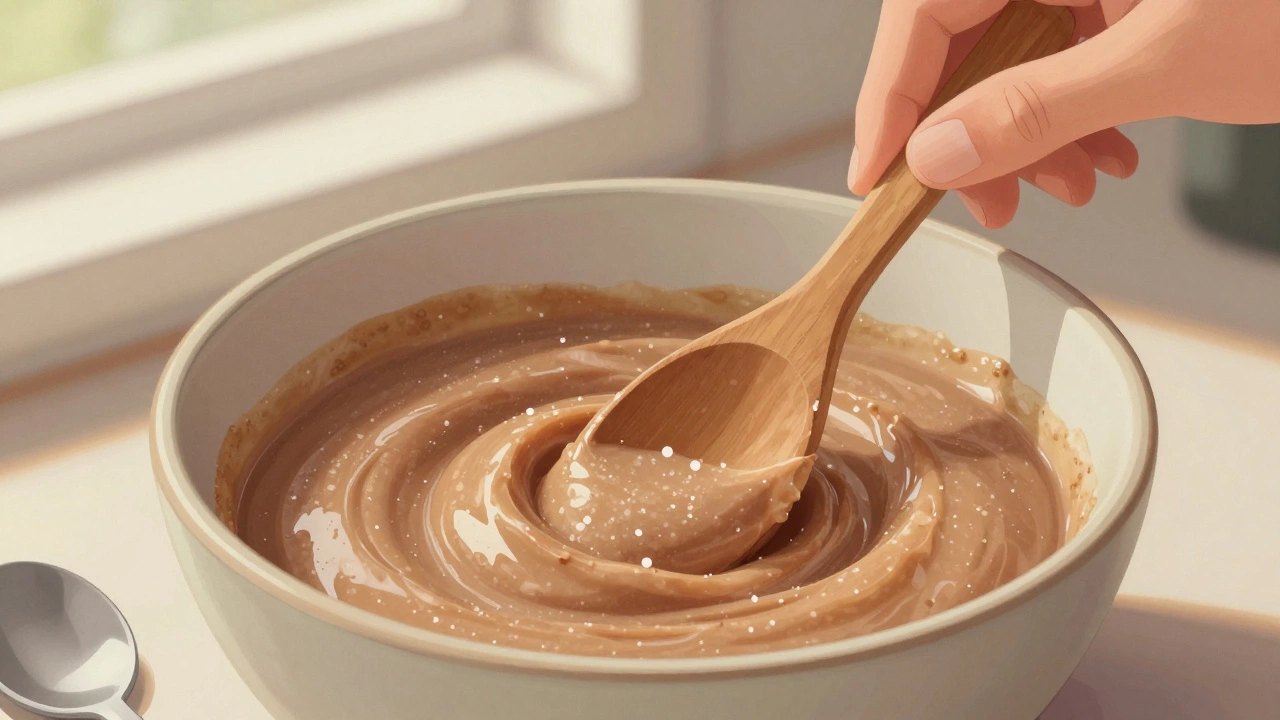
Step 5: Stir Gently and Consistently
Once the mixture hits 110°F, start stirring. Use a wooden spoon or silicone spatula. Stir slowly and steadily for 5-10 minutes, or until the fudge starts to thicken and lose its shine. You’ll notice it gets slightly duller and thicker-this is when the tiny crystals are forming evenly.
Don’t stop and start. Keep stirring until you’re ready to pour. If you pause, the mixture can start setting unevenly and form lumps.
Step 6: Use the Right Ingredients
Not all sugars behave the same. Granulated white sugar is ideal for fudge. Avoid brown sugar unless your recipe specifically calls for it-it contains molasses, which can interfere with crystallization control.
Also, make sure your butter and condensed milk are fresh. Old or rancid fats can change how the mixture emulsifies, leading to separation and graininess. Use full-fat heavy cream or sweetened condensed milk (not evaporated). The fat content helps coat sugar molecules and prevents them from clumping.

Step 7: Add a Crystal-Inhibiting Agent
Many professional candy makers add a small amount of corn syrup or cream of tartar to their fudge. Why? These ingredients contain molecules that get in the way of sugar crystals forming.
- Corn syrup: Use 1-2 tablespoons per 2 cups of sugar. It’s a common secret in commercial fudge recipes.
- Cream of tartar: A pinch (⅛ teaspoon) per batch works wonders. It breaks down sucrose into glucose and fructose, which don’t crystallize as easily.
These aren’t optional extras-they’re insurance. You don’t taste them. They just help your fudge stay smooth.
What to Do If Your Fudge Already Has Crystals
It’s not over. If your fudge turned out grainy, you can fix it. Place the fudge back into a saucepan with 2-3 tablespoons of water or heavy cream. Heat it gently over low heat, stirring until it melts completely. Bring it back to 238°F, then follow the cooling and stirring steps again. It won’t be perfect, but it’ll be far better than what you started with.
Quick Checklist for Crystal-Free Fudge
- Wipe pan sides with damp brush before heating
- Do not stir during boiling
- Use clean, dry utensils for testing
- Cool to 110°F before stirring
- Stir continuously until thickened
- Add 1-2 tbsp corn syrup per 2 cups sugar
- Use fresh, full-fat ingredients
Follow these steps every time, and you’ll rarely, if ever, have grainy fudge again. The difference between a good batch and a perfect one isn’t skill-it’s consistency. Sugar doesn’t lie. If you give it the right conditions, it’ll give you smooth, rich fudge every time.