Pavlova Oven Door: Keep It Closed or Ajar? The Exact Rule, Temps, and Timing
Do you keep the oven door open for pavlova? Short answer: closed to bake, slight vent to cool. Get exact temps, times, and fixes for cracks, weeping, and browning.
If you’ve ever tried to make meringue and ended up with a flat, wet mess, you’re not alone. The good news is that a few small changes can turn a flop into a fluffy, crunchy masterpiece. Below you’ll find the most useful tips that work for Swiss, French and Italian styles. Follow them and you’ll see a big difference the next time you whisk up egg whites.
Start with a clean, dry bowl. Even a tiny drop of oil or a speck of dust can stop the whites from forming stiff peaks. Glass or stainless steel works best; plastic bowls tend to retain grease.
Separate the eggs while they are cold, then let the whites sit at room temperature for about 30 minutes. Warm whites spread more easily and trap air better.
Add the cream of tartar or a pinch of lemon juice before you start whisking. This acid stabilizes the proteins and helps the peaks stay firm.
Begin on low speed until the whites become frothy, then increase to medium‑high. When they’re foamy, sprinkle the sugar slowly – a tablespoon at a time. Adding sugar gradually keeps the mixture smooth and prevents a grainy texture.
Use fine caster sugar, not regular granulated. The smaller crystals dissolve completely, giving a glossy finish and a crisp bite after baking.
Watch the peaks. Soft peaks curl over when you lift the whisk; stiff peaks stand straight up. For most desserts you want stiff peaks, but a little flexibility is fine for soft‑centered treats.
Preheat the oven to a low temperature, usually 225°F (110°C). Baking too hot makes the outside brown before the inside dries, leaving a gummy center.
Use a parchment‑lined tray or a silicone mat. This prevents sticking and makes cleanup quick.
Shape the meringue with a spoon, piping bag or even a zip‑lock bag with a corner cut off. Keep the size consistent so they bake evenly.
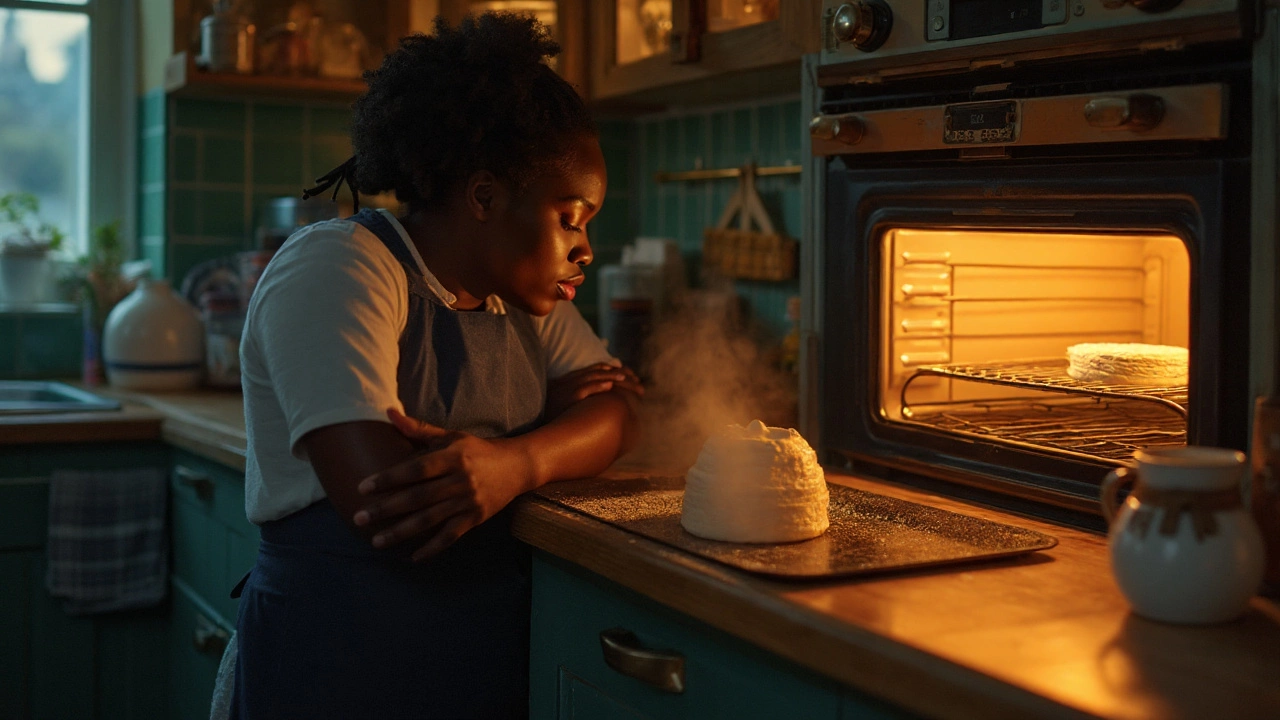
Let the meringues dry in the oven for the full time – often 1 to 1½ hours. Then turn the oven off, leave the door slightly ajar, and let them cool completely. The slow cooling locks in the crisp texture.
If you need to store them, place the cooled meringues in an airtight container with a paper towel at the bottom. The towel absorbs any moisture that might make them soft.
For extra crunch, you can pop the cooled meringues in a hot oven (350°F/180°C) for a few minutes just before serving. Watch them closely so they don’t burn.
When a batch comes out flat or weepy, check the common culprits: leftover yolk, dirty bowl, or sugar added too fast. Fixing one of those steps usually saves the next batch.
Now you have a clear roadmap: clean tools, room‑temp whites, acid stabilizer, slow sugar, low heat, and patience while cooling. Try these tips on your next bake and enjoy light, airy meringues that crack nicely on the outside and melt in the mouth inside.
Do you keep the oven door open for pavlova? Short answer: closed to bake, slight vent to cool. Get exact temps, times, and fixes for cracks, weeping, and browning.