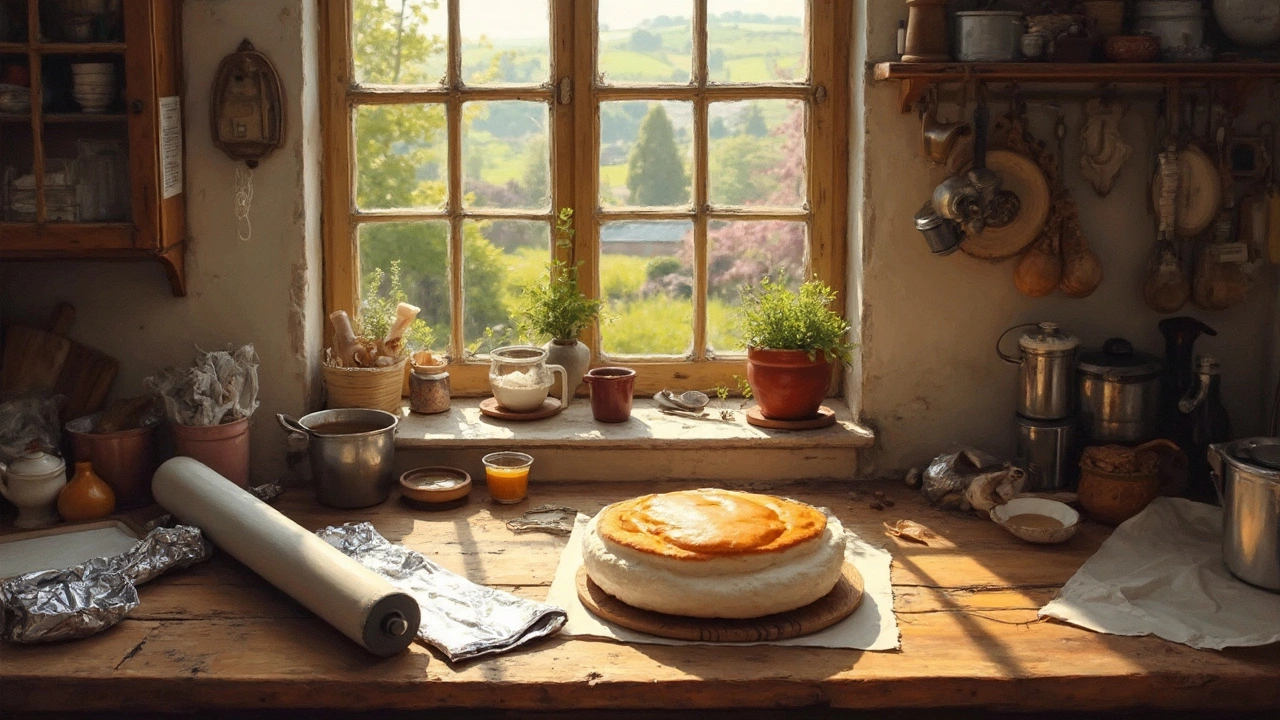
Foil Decorating Ideas for Cakes & Pops – Quick Tips and Trends
Foil is a simple way to add sparkle to any dessert without spending hours on intricate piping. Whether you’re working on a birthday cake, a batch of cake pops, or a simple cupcake, a strip of shiny foil can turn bland into wow in seconds.
Why Use Foil on Your Desserts?
First off, foil is edible and safe when you pick the right kind. Look for gold or silver leaf that’s specifically labeled for food use. It tastes neutral, so it won’t affect the flavor of your cake, but it does add a glamorous finish.
Second, foil is versatile. You can cut it into shapes, crumple it for a textured look, or lay a whole sheet over a cake for a sleek, modern vibe. It’s also great for budget‑friendly décor – a tiny piece goes a long way.
Practical Foil Techniques You Can Try Today
1. Simple Strips – Cut a thin strip of foil and gently press it onto a buttercream‑coated surface. The butter helps the foil stick without melting. Use a toothpick to smooth out any bubbles.
2. Foil‑Wrapped Cake Pops – After your cake pops have set, dip them in a thin layer of melted chocolate. While the chocolate is still wet, wrap a small piece of foil around the base. Let it harden, then add a decorative tip or ribbon.
3. Foil Flowers – Fold a piece of foil accordion‑style, then shape the folds into petals. Secure the center with a dab of royal icing and attach the flower to your cake or cupcake.
4. Foil Borders – Measure the circumference of your cake, cut a foil strip slightly longer, and gently lay it around the edge. Trim any excess with kitchen scissors.
5. Foil & Edible Glitter Mix – For extra sparkle, dust a tiny amount of edible glitter over the foil. The glitter catches the light, making the foil pop even more.
When you work with foil, keep a few safety tips in mind. Always store foil in a cool, dry place – humidity can cause it to stick together. If you’re using metal‑based foil, avoid direct contact with hot surfaces; it can melt or discolor.
Finally, remember that a little goes a long way. Start with small pieces, test on a spare cupcake, and adjust the amount based on the look you want. With practice, you’ll be able to toss foil on desserts in minutes, leaving you more time to enjoy the party.
Give these ideas a try on your next bake and see how foil can make your treats feel instantly special. Happy decorating!
Wondering whether to use baking paper or foil for making the perfect pavlova? This article dives into the pros and cons of each option, ensuring you achieve that ideal crisp exterior and soft center. Get practical tips and facts to make your pavlova stand out, and learn how these materials can affect your baking results.