So, you’re all set to make pavlova, that delightful dessert with a cloud-like center and crispy shell. Now comes the tricky part – deciding whether to line your baking tray with paper or foil. Let's break down what each option brings to the table, and help you choose the best one for your latest culinary masterpiece.
First off, understanding pavlova basics is key. It's all about getting the texture just right. You want it crisp on the outside and marshmallow-like inside. That delicate balance can be influenced by the surface you bake it on. Both baking paper and foil can help here, but they do so in different ways.
- Understanding Pavlova Basics
- The Role of Baking Paper
- The Case for Foil
- Practical Tips for Perfect Pavlova
Understanding Pavlova Basics
Pavlova isn’t just any dessert. It’s a sweet symphony that demands both precision and passion. The beauty of pavlova lies in its texture – a crunchy meringue shell hugging a fluffy, marshmallow-like center. But how do you achieve this delectable duality?
Let’s start with the ingredients. Egg whites, caster sugar, white vinegar, and cornstarch are the main players. The egg whites give the structure; sugar sweetens and stabilizes; a dash of vinegar adds volume, and cornstarch ensures that soft and tender middle. Whip these up until glossy peaks form, and you’re halfway to pavlova perfection.
Temperature plays a crucial role too. Pavlova needs a low and slow bake – around 120°C (250°F) – to dry out without burning. Too hot, and you’ll end up with a brown, cracked meringue. Not quite the masterpiece you’re aiming for, right?
Another essential aspect is cooling. Rapid cooling can lead to cracks, so it's better to let the pavlova cool in the oven with the door slightly ajar. This allows it to set gradually, preserving that pristine look.
Here’s a quick tip: Humidity is your enemy. On damp days, the pavlova might become sticky instead of crisp. Luckily, lining your tray with either baking paper or foil can counteract some of the moisture. That’s why choosing the right liner can make a difference in achieving that perfect pavlova texture.
The Role of Baking Paper
So, what’s the deal with using baking paper when making pavlova? Well, it's a secret weapon for many reasons. Primarily, baking paper is non-stick, which is a lifesaver when dealing with the sweet, sticky nature of pavlova. You want that crispy exterior to slide right off without leaving half of it on the tray, don’t you?
Baking paper also helps with even cooking. It prevents any direct contact between the pavlova and the tray, helping to distribute heat more uniformly. This can aid in getting that sought-after soft and airy center while maintaining a lovely crunch on the outside.
An added bonus? A fast cleanup. Once the pavlova has cooled, the paper can be peeled away, leaving minimal residue. Less washing up always feels like a win, right?
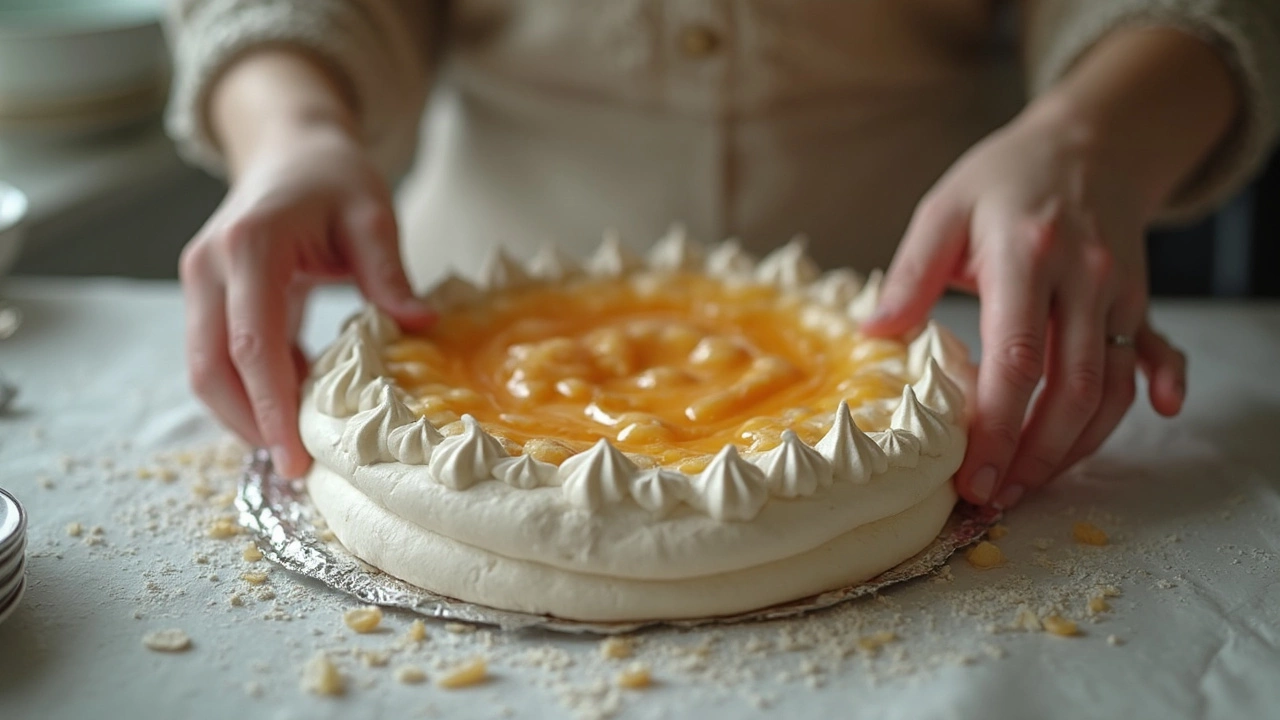
Another great thing is how simply you can transfer the pavlova after it's done. Baking paper makes it easier to slide your masterpiece onto a serving dish without risking breakage. That’s pretty handy when you’ve got impatient kids like Clara waiting!
Finally, baking paper is a bit safer. Unlike foil, it doesn’t react with acidic ingredients which sometimes find their way into desserts. This ensures a pure, untainted flavor in every bite.
The Case for Foil
Using foil for baking pavlova comes with its own set of benefits and challenges. It’s pretty efficient at conducting heat, which is a big plus when you're looking to get that perfect crisp outside. The metal surface of foil helps to evenly distribute heat, making sure your pavlova is cooked uniformly. But be careful—foil can sometimes conduct heat a bit too well, leading to browning or even burning if you're not keeping an eye on things.
On the upside, foil is great if you need to shape your pavlova just the way you like it. Its moldable nature lets you curve it around edges or fold it up the sides of the pavlova, giving you a bit more control over its final form. This is especially handy if you’re trying out some fancy pavlova designs.
One thing to watch out for is the tendency of pavlova to stick to foil. Since foil doesn't have the natural non-stick properties of baking paper, you might want to give it a light coating of cooking spray before piling on your meringue mixture. Otherwise, you could end up in a bit of a sticky situation when trying to remove your masterpiece.
Let's put this in perspective:
| Aspect | Foil |
|---|---|
| Heat distribution | Excellent |
| Stickiness | High, needs greasing |
| Molding flexibility | Very good |
| Risk of over-browning | Higher, watch closely |
So, to sum it up, if you're looking for a sturdy base that offers excellent heat conduction and the ability to shape your dessert, foil can be a great option. Just keep an eye on that heat and grease it up a bit to prevent the pavlova from sticking. Your dessert magic awaits!
Practical Tips for Perfect Pavlova
Alright, creating that dreamy pavlova doesn’t have to be as complicated as it seems when you've got the right tricks up your sleeve. Besides choosing between baking paper or foil, there are some handy tips to keep in mind that can make a world of difference.
First thing's first, make sure your egg whites are at room temperature before you start whipping them. It helps to create more volume and gives you that beautiful fluffy texture. Also, ensure your bowl and beaters are completely clean and dry—any fat or moisture can sabotage your meringue.
Now, if you decide to go with baking paper, remember to draw a circle on it as a guide for spreading your pavlova mix. This is where your creativity shines! Spread the meringue evenly, and don't worry if it's a bit rustic—that's its charm.
Using foil instead? It’s a bit trickier because your pavlova might stick. A little trick is to lightly grease the foil, which can help with sticking issues. But be mindful that foil reflects heat more intensely, which could brown the edges faster. Keep an eye on it!
Want an extra special tip? Adding a tablespoon of cornstarch to your mixture can help achieve that magical marshmallow center. And don't forget the vinegar or lemon juice—it stabilizes the egg whites, ensuring they stay puffed up in the oven.
If you’re curious about how baking paper or foil can affect baking times, here’s a quick table:
| Material | Temperature (°C) | Baking Time (minutes) |
|---|---|---|
| Baking Paper | 150 | 60–75 |
| Foil (adjusted) | 140–145 | 55–65 |
Finally, allow your pavlova to cool gradually in the oven after turning it off. Sudden changes in temperature can cause it to crack or collapse, and we definitely don’t want that after all your hard work!
- tags : baking paper foil pavlova cooking tips