Pavlova Oven Door: Keep It Closed or Ajar? The Exact Rule, Temps, and Timing
Do you keep the oven door open for pavlova? Short answer: closed to bake, slight vent to cool. Get exact temps, times, and fixes for cracks, weeping, and browning.
If you’ve ever tried a pavlova and ended up with a soggy mess, the culprit is often the oven. A fan (convection) oven circulates hot air, so you need to tweak the usual recipe a bit. Below you’ll find the exact steps that take the guesswork out of the process, so you can enjoy a crisp outer shell with a marshmallow‑soft centre every time.
Start by lowering the temperature you’d use in a conventional oven. For a fan oven, aim for 120 °C (250 °F) instead of the typical 140 °C. The gentle heat lets the meringue dry out slowly without cracking. Bake for 90‑110 minutes – longer if you like a really dry top. Keep an eye on the colour; a pale gold is perfect, while any dark spots mean it’s over‑baked.
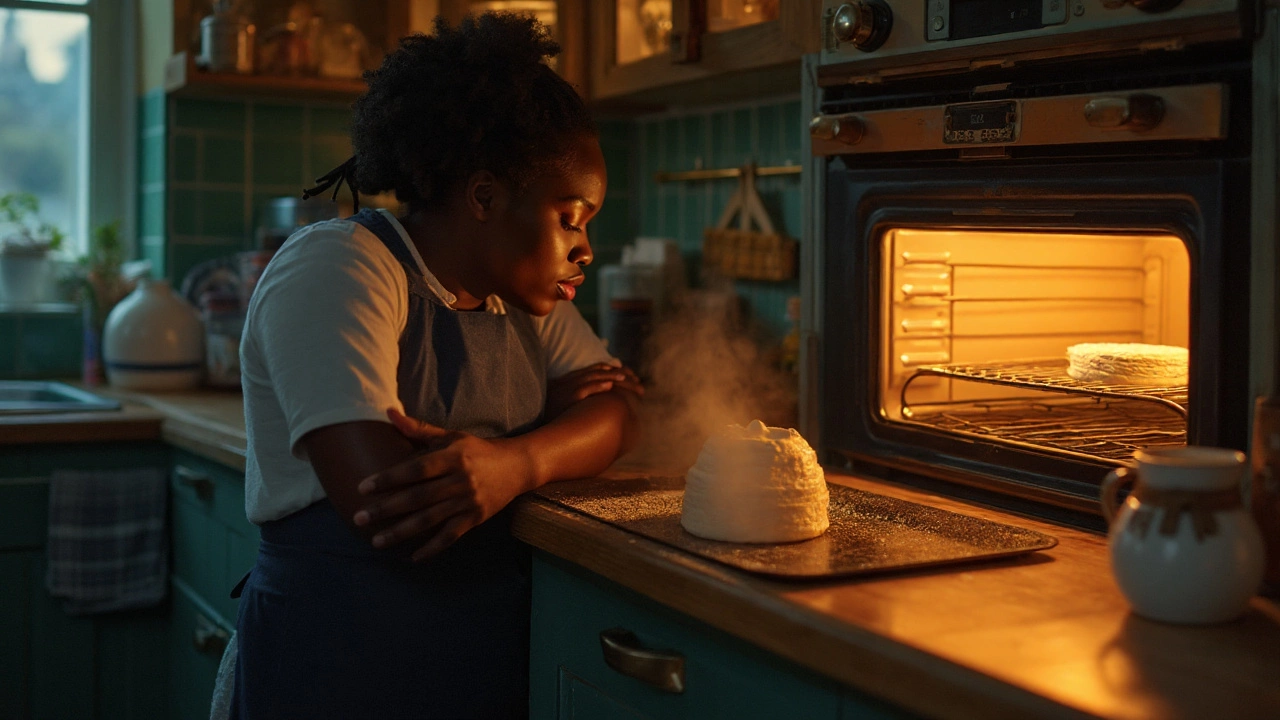
Once the timer dings, turn off the oven but leave the door ajar. Let the pavlova sit inside for at least an hour. This slow cooling prevents a sudden temperature drop that can cause cracks. When you’re ready to serve, transfer it to a wire rack and let it finish cooling completely before adding fruit or cream.
Here are a few extra tricks that make a big difference:
When the pavlova is fully cooled, top it with fresh berries, sliced kiwi, or a drizzle of passion‑fruit sauce. The fruit’s acidity balances the sweet meringue, and the bright colours make the dessert look as good as it tastes.
Having a reliable fan oven method also means you can experiment. Try adding a teaspoon of vanilla extract to the egg whites for extra flavour, or sprinkle toasted coconut on the edges for a tropical twist. The key is to keep the basic temperature and cooling steps the same – everything else is up to you.
Need more inspiration? Check out our other posts on trending cake flavors, how to stop fudge from getting grainy, and the best oven rack placement for cheesecakes. Each article gives you practical tips that work in a home kitchen, just like the pavlova guide above.
Now you’ve got a solid plan for a fan oven pavlova that looks impressive and tastes flawless. Grab your mixer, pre‑heat the oven, and treat yourself to a classic dessert that’s sure to wow any crowd.
Do you keep the oven door open for pavlova? Short answer: closed to bake, slight vent to cool. Get exact temps, times, and fixes for cracks, weeping, and browning.