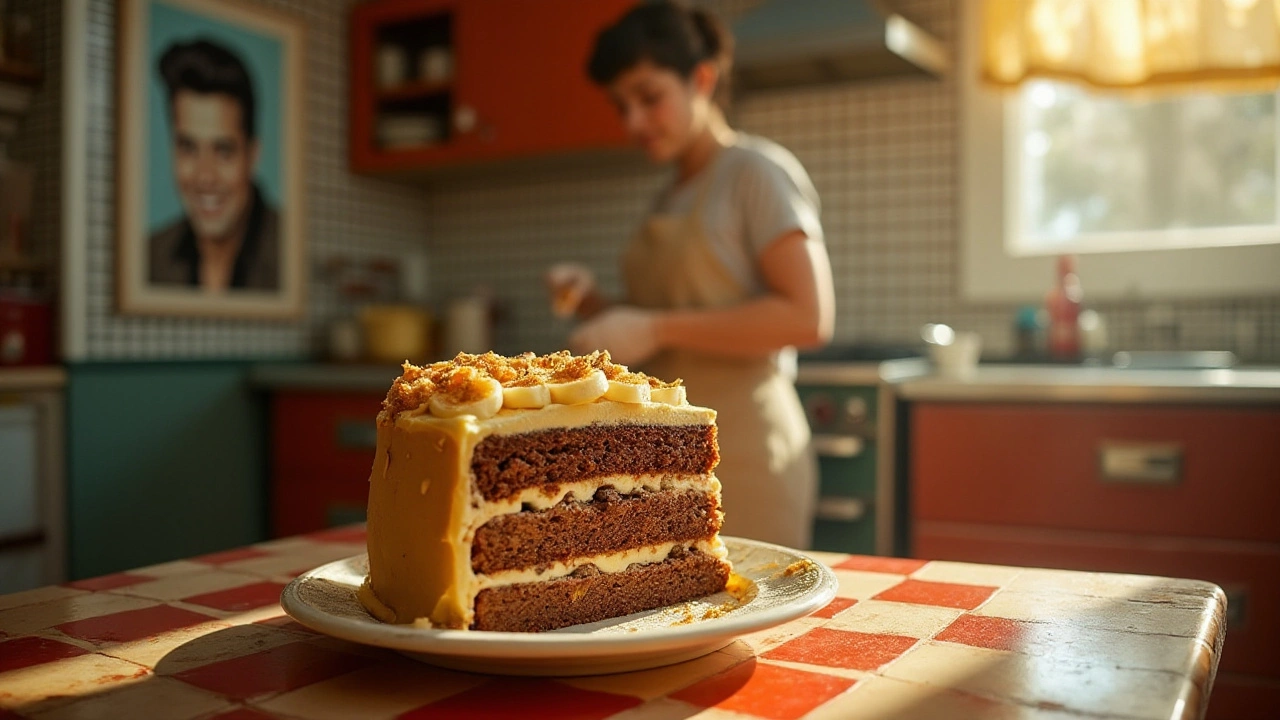
Elvis Cakes – Classic Banana & Peanut Butter Pops
If you love the King’s favorite sandwich, you’ll love turning it into a bite‑size cake pop. An Elvis cake mixes banana, peanut butter, and a hint of chocolate for that rich, retro flavor everyone recognises. The best part? You only need a few pantry staples and a little time.
What Makes an Elvis Cake Special?
Elvis’s go‑to snack was a banana‑bread‑like sandwich with creamy peanut butter and sometimes a drizzle of honey. When we bake that combo into a cake pop, the banana keeps the crumb moist, while the peanut butter adds richness and helps the pop hold its shape. Adding a splash of vanilla or a pinch of cinnamon gives depth without overpowering the classic taste.
Because the cake base is soft, you can roll it in crushed peanuts, toasted coconut, or chocolate sprinkles for extra crunch. It’s flexible – use dark chocolate chips for a grown‑up twist or white chocolate for a sweeter vibe. The result is a portable, mess‑free snack that still feels like an indulgent dessert.
Step‑by‑Step Elvis Cake Pop Recipe
Ingredients (makes about 12 pops)
- 1 cup all‑purpose flour
- ½ cup granulated sugar
- ¼ cup brown sugar
- 1 tsp baking powder
- ½ tsp baking soda
- ¼ tsp salt
- 1 ripe banana, mashed
- ½ cup creamy peanut butter
- ¼ cup melted butter
- 2 large eggs
- 1 tsp vanilla extract
- ¼ cup milk
- Chocolate candy coating (or melted chocolate)
- Crushed peanuts, sprinkles, or shredded coconut for coating
Directions
- Preheat the oven to 350°F (175°C) and line a 9‑inch cake pan with parchment.
- In a bowl, whisk together flour, both sugars, baking powder, baking soda, and salt.
- In another bowl, mash the banana, then stir in peanut butter, melted butter, eggs, vanilla, and milk until smooth.
- Combine wet and dry mixes – stir just until you see no streaks. Over‑mixing makes the cake dense.
- Pour batter into the pan, smooth the top, and bake 20‑25 minutes. A toothpick should come out clean.
- Let the cake cool completely, then crumble it in a large zip‑lock bag.
- Add 2‑3 tbsp of peanut butter to the crumbs and mix until the mixture holds together when squeezed.
- Roll the mixture into 1‑inch balls, place on a parchment sheet, and chill 30 minutes.
- Insert a lollipop stick into each ball, dip into melted chocolate, then roll in your chosen coating.
- Set the pops on a cooling rack and let the chocolate harden (about 15 minutes). Store in an airtight container.
That’s it! You now have Elvis‑style cake pops that taste like the King’s favorite snack but look fancy enough for any gathering.
Want to switch things up? Try swapping the banana for pumpkin puree in the fall, or add a dash of espresso powder for a coffee‑kick version. The base recipe is forgiving, so feel free to experiment.
When you serve these, remember they’re best eaten the same day. If you need to prep ahead, keep the uncoated balls refrigerated and dip them right before the party. This way they stay soft and the coating stays crisp.
Whether you’re hosting a birthday, a backyard BBQ, or just craving a nostalgic treat, Elvis cakes deliver big flavor with minimal effort. Grab a stick, take a bite, and you’ll hear that familiar “Thank you, thank you very much!” in your head.
Elvis cakes are uniquely American treats inspired by The King of Rock 'n' Roll's favorite flavors. Known for their delicious combination of peanut butter and banana with chocolate, these cakes capture the essence of Elvis Presley's iconic style. This article explores the intriguing history, provides recipes, and shares baking tips to perfect your Elvis cake. Uncover the story behind this classic dessert and learn how to make it a star in your own kitchen.