Baking Macarons Made Easy: Your Quick Guide
If you’ve ever stared at a fancy macaron and thought, “I could never do that,” you’re not alone. The good news? With a few basics, you can crack the code and make smooth shells and creamy fillings at home.
Essential Ingredients and Tools
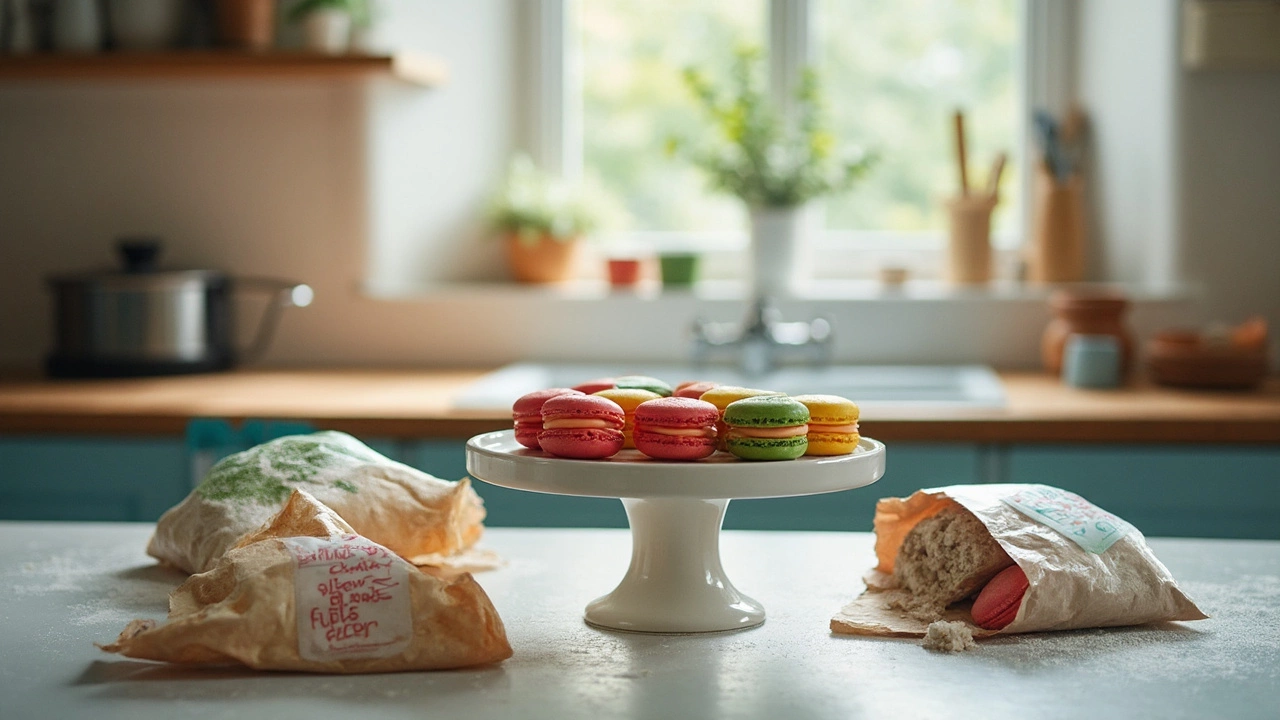
First, gather the right stuff. You’ll need almond flour, powdered sugar, egg whites, and granulated sugar. Use a fine‑mesh sieve to whisk the dry ingredients together – it prevents lumps and gives that airy texture. For the egg whites, let them sit at room temperature for 30 minutes; they whip up better.
A kitchen scale is a lifesaver. Measuring by weight keeps the ratios exact, which is key for macarons. You’ll also want a silicone mat or parchment paper, a piping bag with a round tip, and a good stand mixer or hand‑beater. These tools keep the process consistent and less messy.
Step‑by‑Step Baking Process
Start by whipping the egg whites. Add a pinch of cream of tartar, then slowly drizzle in the granulated sugar while the mixer runs. Whip until you get stiff peaks – the tip should stand straight when you lift the whisk.
Next, fold the dry mix into the meringue. Use a spatula and a gentle, folding motion. The batter should flow like lava: thick enough to hold its shape but loose enough to spread a little when piped. If it’s too runny, you’ll end up with flat cookies; if it’s too stiff, the shells will crack.
Transfer the batter to a piping bag, then pipe 1‑inch circles onto your mat, leaving a small gap between each. Tap the tray on the counter a few times to release any air bubbles, then let the shells rest. This “drying” stage is crucial – you want a skin that’s dry to the touch, usually 20‑40 minutes depending on humidity.
Pre‑heat the oven to 150°C (300°F). Bake the shells for about 12‑15 minutes. They should rise slightly, develop a smooth top, and release easily from the mat. Let them cool completely before removing.
While the shells cool, whip up a simple filling – buttercream, ganache, or jam work well. Spoon or pipe the filling onto one shell, then sandwich with another. Press gently so the edges meet without squashing the delicate shells.
Give your macarons a rest in the fridge for at least 24 hours. This “maturation” step lets the flavors meld and the texture settle, giving you that melt‑in‑your‑mouth feel. Bring them back to room temperature before serving.
Common problems? Cracked tops usually mean the oven is too hot or the shells weren’t dry enough. Hollow shells (the dreaded “feet”) often come from under‑whipped egg whites or over‑mixing the batter. Adjusting one of these steps usually fixes the issue.
Now you have a solid roadmap. Grab your ingredients, set up the tools, and give it a go. With practice, you’ll move from cautious beginner to confident macaron baker, impressing friends and satisfying that sweet tooth.
Deciding on the right flour makes or breaks your macaron game. Not all almond flours are made equal, and choosing the wrong one leads to flat, gritty, or hollow shells. This article dives into what actually matters when picking flour for macarons, the mistakes bakers make with flour choices, and hands-on tips for getting those picture-perfect feet and chewy centers. Real-life examples and honest advice, so your macarons can finally hit that sweet spot. Get ready to stop wasting time and ingredients.