Gluten-Free Cake Success Calculator
Recipe Analysis
Answer these questions to see if your gluten-free cake recipe is likely to succeed
Your Success Score
Key Recommendations
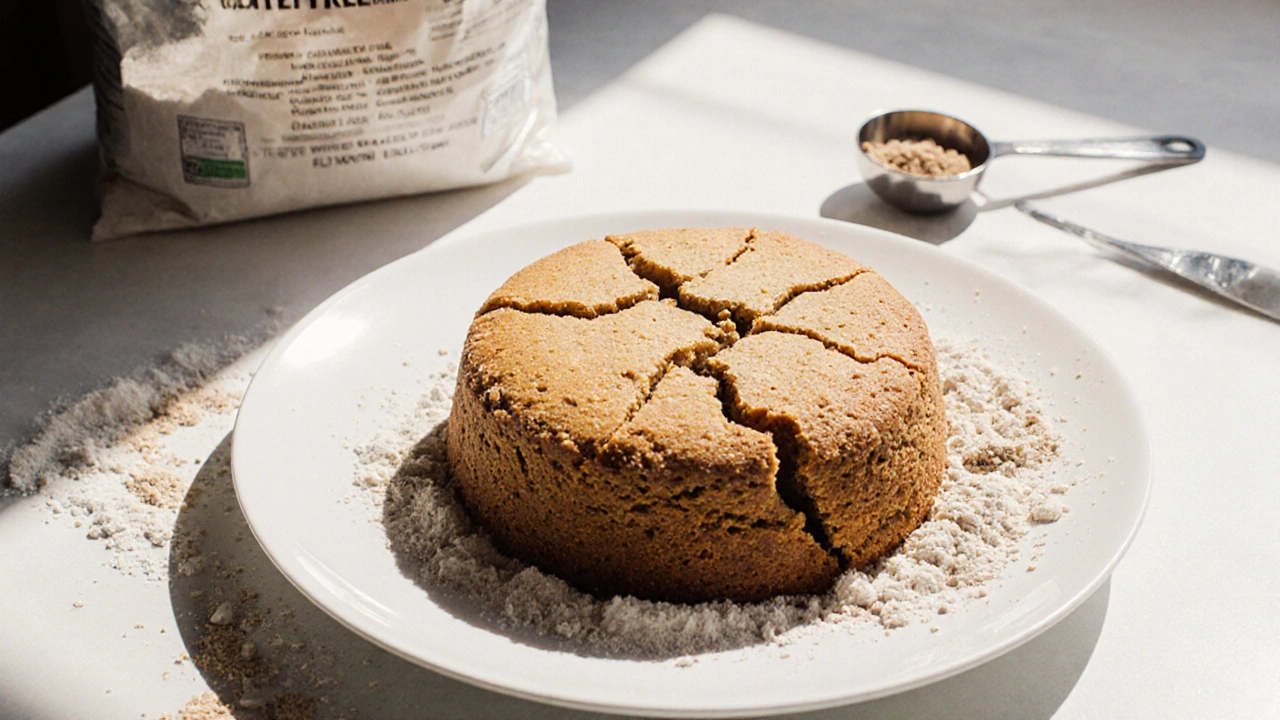
Gluten-free baking isn’t just swapping wheat flour for a bag of almond or rice flour. Too many people follow recipes blindly, only to end up with crumbly, dense, or gummy cakes that taste like disappointment. If you’ve ever made a gluten-free cake that fell apart on the plate or didn’t rise at all, you’re not alone-and it’s not your fault. Most of the time, it’s what you avoided that caused the problem.
Don’t Use Only One Type of Gluten-Free Flour
Buying a single bag of ‘gluten-free flour’ and using it like regular flour is the number one mistake. Most store-bought gluten-free flours are blends, but even those aren’t perfect for cakes. Rice flour alone makes cakes gritty. Potato starch turns them gummy. Cornstarch dries them out. No single flour mimics wheat’s elasticity and structure.
Successful gluten-free cakes use a blend of at least three flours. For example, a good base mix includes brown rice flour for structure, tapioca starch for chew, and sorghum flour for flavor. Some bakers add almond flour for moisture and a tender crumb. The ratio matters: too much starch and your cake turns into a rubbery brick. Too much bean flour and it tastes earthy. Stick to trusted blends like Bob’s Red Mill 1-to-1 or King Arthur Measure for Measure-they’re tested for cakes, not just bread.
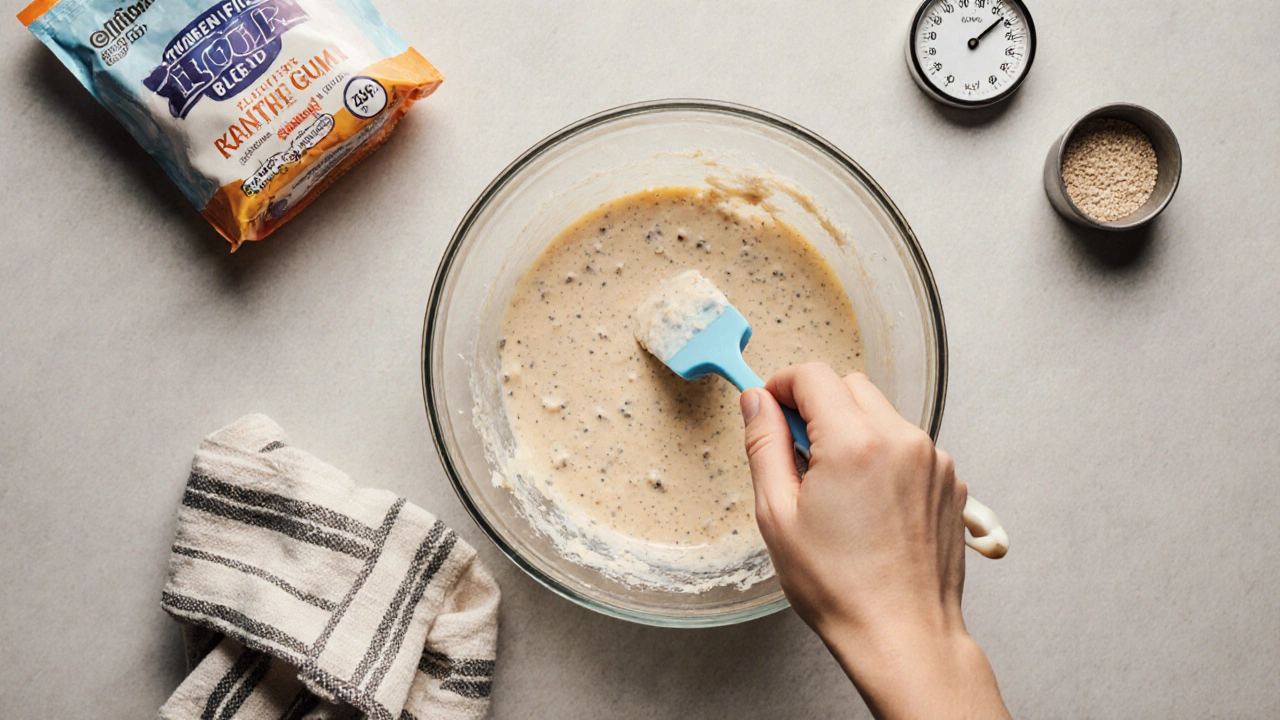
Skipping Xanthan Gum or Guar Gum
Gluten gives structure. Without it, your cake has no backbone. Xanthan gum and guar gum are the invisible glue that holds gluten-free batters together. They trap air, help with rise, and prevent crumbling.
If your recipe doesn’t list gum, don’t assume it’s optional. Most gluten-free cake recipes need 1/2 to 1 teaspoon per cup of flour blend. Too little? Your cake cracks and falls. Too much? It turns slimy and chewy-like bubblegum. Always measure by weight if you can. A pinch won’t cut it. If you’re using a pre-mixed flour that already includes gum, don’t add more unless the recipe specifically says so.
Overmixing the Batter
With regular cakes, you’re told to mix until just combined. With gluten-free cakes, that rule is even stricter. Overmixing activates the starches in gluten-free flours, making them gelatinize too early. The result? A dense, gummy cake that feels like it was baked in a glue factory.
Use a spatula, not a hand mixer, once you add wet ingredients. Fold gently. Stop as soon as you don’t see dry flour anymore. If your batter looks lumpy, that’s fine. It will smooth out in the oven. Think of it like making pancakes-you don’t want to beat the life out of it.
Not Letting the Batter Rest
Gluten-free flours absorb liquid slower than wheat flour. If you pour your batter into the pan right after mixing, the flours haven’t had time to hydrate. That means dry spots, uneven texture, and a cake that feels undercooked even when it’s done.
Let your batter sit for 20 to 30 minutes before baking. This gives the starches time to swell and the gums time to activate. You’ll notice the batter thickens slightly and looks more cohesive. This step is non-negotiable. Skip it, and your cake will crumble the moment you cut into it.
Using Cold Ingredients
Butter, eggs, milk-everything should be at room temperature. Cold ingredients don’t blend smoothly with gluten-free flours. They cause lumps, trap air unevenly, and lead to poor rise. A cake baked with cold butter will be flat and heavy, no matter how much baking powder you add.
Take your eggs out at least an hour before baking. Soften butter by cutting it into small pieces and leaving it on the counter. If you’re using plant-based milk, warm it slightly in the microwave for 10 seconds. This isn’t about luxury-it’s about chemistry. Warm ingredients help the leaveners work properly and create a lighter crumb.
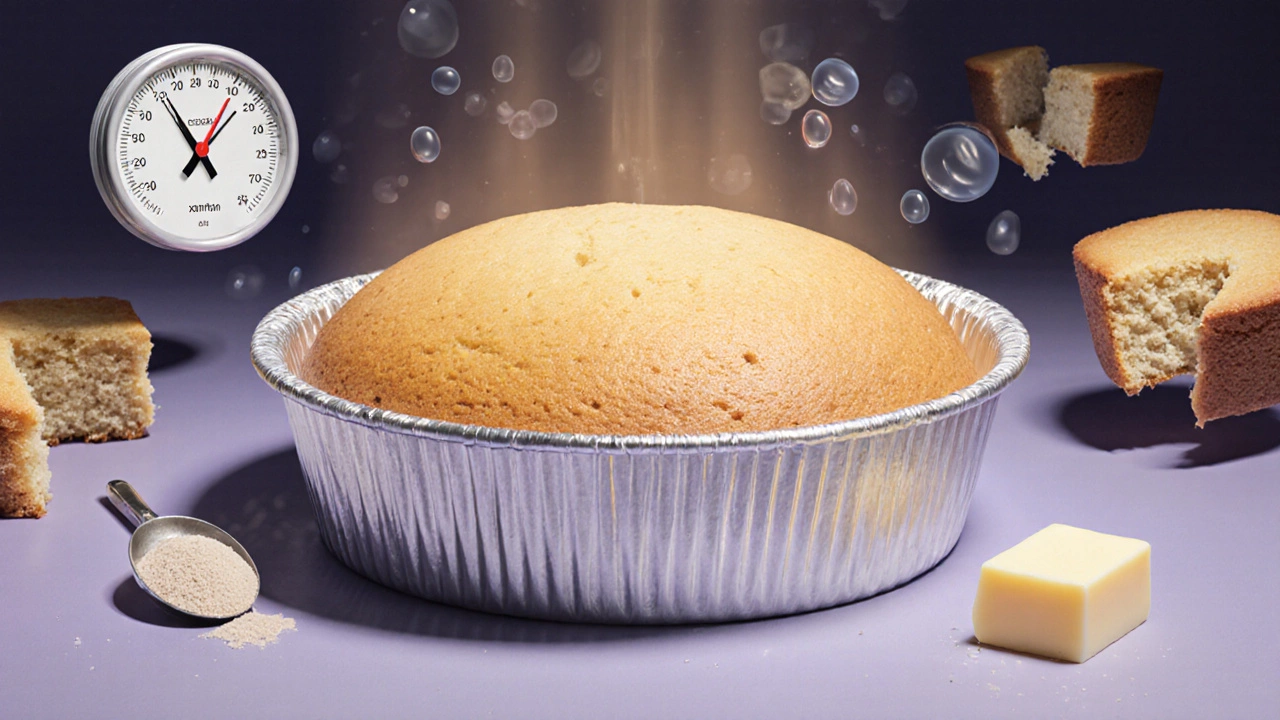
Ignoring the Oven Temperature
Gluten-free cakes are more sensitive to heat than wheat-based ones. If your oven runs hot, the outside burns before the inside sets. If it’s too cool, the cake sinks in the middle. Most gluten-free cake recipes bake best at 350°F (175°C), but your oven might not be accurate.
Buy an inexpensive oven thermometer. Place it on the middle rack and check the actual temperature before you bake. Many ovens are off by 25°F or more. If yours runs hot, lower the setting. If it’s slow, increase it slightly. Also, avoid opening the oven door in the first 20 minutes. The drop in temperature can cause your cake to collapse.
Using the Wrong Pan
Not all cake pans are created equal. Dark metal pans absorb more heat and can overbrown gluten-free cakes. Glass pans slow down baking and can lead to undercooked centers. Silicone pans? They insulate too much-your cake won’t rise properly.
Stick to light-colored aluminum or non-stick pans. If you only have a dark pan, reduce the oven temperature by 25°F and check for doneness 5-10 minutes earlier. For layer cakes, use pans with straight sides. Curved edges make it harder to level cakes evenly, and gluten-free cakes are already fragile.
Underbaking or Overbaking
Gluten-free cakes don’t spring back like wheat cakes when you press them. That means the old ‘finger test’ doesn’t work. Instead, use a toothpick. Insert it into the center-if it comes out clean or with a few moist crumbs, it’s done. If it’s wet, bake another 5 minutes.
But here’s the catch: gluten-free cakes continue to cook from residual heat after you take them out. That’s why you should pull them out when they’re just shy of perfect. Let them cool in the pan for 15 minutes before transferring. If you leave them too long, they dry out. If you remove them too soon, they fall apart.
Not Adjusting for Altitude
If you live above 3,000 feet, your gluten-free cake will behave differently. Lower air pressure means liquids evaporate faster, leaveners expand too quickly, and cakes can dry out or collapse.
At high altitudes, reduce baking powder by 1/8 to 1/4 teaspoon per teaspoon called for. Add 1-2 tablespoons extra liquid. Lower the oven temperature by 25°F and bake a little longer. These adjustments aren’t optional-they’re necessary. A recipe that works in Bristol might fail in Denver or Bogotá.
Expecting the Same Texture as Regular Cake
Here’s the truth: gluten-free cake will never taste or feel exactly like a traditional sponge cake. It’s not a defect-it’s a different experience. It might be denser, moister, or more tender. That’s okay.
Don’t compare it to your childhood birthday cake. Judge it on its own merits. A good gluten-free cake should be moist, flavorful, and hold together when sliced. It shouldn’t taste like cardboard or chalk. If you’re happy with the flavor and texture, you’ve succeeded.
Try this: bake a small batch with all the fixes above. Use a trusted blend, add xanthan gum, let it rest, bake at the right temp, and cool properly. Taste it. Then bake another one without those steps. You’ll see the difference.
What to Do Next
Start with a simple recipe you trust-like a basic vanilla or chocolate gluten-free cake. Follow the steps above exactly. Write down what you changed and how it turned out. Keep a small notebook. After three tries, you’ll know exactly what works for your kitchen.
Don’t give up after one failed cake. Gluten-free baking is a skill, not a trick. Once you understand why things go wrong, you can fix them before they happen.