Cookie Texture Predictor
(Crisp) Balanced 100% Brown
(Chewy)
Your Cookie Profile:
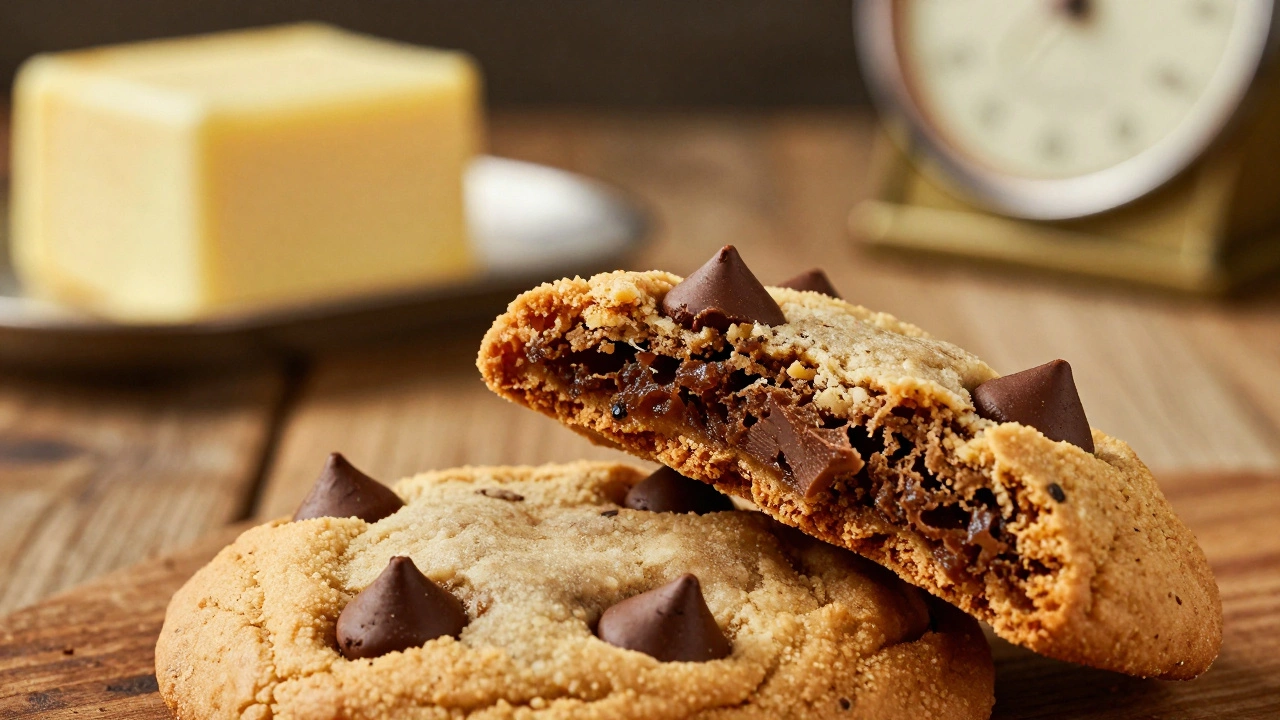
Ever wondered why your chocolate chip cookies sometimes turn out flat and greasy, while other times they’re perfectly chewy with crisp edges? You might blame the oven temperature or the brand of chocolate. But the truth is, one ingredient holds all the power over your cookie’s fate. It isn’t the sugar, and it certainly isn’t the flour. The most important ingredient in a cookie is butter.
Butter does more than just add flavor. It dictates the spread, the texture, the color, and even how long your cookies stay fresh. If you treat butter like just another item on the shopping list, you’ll likely end up with inconsistent results. Let’s break down exactly why butter is the king of cookie ingredients and how mastering its use can transform your baking.
The Role of Fat in Baking Science
To understand why butter matters so much, we need to look at what fat actually does in a batter. In baking chemistry, fat serves three critical functions: tenderizing, leavening, and flavoring. Without fat, your cookie would be tough as leather because gluten-the protein network formed by flour and water-would develop unchecked. Fat coats the flour particles, preventing them from bonding too tightly. This creates that soft, tender crumb we love.
However, not all fats are created equal. While you can substitute margarine, oil, or shortening for butter, each behaves differently. Vegetable shortening has no water content, which means cookies made with it spread less and stay softer longer but lack depth of flavor. Oil adds moisture but doesn’t provide structure, often leading to dense, cake-like textures. Butter sits in the sweet spot. It contains about 80% milk fat, 15-18% water, and trace amounts of milk solids. This specific composition is what gives cookies their signature balance of crispness and chewiness.
| Fat Type | Water Content | Melting Point | Flavor Profile | Texture Result |
|---|---|---|---|---|
| Unsalted Butter | ~16% | 90-95°F (32-35°C) | Rich, creamy, dairy notes | Crisp edges, chewy center |
| Vegetable Shortening | 0% | 110-115°F (43-46°C) | Neutral, bland | Soft, puffy, less spread |
| Canola Oil | 0% | Liquid at room temp | Neutral | Dense, moist, cake-like |
| Margarine | ~16-20% | Varies widely | Salty, processed | Inconsistent spread, greasy |
Why Temperature Changes Everything
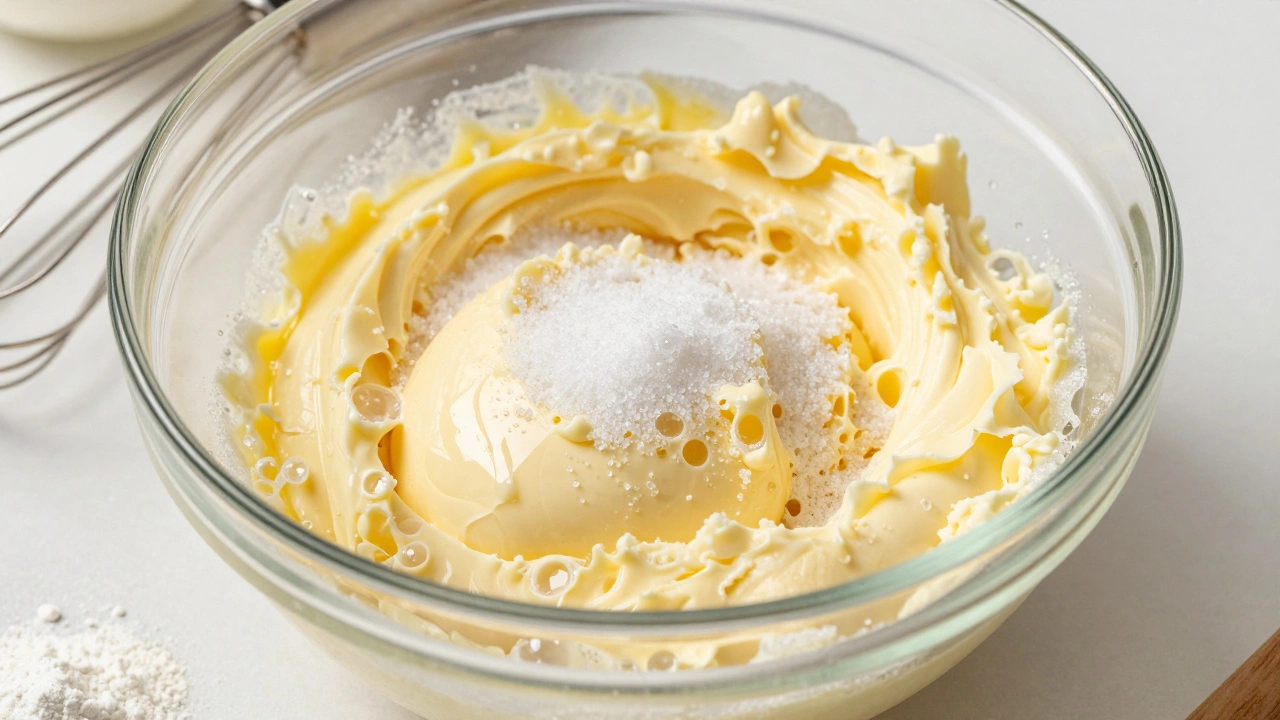
If butter is the star, then temperature is its director. The state of your butter when you mix it into the dough determines the final shape and texture of the cookie. This is where many home bakers go wrong. Recipes often say “softened butter,” but that term is vague. Does it mean melted? Room temperature? Cold?
Creaming cold butter into sugar won’t work well because the fat hasn’t softened enough to trap air bubbles. Those air bubbles expand during baking, helping the cookie rise slightly. If you use melted butter, you lose those air pockets entirely. Melted butter also makes the dough warmer, causing it to spread faster in the oven before the structure sets. The result? Thin, lacy cookies that burn easily.
For classic chocolate chip cookies, aim for butter that is cool to the touch but pliable. When you press your finger into it, it should leave an indentation without sinking completely. This usually means taking butter straight out of the fridge and letting it sit for 30-45 minutes, depending on your kitchen’s warmth. If you’re making crispy cookies, slightly warmer butter encourages spreading. For thicker, cakeier cookies, keep the butter colder to limit spread.
The Impact of Water Content
Here’s a secret that professional bakers know: butter is mostly water. That 16% water content plays a huge role in how your cookies bake. As the cookies heat up in the oven, this water turns into steam. Steam helps lift the cookie, creating a lighter texture. More importantly, as the water evaporates, it leaves behind the milk solids and fat, which contribute to browning through the Maillard reaction.
This browning process is what gives cookies their nutty, caramelized flavor. If you replace butter with anhydrous fat like shortening, you lose this steam effect. Your cookies won’t brown as deeply, and they’ll miss out on those complex flavor notes. Conversely, if you use margarine, which often has higher water content, your cookies might spread too much and become soggy. Stick to high-quality unsalted butter for consistent results. Unsalted allows you to control the sodium level precisely, ensuring the sweetness shines through without being masked by saltiness.
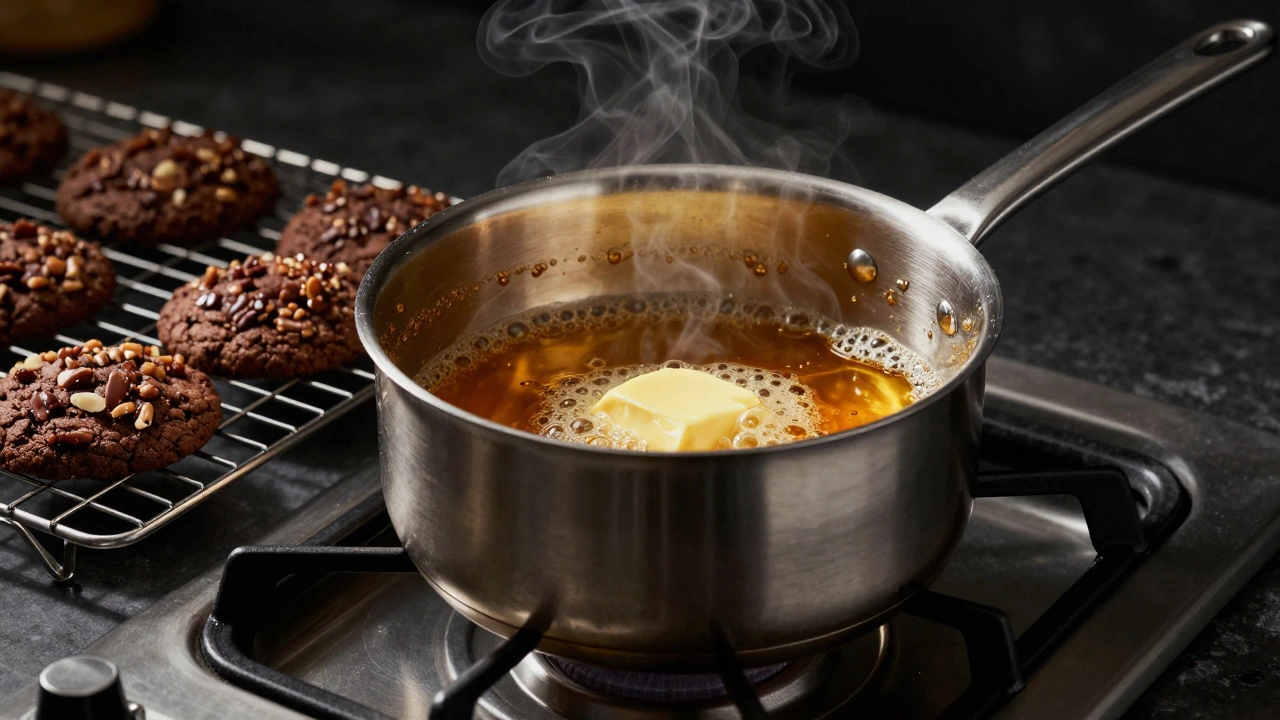
Brown Butter: A Game Changer
If standard butter is great, brown butter is exceptional. Browning butter involves heating it until the milk solids toast and turn amber-colored. This process removes some of the water content and intensifies the flavor dramatically. Nutty, toasty, and deeply aromatic, brown butter takes ordinary cookies to gourmet levels.
When you use brown butter, remember that it’s already melted and cooled. Because the water content is reduced, your cookies will spread less and have a denser, fudgier texture. This works beautifully for peanut butter cookies, oatmeal raisin, or any recipe where you want a rich, sophisticated taste. Just be careful not to burn it-the line between fragrant and bitter is thin. Cool the butter completely before mixing it with dry ingredients to avoid cooking your eggs prematurely.
How Other Ingredients Interact with Butter
While butter leads the pack, it doesn’t work alone. Its interaction with sugar and flour defines the cookie’s character. Granulated sugar dissolves in the butter during creaming, creating tiny air pockets. Brown sugar adds molasses, which retains moisture and keeps cookies chewy. The ratio of white to brown sugar changes how the butter performs. More brown sugar means a slower spread and a softer bite.
Flour provides the structure. All-purpose flour is standard, but using bread flour increases gluten development, making cookies chewier. Cake flour reduces gluten, resulting in a tender, melt-in-your-mouth texture. Regardless of the flour type, the amount of butter relative to flour determines whether your cookie is crunchy or soft. A higher butter-to-flour ratio yields a richer, more decadent cookie, but also one that spreads more. Finding the right balance requires tweaking based on your preferred texture.
Troubleshooting Common Cookie Issues
If your cookies aren’t turning out right, check your butter first. Here are common problems and their butter-related solutions:
- Flat, greasy cookies: Your butter was too warm or melted. Chill the dough for at least 30 minutes before baking to firm up the fat.
- Puffy, pale cookies: Your butter was too cold, or you used shortening instead of butter. Ensure butter is properly softened and consider adding a bit more sugar to encourage spread.
- Dry, crumbly cookies: You may have over-baked them, but insufficient butter can also cause this. Increase the fat slightly or reduce the flour to maintain moisture.
- Uneven spreading: Inconsistent butter temperature across batches. Cut butter into uniform cubes and let them soften evenly before mixing.
Another pro tip: weigh your butter instead of measuring it by volume. A cup of packed butter weighs differently than a cup of loosely scooped butter. Using a kitchen scale ensures accuracy every time. One stick of butter equals ½ cup or 113 grams. Precision matters when butter is the driving force behind your recipe.
Choosing the Right Butter
Not all butters are equal. Supermarket brands vary widely in fat content and quality. Look for butter with at least 80% milk fat. European-style butters often have higher fat percentages (up to 82-85%), which means less water and more intense flavor. These are excellent for pastries and delicate cookies where richness is key.
Avoid whipped butter, which contains air bubbles and won’t measure correctly. Also steer clear of spreads labeled as “light” or “diet,” as they contain fillers and lower fat content that ruin texture. Stick to traditional churned butter for reliable results. Organic or grass-fed options offer a richer yellow color and deeper flavor due to the cows’ diet, though regular butter works fine if budget is a concern.
Can I use margarine instead of butter for cookies?
You can, but the results will differ. Margarine has higher water content and lower fat quality, leading to flatter, greasier cookies with less flavor. If you must substitute, choose a stick margarine with at least 80% fat and expect a softer, less defined texture.
What happens if I melt the butter for cookies?
Melted butter causes cookies to spread more quickly and thinly. It eliminates the air pockets created during creaming, resulting in denser, crispier cookies. Use melted butter intentionally for lace-like cookies or when you want maximum spread.
Why do my cookies spread too much?
Excessive spreading is usually caused by butter that’s too warm or melted. Chill your dough for 30-60 minutes before baking. Also, ensure your baking sheet is cool; hot sheets accelerate melting. Using more flour or less sugar can also help limit spread.
Is brown butter better than regular butter for cookies?
Brown butter offers superior flavor with nutty, toasty notes. It reduces water content, leading to denser, chewier cookies. It’s ideal for recipes emphasizing richness, like peanut butter or oatmeal cookies. Regular butter is better for light, airy textures.
How do I know when butter is properly softened?
Properly softened butter is cool to the touch but yields easily to pressure. Press your finger into it-it should leave a clear indent without sinking. It should look opaque and smooth, not shiny or liquid. Avoid microwaving, which heats unevenly and risks partial melting.