Candy Making: Simple Recipes & Pro Tips
Ever wondered how to turn basic sugar into glossy, melt‑in‑your‑mouth treats? Candy making might sound fancy, but the core steps are pretty straightforward. All you need are a few pantry staples, the right tools, and a bit of patience. In the next few minutes you’ll learn what to keep on hand, which mistakes to avoid, and three recipes that work every time.
Basic Tools You’ll Need
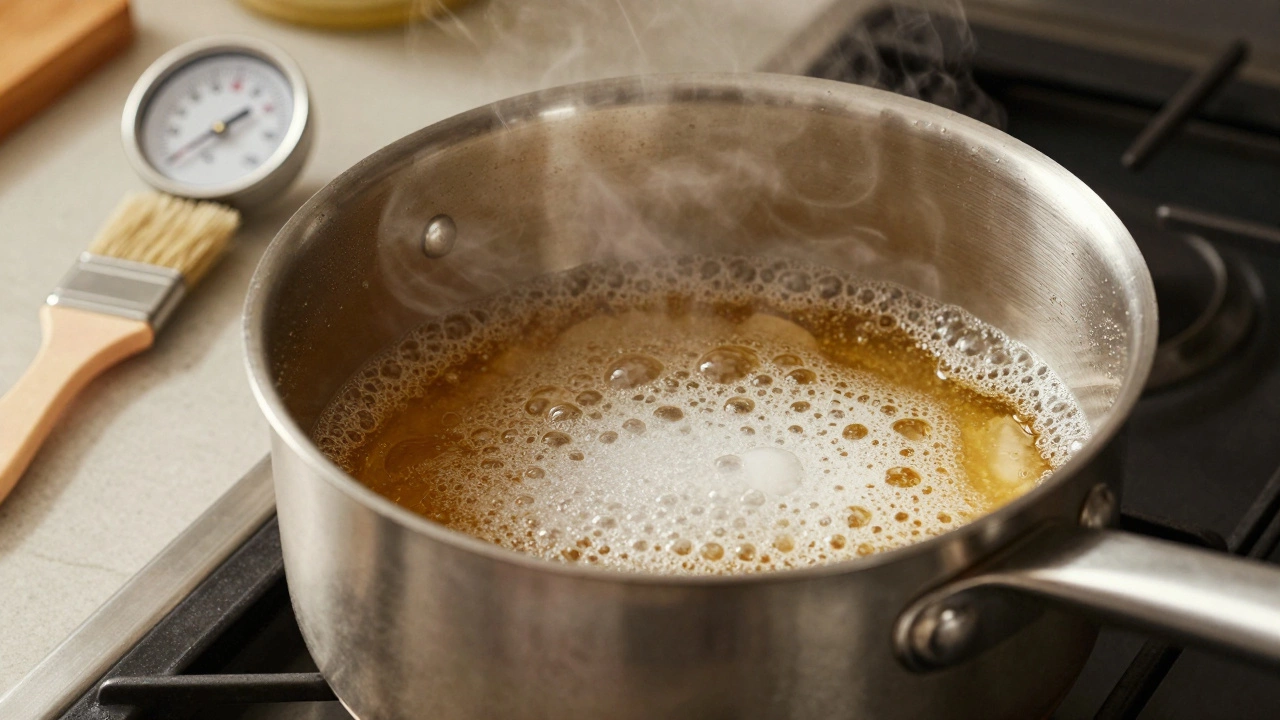
First up, let’s talk equipment. You don’t have to buy a whole candy‑making set; a few kitchen basics do the job. A heavy‑bottomed saucepan spreads heat evenly and prevents scorching. A candy thermometer is the most reliable way to hit the exact temperature—aim for 250°F (121°C) for hard candy, 230°F (110°C) for soft caramels. If you don’t have a thermometer, a small drop of syrup in cold water should form a firm ball before you stir it.
Next, grab a silicone spatula for stirring. Metal spoons can get too hot, and wooden sticks may absorb flavors. A silicone mat or parchment paper works wonders for laying out the finished candy, so you can pull it off without tearing. Finally, a heat‑proof measuring cup makes pouring hot syrup a breeze without splashing.
Three Fool‑Proof Candy Recipes
1. Classic Peanut Brittle – Combine 1 cup of sugar, ½ cup of light corn syrup, and ¼ cup of water in the saucepan. Stir until sugar dissolves, then bring to a boil. Add ¼ teaspoon of salt and a pinch of baking soda for a hint of fizz. Once the mix hits 300°F (hard crack stage), quickly stir in 1 cup of roasted peanuts and a splash of vanilla. Pour onto the silicone mat, spread thin, and let cool. Break into shards and enjoy the crunch.
2. Chewy Caramel Squares – Melt 1 cup of brown sugar with ½ cup of butter and ¼ cup of heavy cream over medium heat. Keep stirring until the mixture bubbles steadily, then lower the heat and add a pinch of sea salt. When the thermometer reads 235°F (soft ball), pour into a greased 8‑inch pan. After it sets, cut into bite‑size squares. The result is buttery, slightly salty sweetness that sticks to the roof of your mouth—in a good way.
3. Fruit‑Flavored Gummy Bears – Blend ½ cup of fruit juice (any flavor you like) with ¼ cup of gelatin and ¼ cup of honey. Warm the mix just until the gelatin dissolves—no boil needed. Spoon the liquid into silicone bear molds and refrigerate for at least two hours. Pop them out for a burst of fruity chewiness that’s perfect for snacking or gift‑giving.
These recipes cover the three main candy textures: hard, chewy, and gummy. Once you’ve mastered them, you can start tweaking flavors, adding nuts, or swapping sweeteners to suit your taste.
Pro tip: Always work in a well‑ventilated kitchen. Hot sugar can emit a sweet aroma, but it also releases steam that can burn your eyes. Keep a bowl of ice water nearby in case you need to stop the cooking process quickly.
And there you have it—everything you need to start making candy at home. Grab your tools, pick a recipe, and give it a go. Homemade candy not only tastes better, it also lets you control the ingredients, so you can keep it as natural or as indulgent as you like. Happy candy making!
Boiling fudge to the perfect soft ball stage might seem tricky, but it's all about timing and technique. This article uncovers the secrets to achieving that ideal texture, offering practical tips and handy thermometers. We'll delve into the fascinating science of sugar stages and provide reliable methods to test your fudge, making great-tasting fudge a breeze.