Butter in Baking: What It Does and How to Use It
Butter is the secret behind many tasty treats. It adds flavor, makes crumbs melt in your mouth, and helps baked goods rise a bit. When you know how to treat butter, your cookies stay chewy, cakes stay moist, and pastries stay flaky.
Getting the Right Texture
First, think about the temperature. Cold butter cut into flour creates little pockets that turn into steam while baking. That steam lifts the dough and makes flaky layers—perfect for pie crusts and biscuits. If you want a soft, airy cake, let the butter soften to room temperature and cream it with sugar. Creaming traps air bubbles, which expand in the oven and give the cake height.
A quick tip: if your butter is too soft, chill it for 10 minutes before creaming. If it’s too hard, grate it into the bowl – the tiny pieces will soften fast as you mix.
Easy Tricks for Better Results
1. Use the right amount. A recipe that calls for 1 cup (227 g) of butter expects that exact weight. Measuring by spoon can give a lighter or heavier result, changing texture.
2. Mix butter with sugar first. This step builds a stable base. Skip it, and the batter may stay dense.
3. Don’t over‑mix once you add flour. Over‑mixing develops gluten, making cookies tough instead of tender.
4. Try brown butter for a nutty flavor. Melt butter over low heat, watch it turn golden, then let it cool before using. It adds depth to chocolate cakes and cupcakes.
5. Swap butter wisely. If you need a dairy‑free option, use equal parts coconut oil for crisp cookies, but expect a slight coconut taste. For lower fat, replace half the butter with applesauce; expect a softer crumb.
These tricks work with the posts on our site, too. For example, the “How to Make Cookies Soft and Chewy” guide recommends creaming butter and sugar properly. The “Trending Cakes 2025” article mentions using chilled butter for buttery layers in modern cake designs.
Remember, butter is sensitive to heat. Melted butter gives a denser, chewier result, great for brownies. Softened butter gives light cakes. Choose the form that matches the texture you want.
Finally, store butter in the fridge, wrapped in foil or a container. If you keep it too long, it can pick up other flavors. For long‑term storage, freeze butter in a zip bag; it stays fresh for months.
By paying attention to temperature, amount, and mixing method, you’ll see a clear upgrade in every bake. Grab a stick of butter, follow these simple steps, and watch your treats turn from good to unforgettable.
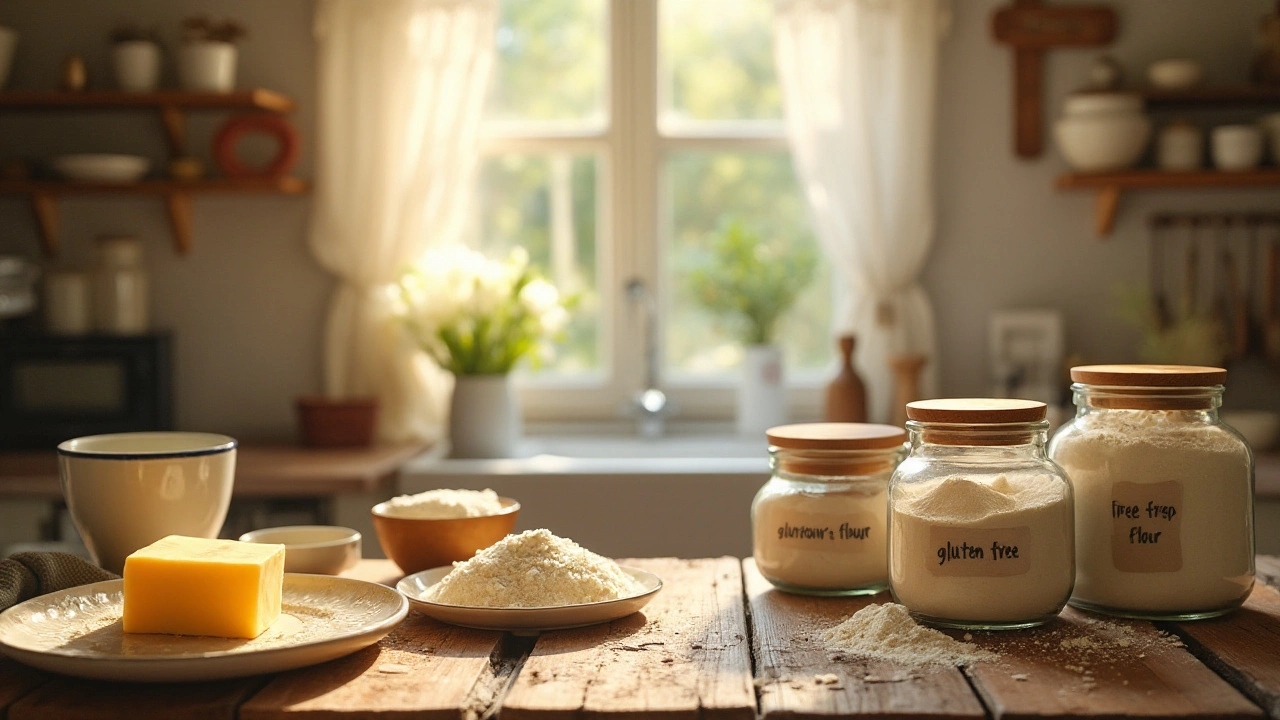
Unravel the connection between butter and gluten to confidently use this creamy ingredient in gluten-free cakes. Learn about butter's composition, the potential for contamination, and tips for using butter in gluten-free baking. Discover some substitutes if you need a butter-free option and make sure your cakes remain delicious and safe for gluten-free diets.