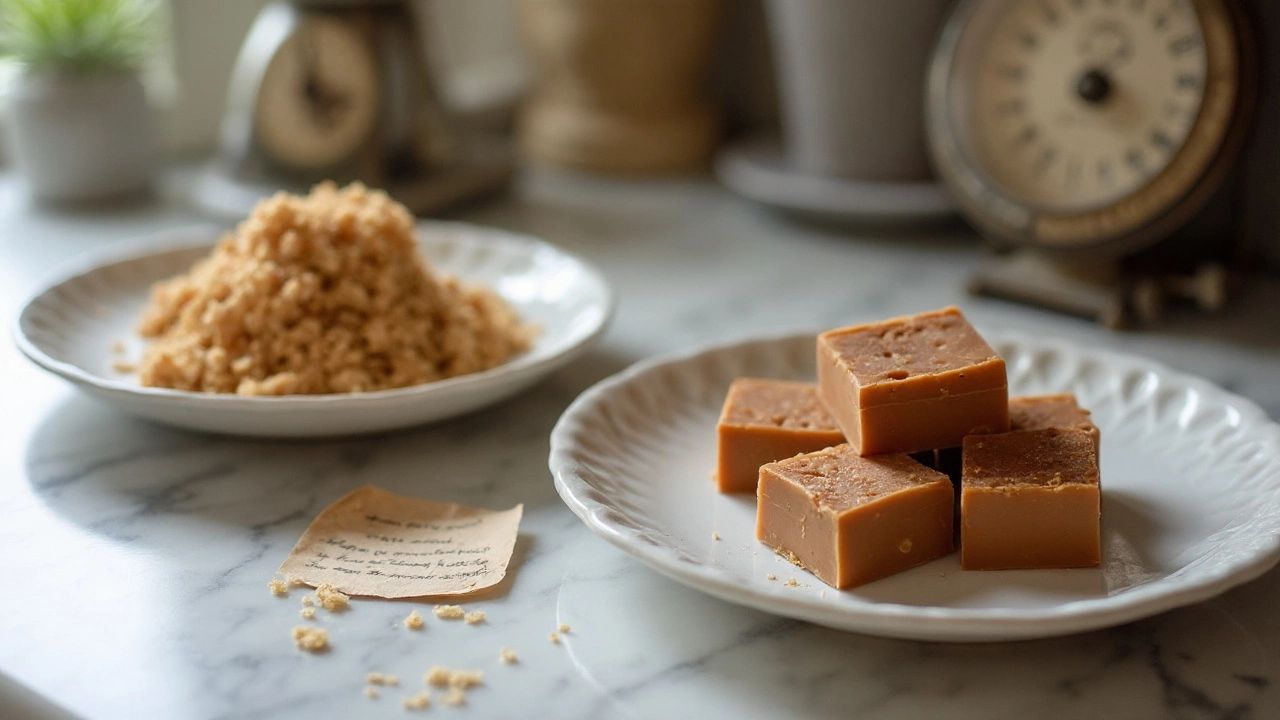
Smooth, velvety fudge is a dream. But grainy fudge? That's a kitchen heartbreak. It's happened to most of us—one moment you're stirring a glossy pot of chocolate, the next you're facing a crumbling block that tastes great but feels like sand. What actually causes fudge to turn gritty? And how can you make sure it always comes out perfectly smooth?
Understanding Why Fudge Turns Grainy
Ever wondered why fudge texture can flip from glorious to disastrous so quickly? Fudge is more like candy than regular baked goods, and it owes its texture to a science-y dance with sugar crystals. What you're aiming for is a mass of tiny, almost invisible sugar crystals suspended in butter and chocolate—a structure like silk. But if those crystals get too big, the texture feels dry, sandy, or rough.
So, what actually triggers big sugar crystals? It's mostly about timing and temperature. When you cook fudge, you melt the sugar in the mixture—maybe with milk, cream, or butter. At a high enough temperature (typically between 234°F to 238°F/112°C to 114°C), all the sugar should dissolve entirely. But if even a single grain survives and you start stirring before it's time, that lone grain will invite others big time, forming giant crystals and wrecking the texture. Stirring too soon or while the fudge is too hot? You just set up a grainy disaster.
Here's something wild: Cornell University’s Food Science department once analyzed dozens of fudge samples and found that graininess nearly always correlated with cooling speed and temperature. If you don’t let your fudge cool undisturbed to about 110°F (43°C) before beating or stirring, even the best recipe can flop. Old-school science, but it holds up today.
Other culprits? Sometimes it's a sneaky bit of crystallized sugar left on a pan's edge, which drops into your candy at the wrong moment—acting as a seed for unwanted crystals.
Here's a fact most folks never realize: the fat in butter (or even marshmallows in shortcut recipes) helps break up crystals and keep the texture supple. That’s why recipes call for generous amounts—don’t skimp! And yes, even humidity matters. On rainy days, sugar loves to grab moisture from the air, which can mess up the texture, making graininess more likely despite your best efforts.
If you want to see just how dramatic these differences can be, check out this table from actual fudge cooks who tracked their results using the same recipe but different methods:
| Method | Final Texture | Success Rate |
|---|---|---|
| Stirring at 140°F | Very Grainy | 10% |
| Stirring at 110°F | Very Smooth | 87% |
| Using only white sugar | Slightly Grainy | 65% |
| Addition of corn syrup | Super Smooth | 94% |
You can see that a few key decisions make all the difference.

Practical Tips for Making Smooth Fudge Every Time
Let’s make it actionable. You want to beat grainy fudge forever, right? Here’s the nitty-gritty (pun intended):
- Use a heavy-bottomed pot: Thin pans heat unevenly. That creates hot spots and can cause sugar to crystallize on the bottom or sides, making graininess more likely. Go for heavy stainless steel or copper.
- Clean the pan sides during cooking: Sugar that clings to the sides wants to drop back down and start trouble. Use a wet pastry brush to sweep the sides while the mixture cooks. No crystals, no drama.
- No shortcuts with temperature: Get a candy thermometer. Old-fashioned, but it prevents all the guesswork. Cook until your mixture hits exactly 234°F to 238°F (soft-ball stage). Take it off the heat right away.
- Don’t stir once it’s off the heat—let it sit! This is where most people slip up. You need to let your fudge cool without touching it until it gets to about 110°F (43°C). Stir too soon and you seed those dreaded crystals.
- Add corn syrup or glucose (if your recipe allows): Even a tablespoon or two helps stop crystals from forming. These invert sugars mess with the regular sugar structure, keeping crystals tiny and the fudge smooth. This is why many commercial fudges always feel creamy—they cheat with a little corn syrup.
- Butter is your best friend: Beyond flavor, the fat wraps around the sugar molecules and stops them from clumping. Don’t use reduced-fat substitutions; real butter works best.
- Stir like you mean it—when it’s time: Once it’s cooled down, then you beat it vigorously until it loses its gloss and thickens. This breaks up any crystals and gives you that classic creamy texture. Too quick or too timid, and you won’t get the structure you want.
- Store fudge right: Wrap it tightly in wax paper or airtight containers, because open air dries it out and ruins the texture. The fridge can even make it go grainy; room temperature is usually better, as long as your house isn’t sweltering.
- Humidity warning: Try not to make fudge on super humid days if possible. Moisture in the air can throw a wrench into sugar crystallization. Some home bakers even run a dehumidifier in the kitchen on rainy days to keep things ideal!
Since recipes sometimes vary, here's a quick example to make this crystal clear:
- Combine 2 cups sugar, 1/2 cup milk, 4 Tbsp butter, pinch salt in pot. Cook gently, stirring, until dissolved.
- Once everything is melted, clip on your thermometer and leave it alone until it hits 236°F.
- Remove from heat immediately. Do not stir. Drop in a teaspoon of vanilla and (optionally) a tablespoon corn syrup.
- Let the pot cool—don’t touch—until it’s about 110°F on the thermometer.
- Now, beat the mixture hard with a wooden spoon until it loses its shine and thickens, then pour into a prepared pan.
People swear by this process, and honestly, once you do it right, it becomes habit.

Fixing Grainy Fudge and Other Troubleshooting Tricks
So, what if you already have a batch of gritty fudge? Don’t toss it! There are actually ways to rescue a sad, sandy slab and turn it back into a treat worth sharing.
- Remelt and Try Again: Crumble your grainy fudge into a pot. Add a splash of water (2-4 tablespoons per pound), and gently heat over medium-low, stirring until smooth. Then repeat the cool-and-beat process as before.
- Add a little extra butter or corn syrup: This can help break up clumps during remelting.
- Transform into something new: If a rescue feels beyond reach, chop your fudge into tiny pieces and use them in cookies or swirl them into ice cream. No waste, still delicious.
- Don’t be afraid of using kitchen science: Fun fact—some of the best fudge shops keep big pots ready and just tweak and fix less-than-perfect batches. Even professionals have to fix their mistakes!
A few more kitchen hacks make life easier:
- Preheat your stirring bowl: Pouring hot fudge into a cold pan cools it unevenly and sometimes creates small sugar shock spots. If you warm the bowl or pan first, the cooling is much smoother, which helps keep the texture sleek.
- Check your milk or cream freshness: Oddly, ultra-pasteurized milk or cream has a slightly different protein structure that can affect fudge's final texture. Use regular whole milk or heavy cream for best results.
- Use glass over plastic for cooling fudge. Plastic can sometimes insulate too much or cause static, encouraging crystals to line the bowl. (Glass and metal are classic for a reason.)
Stuck with questions? It happens. Why does your friend's fudge recipe never fail, but yours does? Sometimes it’s the smallest habit: a quick stir at the wrong time, a thermometer that’s off by five degrees, or even differences in altitude (water boils a little colder at higher elevations, which means your thermometer needs adjusting).
But here's a wild success secret: patience is everything. Most fudge gone wrong happened because someone (let’s be honest, probably us) got impatient and stirred early or didn’t wait until the perfect moment to mix. Next time you’re standing in front of a pot watching the thermometer inch along, know that this “boring” moment is exactly why a smooth batch is coming your way.
Ready for your first flawless fudge? Follow these tips, watch the details, and you’ll land that silky, creamy bite every single time. No more sand traps, just fudgy heaven.