Picture this: you’ve put your heart into prepping the smoothest cheesecake batter, followed every step to the letter, and then the anxiety creeps in. Where exactly in the oven does this beauty belong—top rack, middle, or bottom? If you’ve ever second-guessed yourself as you slide your springform pan into the oven, you’re not alone. People have divided opinions on this, but there’s a science-backed answer—one that separates a glorious, creamy cheesecake from one with cracks or a burnt base. Oven racks seriously matter, and the wrong placement can be the secret ingredient in why your cheesecakes don’t come out as dreamy as you hoped. As someone who’s learned the hard way (and peeked through a few oven doors more times than I’d admit), let me pull back the curtain on this cheesecake mystery.
The Truth About Oven Racks: How Placement Impacts Your Cheesecake
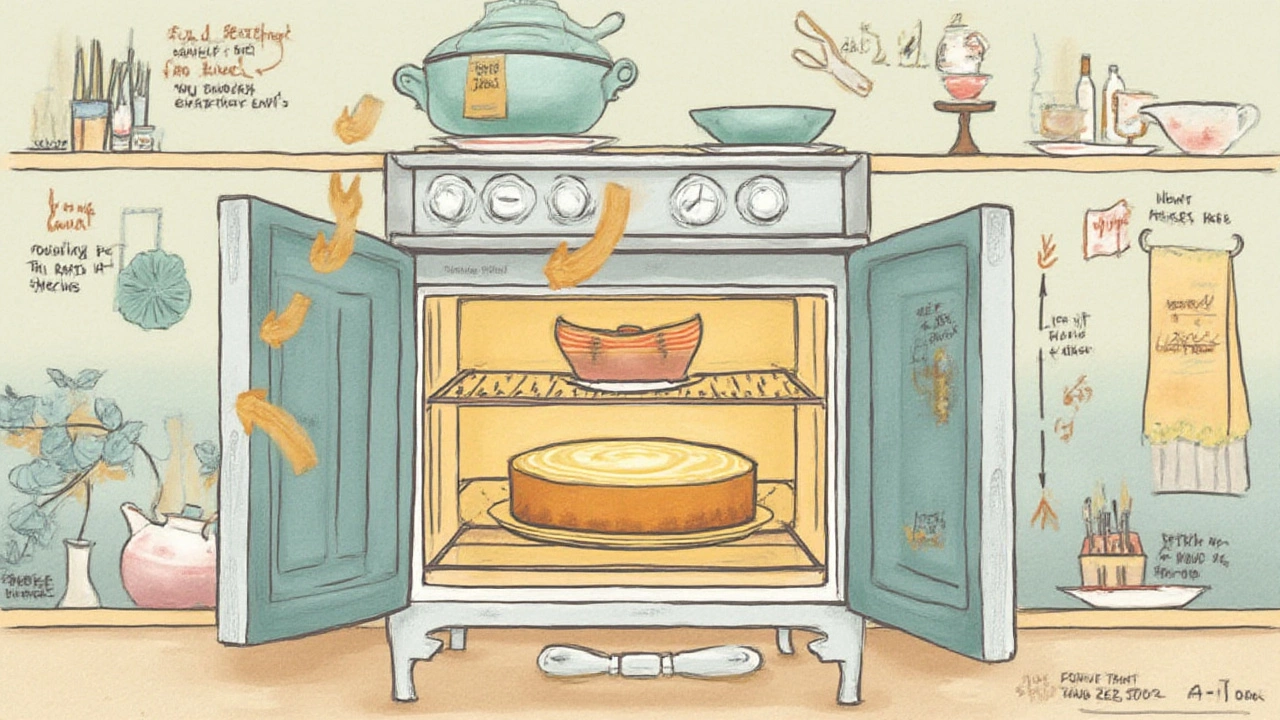
Let’s clear up the biggest debate first. The best spot for baking a cheesecake—according to every seasoned baker and a handful of food science gurus—is the middle rack. But why? Ovens heat from the bottom; if you bake your cheesecake on the bottom rack, you risk getting a dry, overcooked base while the top’s still jiggly or pale. Stick it up high, on the top rack, and you’re flirting with uneven cooking and a scorched top. The middle rack offers the most even circulation of hot air, which is exactly what cheesecake needs: slow, steady, gentle baking. You don’t want it blasted from below or toasted from above.
Get this: Cheesecake isn’t like a Victoria sponge or a loaf of crusty bread. It’s more custard than cake, filled with eggs, sugar, and cream cheese—ingredients that love gentle, humid heat. That’s why traditional recipes nearly always call for baking in a water bath. The middle rack keeps your cheesecake as far away as possible from raw heat, allowing the custard to set softly without puffing up or collapsing. Food scientists at King Arthur Baking (they’re serious about detail) say that temperature spikes can cause the eggs in the mix to curdle, giving you a grainy cheesecake—a common disaster if you ignore rack placement.
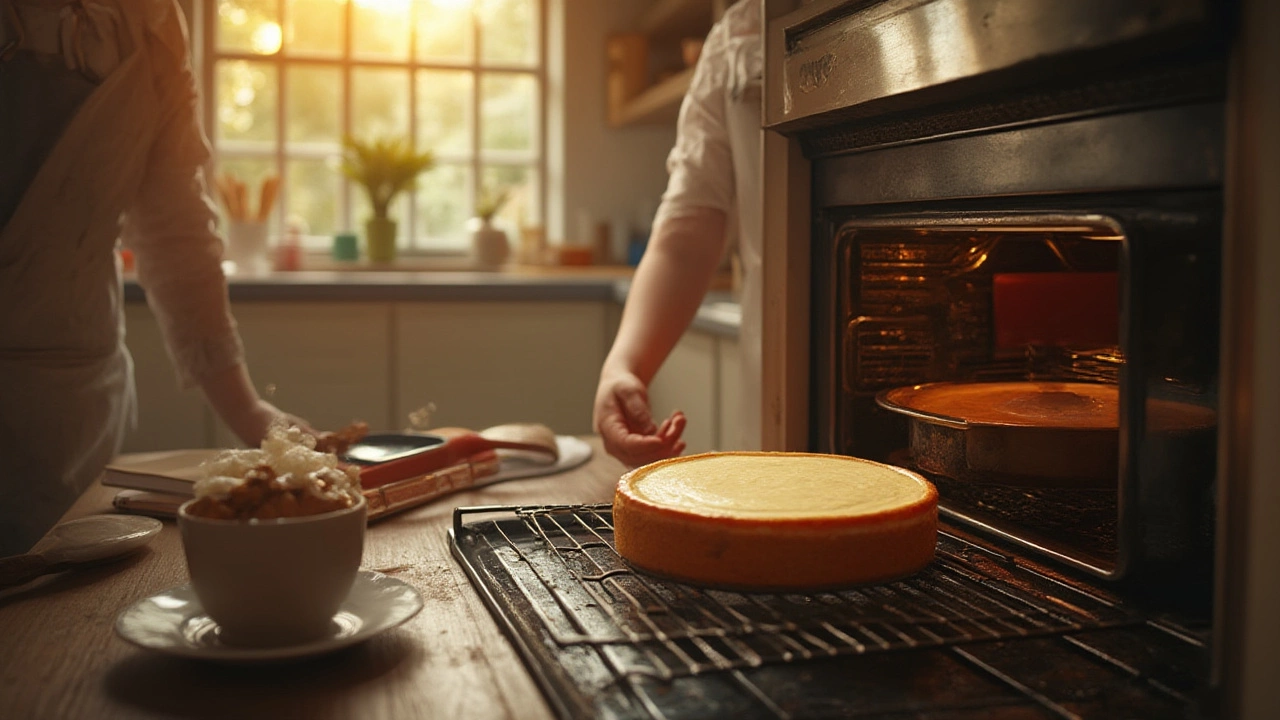
Let’s look at an example from an actual test done in Bristol last December. Using my temperamental fan oven, I baked one cheesecake on the bottom rack and another on the middle. The bottom rack cheesecake had a base that was oddly dry and almost crumbly, while the top took longer to tan. The middle rack version had a silky texture throughout, with that golden, ever-so-slightly bronzed top everyone wants.
The irony is, few oven manuals (even from Smeg or Bosch) actually spell out rack advice for cheesecake specifically. But leading cookbooks, like Felicity Cloake’s “Perfect”, and The Joy of Baking site, both recommend the middle of the oven as home for the cheesecake. The rule of thumb here is: if you want a smooth, luscious filling and a base that isn’t overdone, go for mid-level.

Getting Technical: Temperature, Water Bath, and Rack Positioning
Let’s geek out for a moment and talk about what’s actually happening in your oven. Standard home ovens have three main areas: the bottom, the middle, and the top. Each area bakes differently because of how heat rises and circulates.
- Bottom rack: Closest to the heat source, it gets a big blast of direct heat, great for crusty pizzas, flatbreads, or anything that needs a crisp, brown base.
- Middle rack: The sweet spot. There’s space for heat to move around, so bakes set evenly and brown all over. This is where magic happens for cheesecakes, cookies, and layer cakes.
- Top rack: Good for browning quickly at the end (hello, grilled cheese!), but it’s usually too intense for a gentle custard like cheesecake.
Cheesecake batter is dense. The filling needs time for heat to make its way from the outside in, so a steady temperature is key. Most experts say to run your oven at 160–165°C (that’s 325°F), with fan or ‘convection’ off, if possible. Why? Because fans move air too aggressively, risking over-baking the edges before the centre has time to set. Always aim for a slow, mellow bake—think of it as roasting low and slow, just like your nan’s Sunday beef.
Add a water bath—sometimes called a “bain-marie”—and you’ve got insurance against sudden temperature swings. The water buffers the heat, so the cheesecake bakes evenly. Don’t stress if your oven’s not perfectly calibrated; an oven thermometer is a cheap way to double-check. Research from America’s Test Kitchen confirmed that cheesecakes baked with a water bath on the middle rack not only had fewer cracks but also a smoother mouthfeel.
| Bake Setting | Texture of Cheesecake | Risk of Cracking | Colour of Top |
|---|---|---|---|
| Bottom Rack | Dry, sometimes rubbery base | High (edges set too fast) | Pale, sometimes uneven |
| Middle Rack | Creamy, smooth throughout | Very low (bakes gently) | Evenly golden, just right |
| Top Rack | Burnt or overly brown top | Moderate (centre underbaked) | Dark brown, possible scorching |
Another pro tip? Place your cheesecake on a lined tray before adding water to the outer pan, just in case of leaks. Water creeping into your base is the quickest way to soggy sadness.
If you’re dealing with an unusual oven—tiny countertop models or one with hot spots—still aim for dead centre. Can’t fit your pan? Go slightly lower, never higher. The top rack will nearly always brown too quickly, especially if you have overhead elements or use gas with a visible flame at the top. Electric ovens tend to be a bit safer, but even then, middle rack is king.

More Pro Tips and Troubleshooting for Cheesecake Bakers
Beyond rack placement, a few other details make a huge difference for cheesecake success. Start with your tin. A springform pan is non-negotiable, and sealing the base with foil helps prevent leaks in the water bath. Use wide, heavy-duty foil and wrap it up over the sides—don’t skimp.
Once your cheesecake’s in the oven, resist the urge to open the door. Big temperature drops from peeking can cause cracks. If you’re worried about browning, check the top after 50 minutes (assuming a standard 23 cm tin and 3 cm filling)—not before.
Ovens often lie about their temperature, so do yourself a favour and keep a small oven thermometer on the same rack as your cheesecake. In a UK Home Baking Association survey from March 2023, about 20% of home bakers found their ovens were off by over 10°C from the dial reading.
Cracks often come from over-baking. When in doubt, give the tin a gentle nudge—if the centre wobbles like set jelly, it’s time to switch the oven off and leave the cake inside with the door open a crack for an hour. This gentle cooling helps the centre firm up without pulling away from the sides.
As for timing, most cheesecakes need 60–70 minutes for a deep, creamy finish. Larger batches might go up to 90. Always cool your cheesecake fully in the tin at room temperature before chilling in the fridge. If you rush the process, moisture from warm air can condense on the top, leaving you with a soggy surface.
If your oven runs hot, try lowering the temperature by 10°C and adding 10-15 minutes to the cooking time—better to be patient than risk a ruined dessert.
- Line your springform pan with parchment for easy release.
- Avoid overmixing the batter—just blend until smooth to keep it creamy.
- Add a pan of water on the rack below the cheesecake if you can’t manage a full water bath; moist heat is better than dry, harsh air.
- Let ingredients (especially eggs and cream cheese) come to room temp first—it makes for a smoother mix.
- Store cheesecakes uncovered in the fridge for 4–6 hours before slicing, then cover tightly to stop them drying out.
Locally here in Bristol, patisseries like Ahh Toots and Pinkmans are known for lush cheesecakes with that perfect burnished top and no cracks. Rumour has it, they use a slow bake on the middle rack and swathe their tins in foil for that gentle ‘hug’ of heat. If you want to recreate café-style satisfaction, follow their lead—keep it low, keep it slow, and always go for the middle rack. The proof really is in the pudding—or in this case, the cheesecake.